6 Autumn Scrapbook Layouts and Crafts
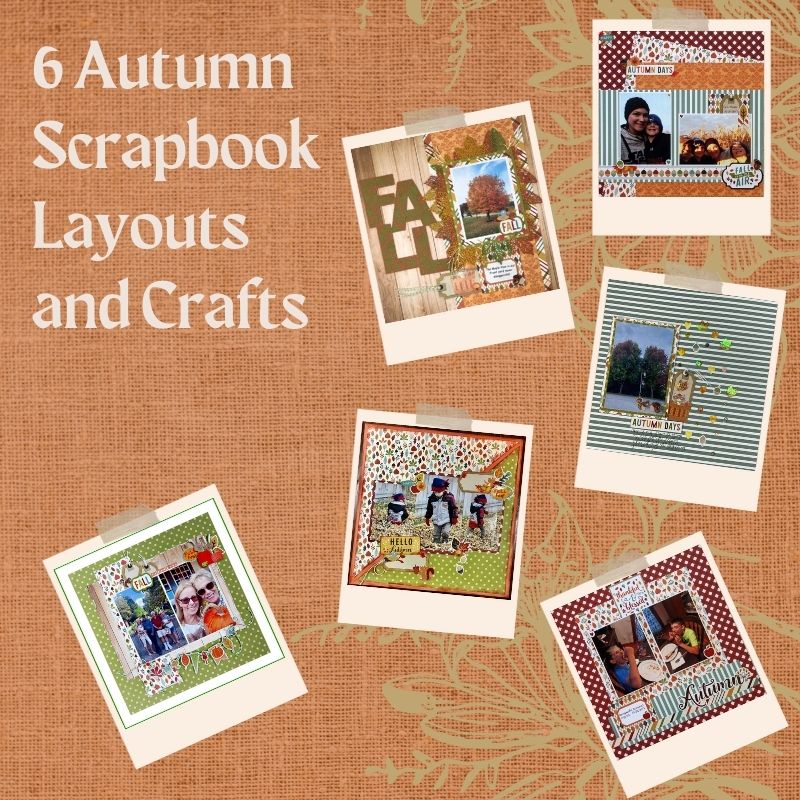
Autumn brings cooler weather, beautiful scenery, and pumpkin patches! Here are fun autumn scrapbook layouts from our awesome Design Team members. These crafts were made from our adorable October 2021 collection, Fall Is In the Air by Echo Park.
1. Fall in New Hope by Marci Bensing
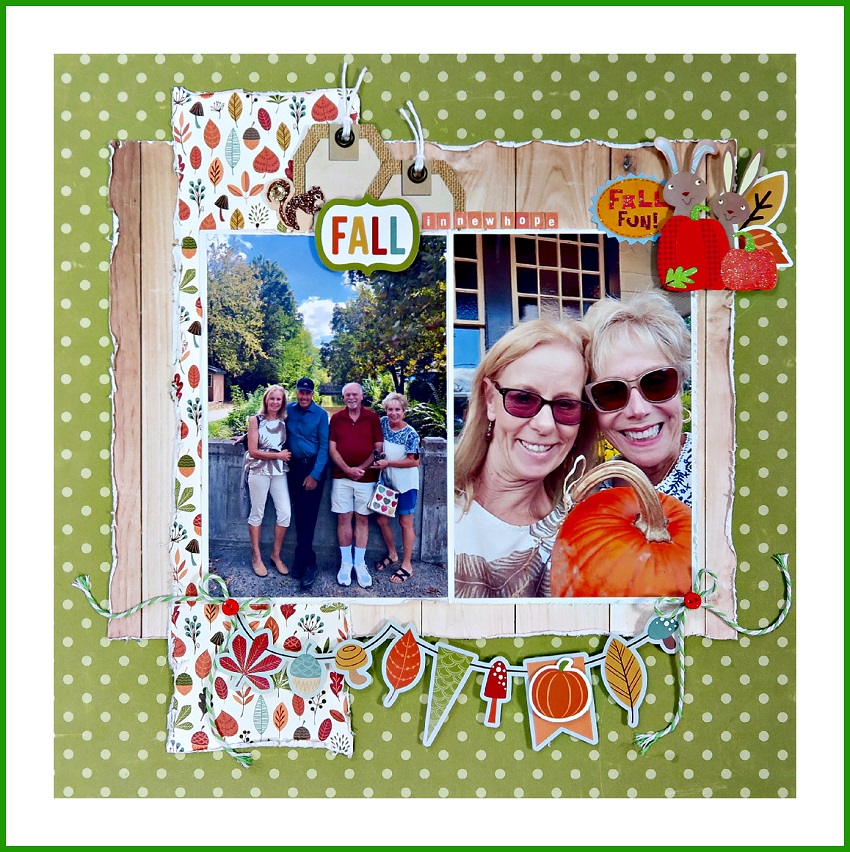
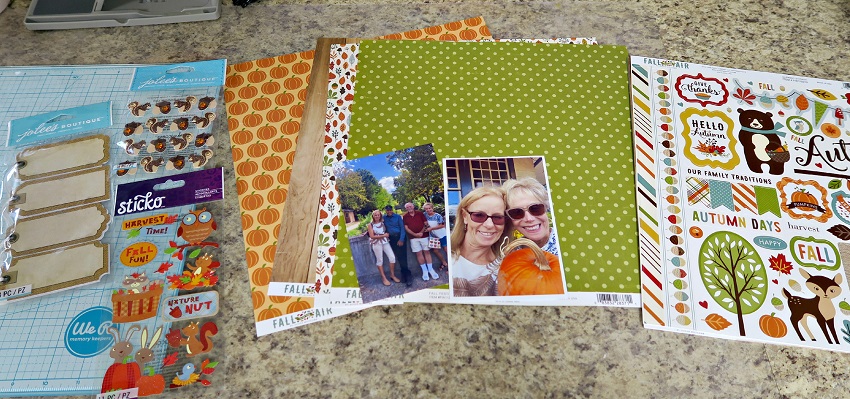
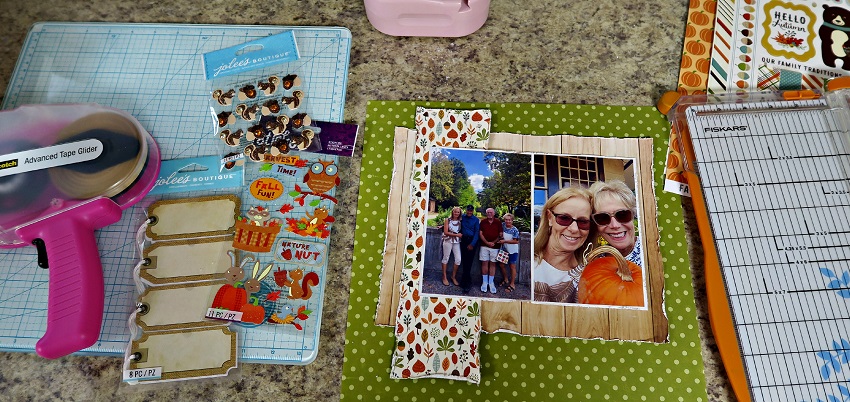
Marci started her layout by laying out all of the components from the monthly kit. She chose 2 photos and the potential papers that she will likely use. Then, she decided to "distress" her papers to go along with the fall theme. Next, she layered the wood paper with a strip of leaf paper and then adhered to her photos. This has created her "base" and then she completed her layout by going around the page and embellishing!
At the top, she had layered/staggered and tucked 2 tags. Over those tags, she used pop dots for the word FALL and placed one of the squirrels to the left. TO the right of "fall", Marci used some small letters from her stash to write "in New Hope".
On the right corner of the photo of herself and her sister-in-law, Marci layered Fall fun. Then, she put pop dots on the 2 pumpkins/bunnies (which reminded her of them in the photo!) and tucked 2 leaf stickers. Finally, finishing across the bottom with the banner sticker, which she "popped" and added her (beloved!) twine centering those bows with tiny buttons from her stash! Enjoy this kit!! Don't forget to check out more of Marci's autumn scrapbook layouts in her blog now.
2. Hello Autumn by Megan Blethen
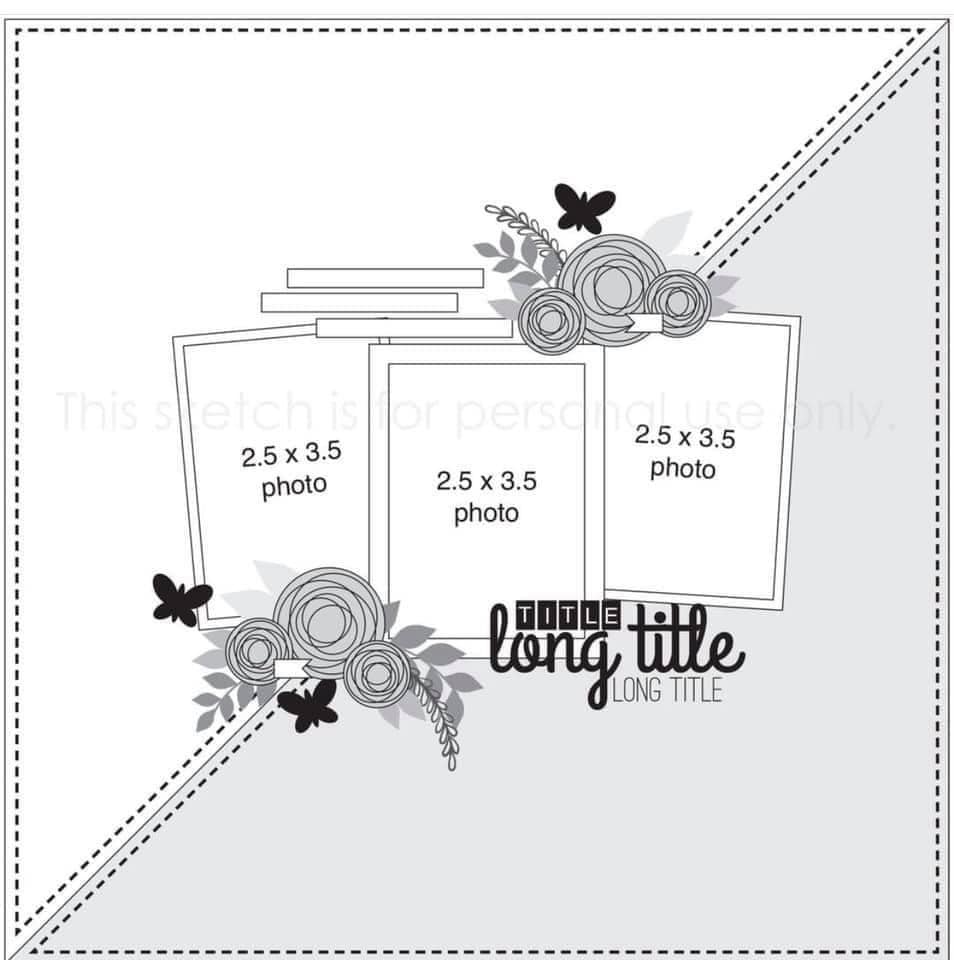
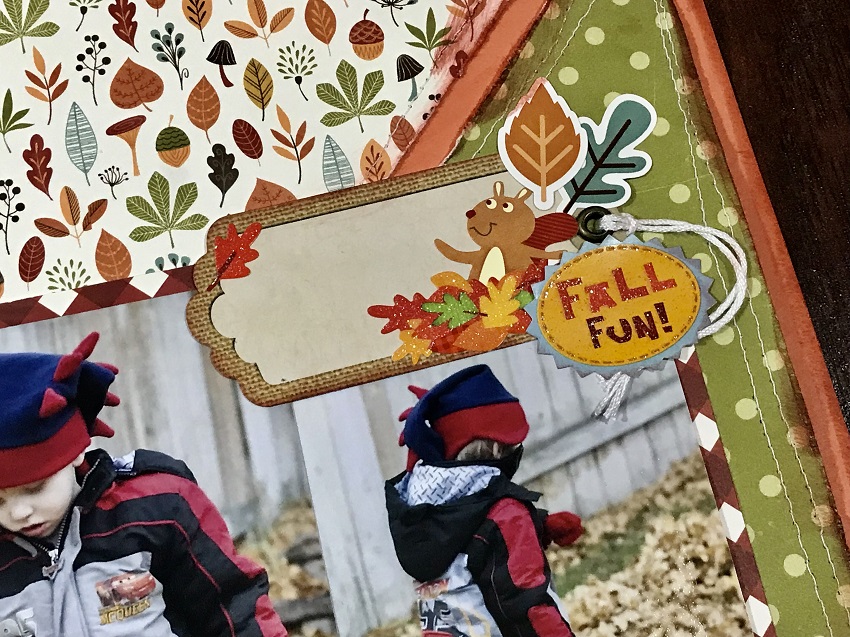
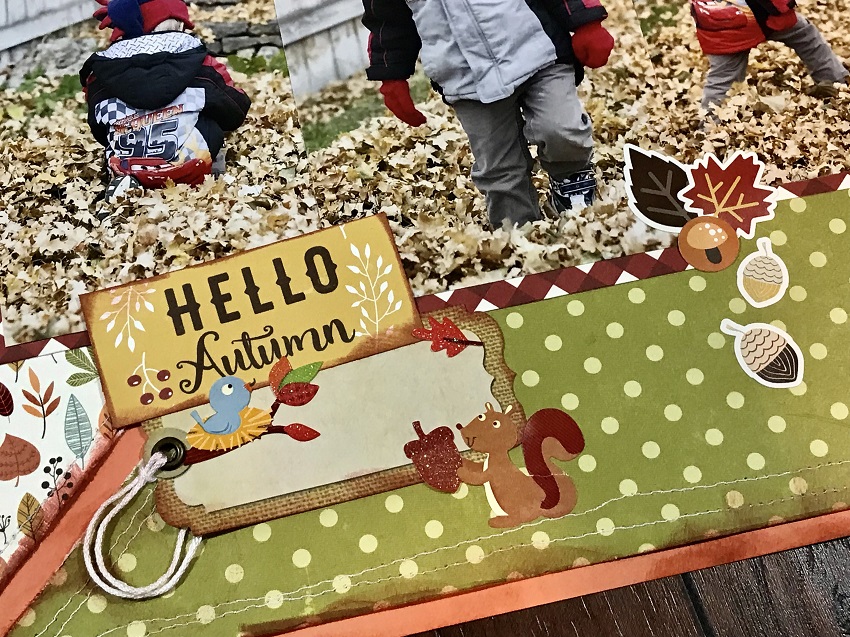
Meggy loves photographing her kids playing in the fall leaves. This month's kit was perfect for recording memory with her middle son when he was a toddler. She used a sketch for this layout. Included below.
Meggy used a colored cardstock for the background and a Bazille orange 12x12 cardstock. She picked out one of the patterned papers from the kit and folded it in half on the diagonal - she used 'Fall Festival'. Next, she used a bone folder or something hard to put a really good crease in the paper, then rip it along the line she created.
Then, she flipped one side of the paper to the B side and leave the other one on the A-side. She cut about half an inch off of each pattern paper to create enough space for the cardstock background to have a border. Also, she sew along the triangle edges of each patterned paper and then glued it to the Cardstock background. Next, she picked out 3 photos. Yours can all be the same size if you want or you can make the two at the ends 3x3 and the middle photo 3.75x5.5. Meggy matted the photos with a patterned paper - she used 'Fall Friends'.
From the embellishment kit, Meggy used the tags to create a cluster above the photo in the right corner and another one below the photos in the left corner. She embellished with the stickers from the upgrade kit and the main kit. She didn't make a title for this layout because it will go along with a bunch of other fall photos, but you could put a title above the photos on the left or below the photos on the right.
Make sure to watch Meggy on her Youtube channel and get to watch more fun scrapbook layouts.
3. Fall Scrapbook Layout by Melissa Bierlein
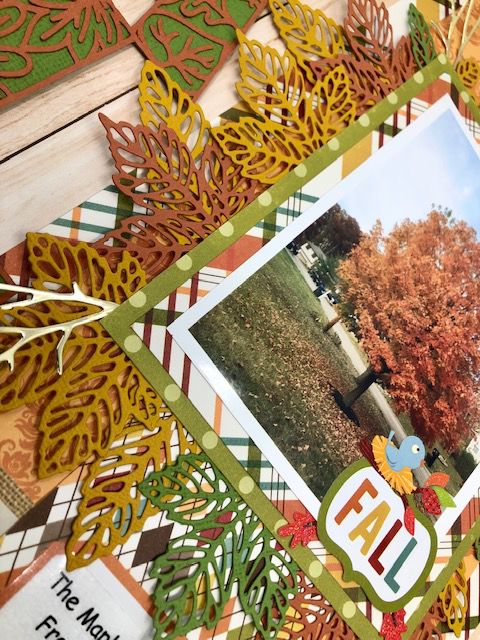
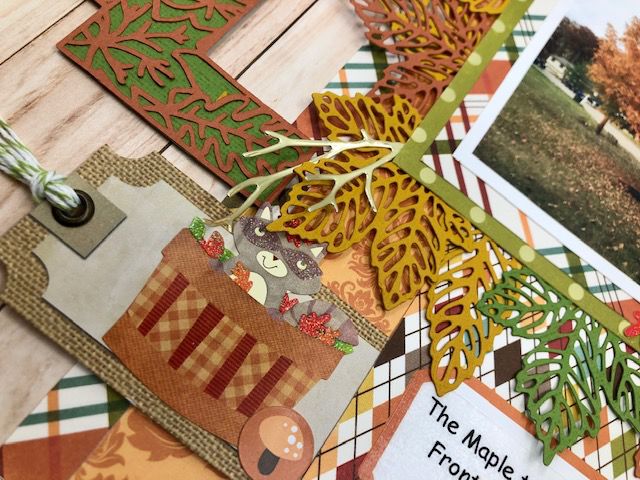
October’s layout features a beautiful sugar maple tree located in Melissa's front yard, it never disappoints them in the fall. Always the prettiest tree on the street! As for the background: WOODGRAIN of course! It’s her favorite and she loves using it for the background of a layout.
Melissa cut the orange paper to 5X12” and adhered to the right side of the layout. Then, she added 1/2” strips of the plaid paper on each side of the orange.
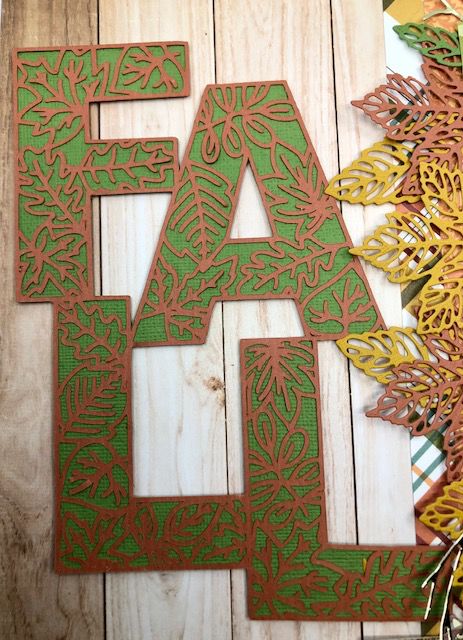
As for the title, she used the FALL2 cut file from Paige Evans cut in cardstock. Next, she backed the cut file with green cardstock from her stash to help it pop off the page and adhered with foam tape to the left side of the layout. She matted the photo twice with papers from the kit. Also, she used the plaid to tie in with the strips on the background and the green dotted paper to tie in with the green behind the cut file.
The leaves were die cut with dies from Stampin’ UP! She cut them in three different colors and layered them behind the photo. Next, she added some gold sprigs, cut with the same die set from SU and adhered the photo with foam tape. She used a journaling square (turned upside down) for journaling.
She added embellishments from the sticker sheet and all three upgrades to the journaling area and the bottom corner of the photo. Finally, she used some twine from her stash on the tag. Don't forget to check Melissa's blog to see more autumn scrapbook layouts.
4. Corn Maze Scrapbooking Layout by Samantha Taylor
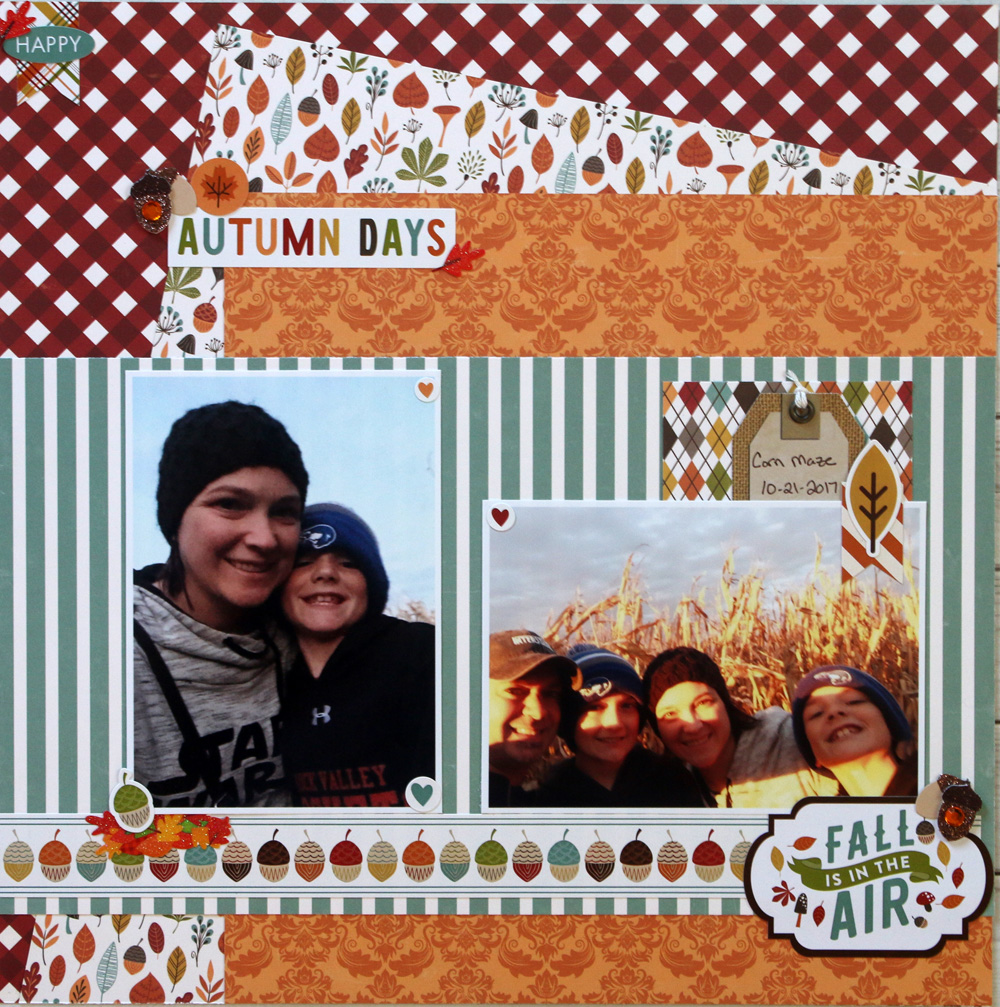
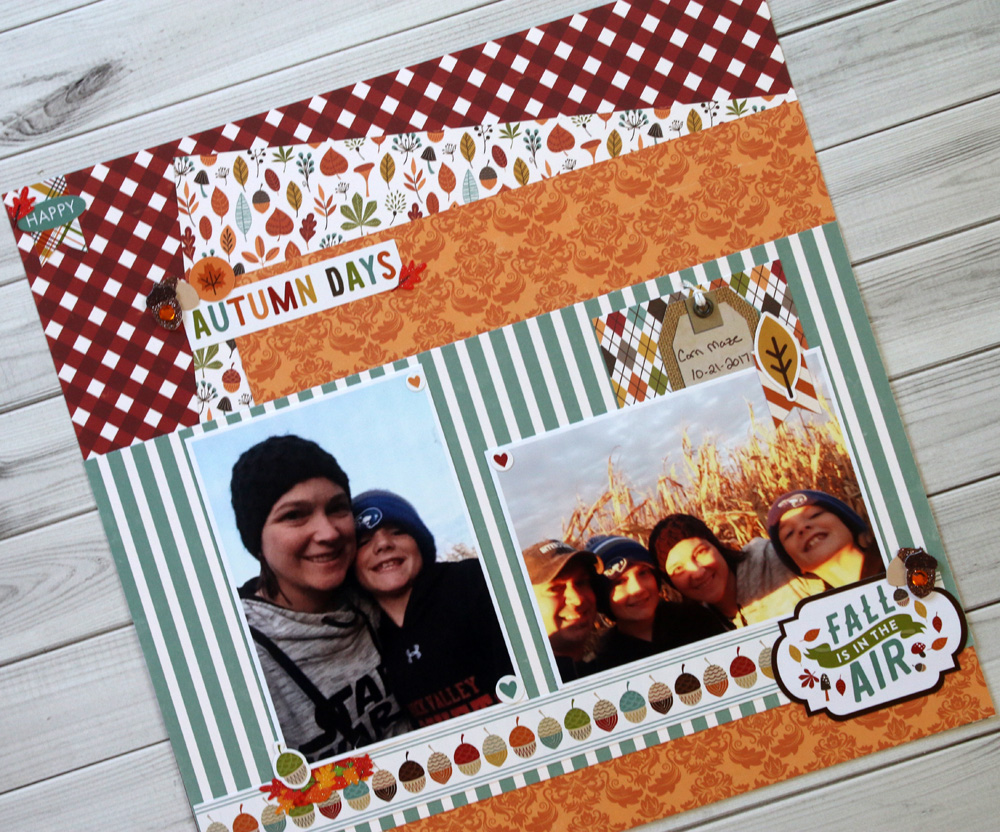
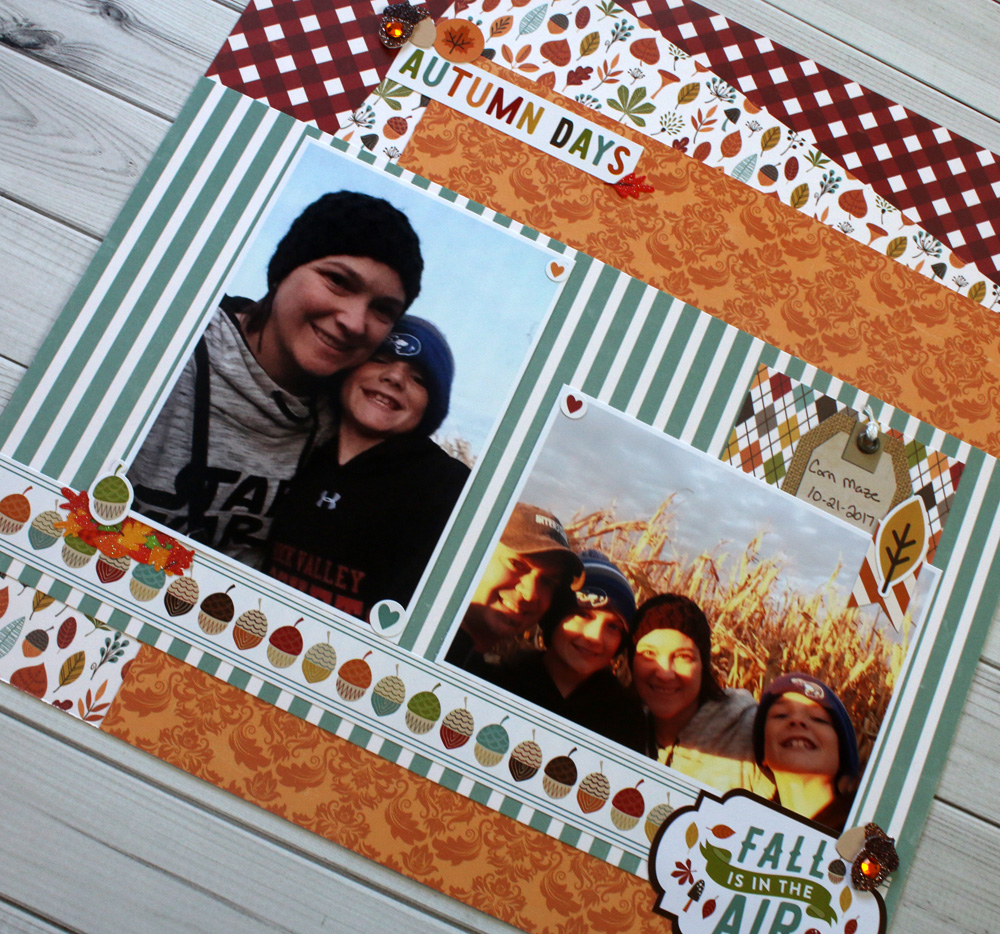
Sam used papers and stickers from the main kit plus embellishments from all of the upgraded embellishments. They have a great corn maze and pumpkin patch less than 10 minutes from their house, so they went at least once every fall. She usually gets pumpkin photos scrapped right away but she didn't always get the maze photos scrapped...this kit was the perfect chance to play catch up on some of those photos.
She started with the red gingham paper for her base. Then, she added a square of leaf/acorn paper at an angle. She made sure the top corner of this paper reached to the top of the base paper and the bottom corner reached the bottom of the base paper.
Next, Sam added a square of orange patterned paper, and finally she added a strip of blue stripe paper going horizontally across the layout. With her patterned papers in place, she added 2 photos. She used the acorn border sticker from the included sticker sheet to ground her photos. Then, she added a journaling tag from the Upgraded Embellishment kit. Finally, she embellished with stickers from the included sticker sheet and the Upgraded Embellishment kit.
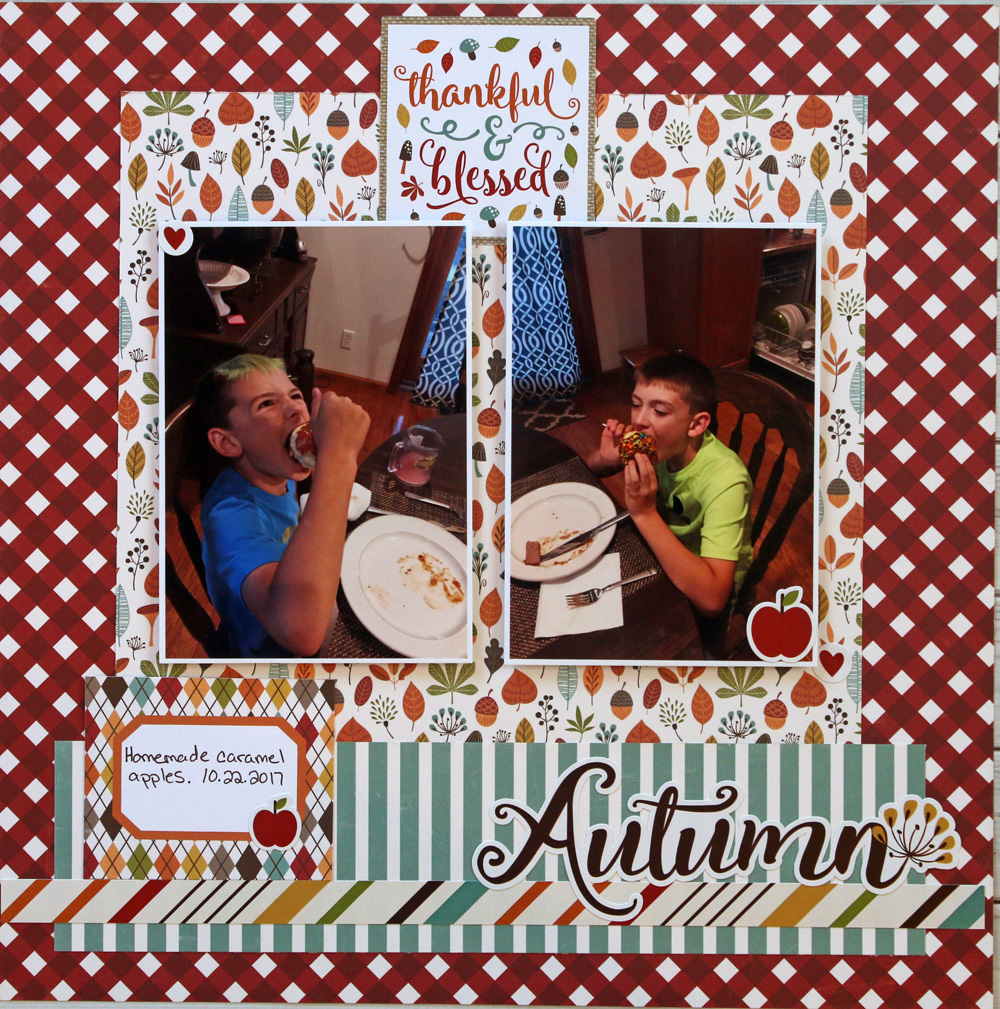
5. Autumn Apples Layout by Samantha Taylor
Sam used just the papers and stickers from the main kit for this layout. What's Autumn without making some caramel apples? That's the memory Sam's recording in this Autumn Apples layout.
To start her second layout, she started with a base of red gingham paper. She layered a square of leaf/acorn paper on top. Next, she added a strip of blue stripe paper. Then, she added a border sticker from the included sticker sheet on top of the blue stripe paper. She nestled half a journaling tag into the border sticker.
Also, she added 2 photos to the layout with dimensional adhesive. Then, she added the Thankful & Blessed sticker between the photos. Finally, she added the Autumn title sticker and a few additional accent stickers. Get to see more autumn scrapbook layouts on Sam's blog now!
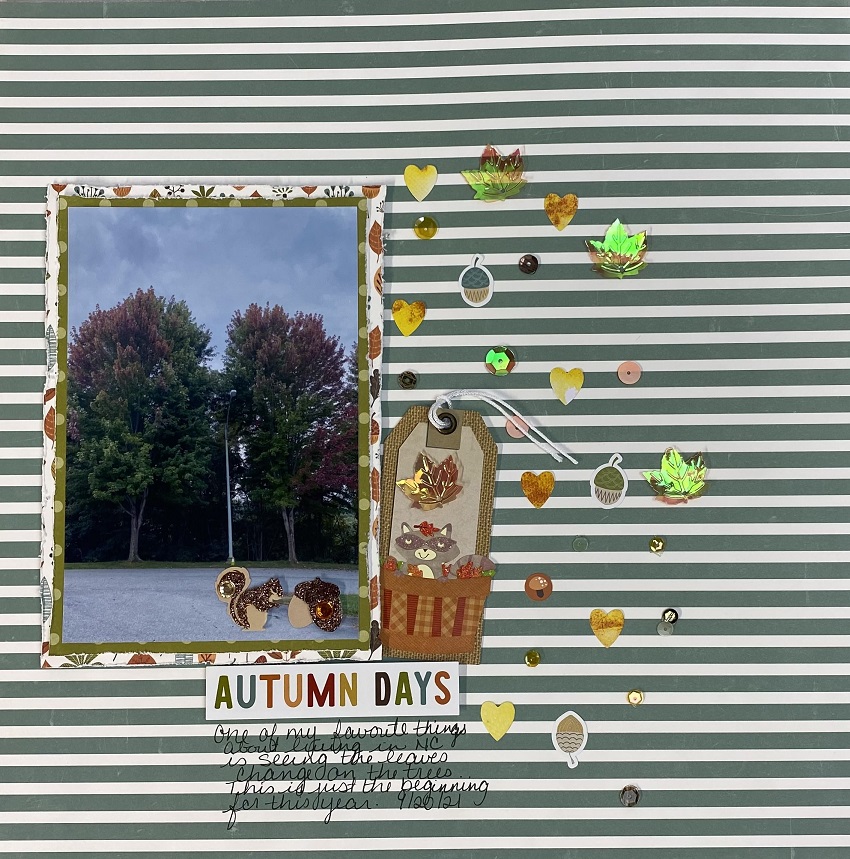
6. Autumn Days Scrapbook by Beth Soler
Beth used the Autumn Bunting paper as her main paper for the layout. She printed her photo out as a 4x6 photo. Then, she backed her photo with the Fall Festival paper using the A and B side of the paper. She distressed the edges of each piece of paper with her distress tool before adhering her photo to the backing papers.
Beth adhered her photo to the backing papers and popped everything up on a piece of craft foam. She took on the tags and one of the cute stickers and adhered the sticker on top of the tag. Next, she tucked the tag in next to her photo and adhered it with double sided tape. Also, she used the Autumn Days sticker from the sticker sheet and added a piece of craft foam to the back of it and then adhered it under her photo and tag.
Finally, she sprinkled stickers from the sticker sheet and sequins that she had in her stash to the right of her photo and added a bit of journaling underneath the autumn days sticker. Don't forget to check Beth's Youtube channel to watch more autumn scrapbook layouts.
Enjoy creating your October projects with these awesome guides. Visit our blog for more scrapbook layouts and crafts using our monthly kits!
Join our exclusive Facebook Community for Club Members. It will grant you access to amazing layouts and content made by our design team, fun monthly contests, and FREE Facebook Live (Oct. 20th) tutorials to meet other crafters!
Haven't subscribed yet? Now's your chance, be sure to sign up today!
GET OUR MONTHLY KITS DELIVERED TO YOUR DOOR!
