
8 Beautiful Spring Scrapbook Layouts
This month, our awesome Design Team members shared with us beautiful spring scrapbook layouts. Let your springtime layouts and projects be in full bloom using our March kit, the I Love Spring by Echo Park.
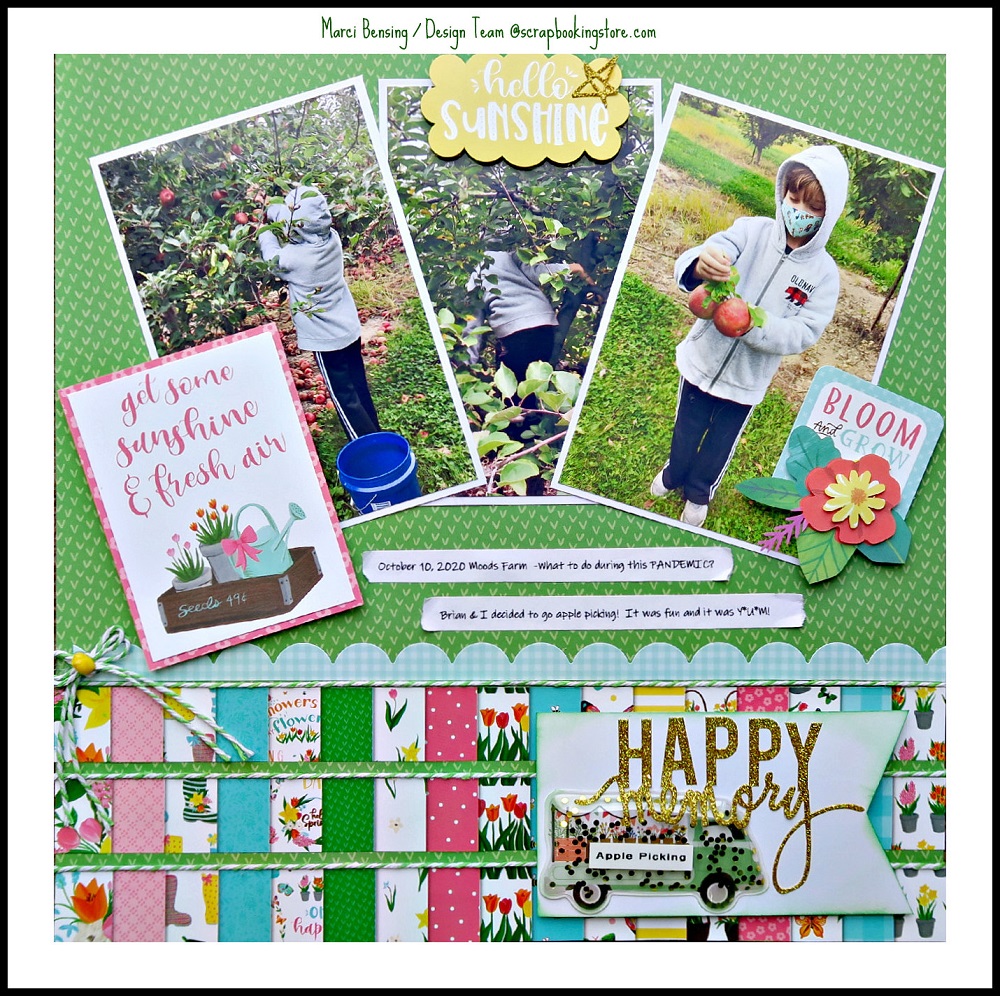
1. Happy Memory: Apple Picking by Marci Bensing
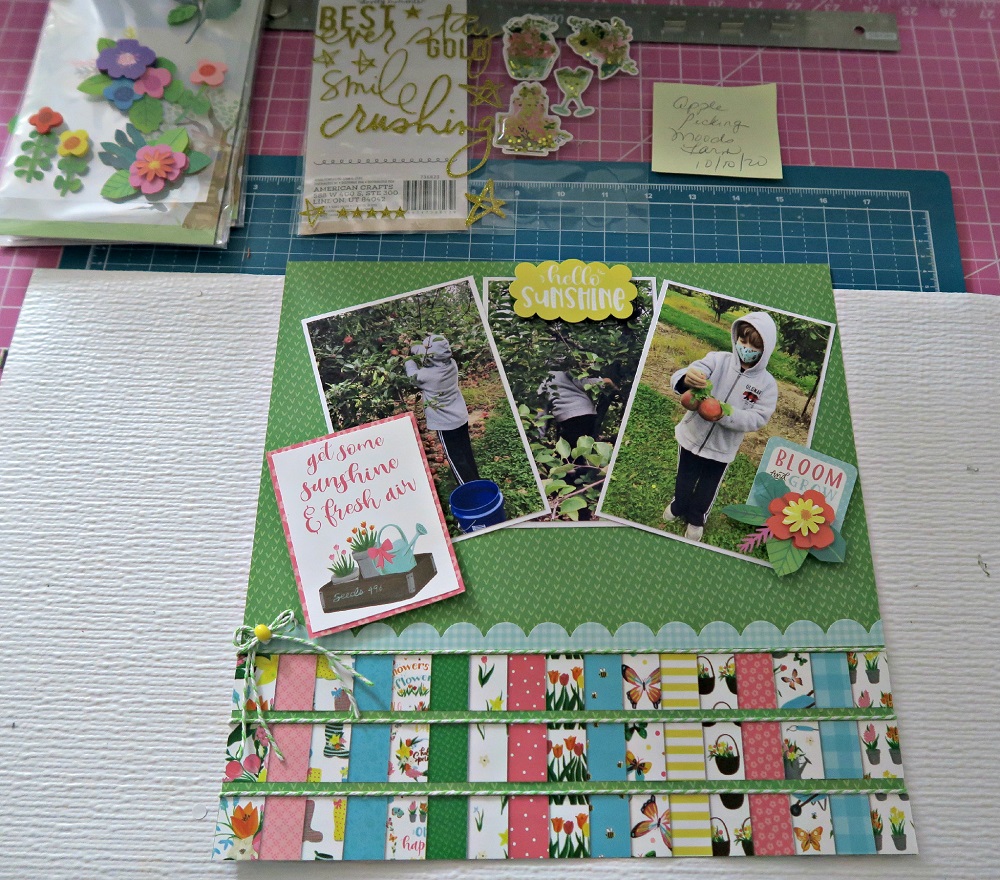
Marci started her layout by choosing her photos and layering out her supplies. She matted her photos with white cardstock to make them pop on the green background paper. Then, she chose one of the word blocks, matted it with the pink flowered paper and used pop dots on the back to add dimension.
On the bottom of this page, Marci cut a 1-inch strip from the very front of the collection--the sheet that tells you everything in the paper pack! YES! It can be used. She adhered that strip on the bottom of this page and topped it off with her signature craft material: twine! This now gave her the base of her page to continue now to embellish until she’s satisfied that this layout will be complete. Marci liked the strips so much that she cut 2 additional 1-inch strips and adhered them the same way leaving a 1/4 inch space of the green background paper. Also, she topped this off with a green twine bow on the left side. Next, she added the scalloped blue border from the sticker sheet above the last paper strip.
Marci added the sunshine sticker to the top middle of this page with pop dots. She also added the “Bloom” saying with pop dots and overlapped flowers from the flower pack on the right middle of this page. Now to add finishing touches! Marci added a star sticker to the “sunshine”. She typed some journaling and cut it into strips and adhered them in the middle of this page. Also, she took the truck shaker, added the word apple picking to it and adhered it to a piece of white cardstock.
Then, she added the sticker title “Happy Memory”, cut the white cardstock into a banner shape and inked the edges in green. Finally, she adhered that with pop dots to the lower right to complete this layout.
Don't forget to check out more of Marci's spring scrapbook ideas in her blog now.
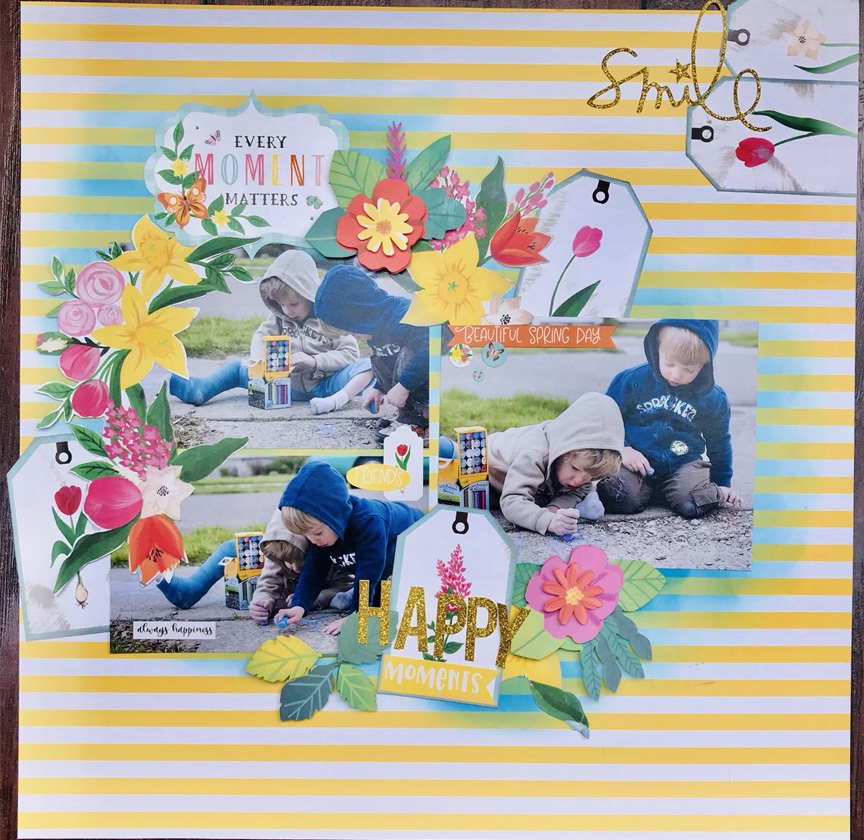
2. Happy Moments by Meggy Blethen
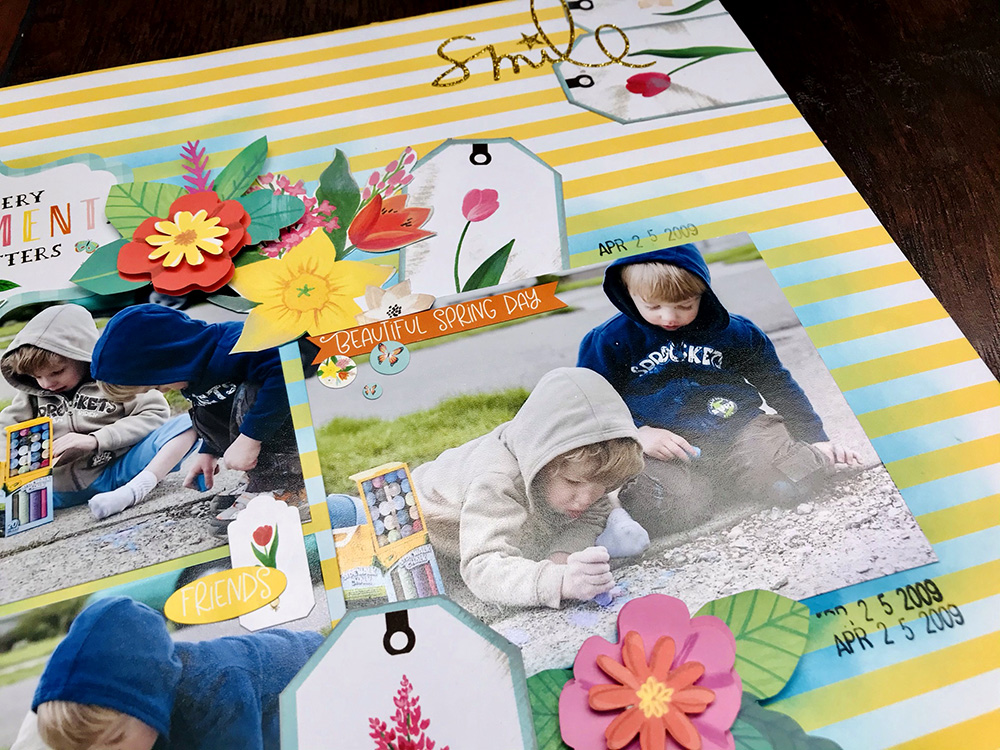
The March kit is filled with amazing spring goodness! Megan couldn't wait to dive in and use this month's kit goodies! Here's how she made her layout.
She picked out a patterned paper for the background (Megan used 'Busy Bumblebees'). Then, she used a blending brush and an ink pad from your stash and smear the ink behind the photos. Next, she cut 2 photos to 4.5x3 and the 3rd photo to 4.5x3.5.
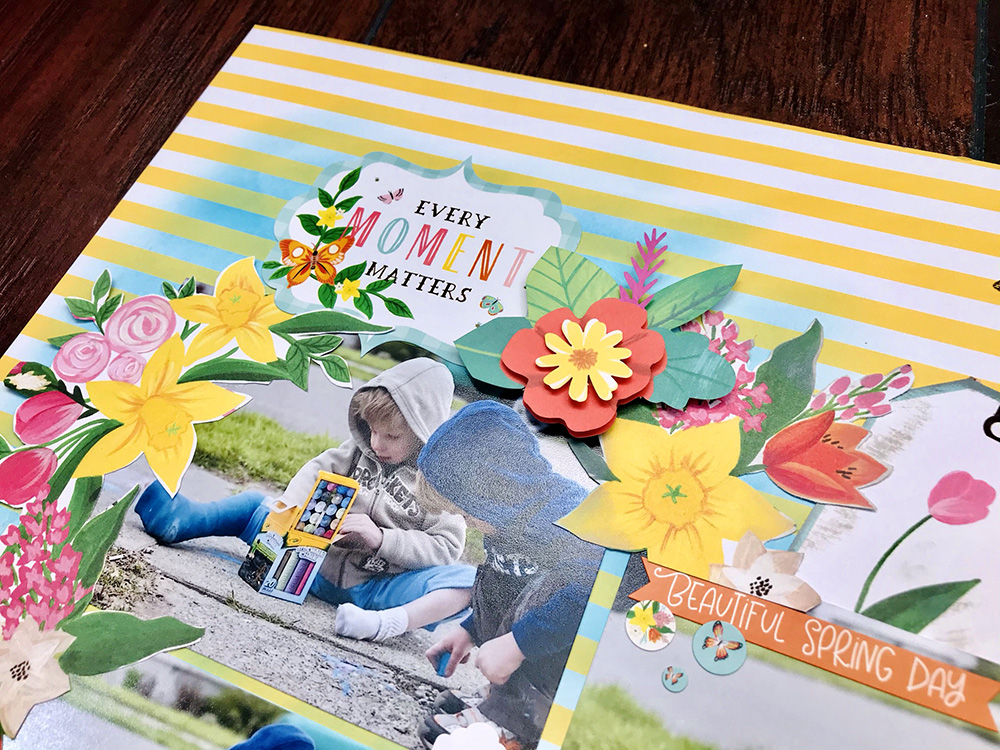
Megan cut 5 tags out of the 'Spring Tags' background paper from the main kit. She fussy cut out the flowers from the background paper 'Fresh Cut Flowers' and layered the tags and fussy cut flowers around the photos.
Megan picked out embellishments from the sticker sheet in the main kit & the dimensional stickers from the upgrade kit. She layered them around the photos and added her title above the top left photo. Voila! You're layout is done! Make sure to watch Meggy on her Youtube channel and get to watch more spring scrapbook layouts.
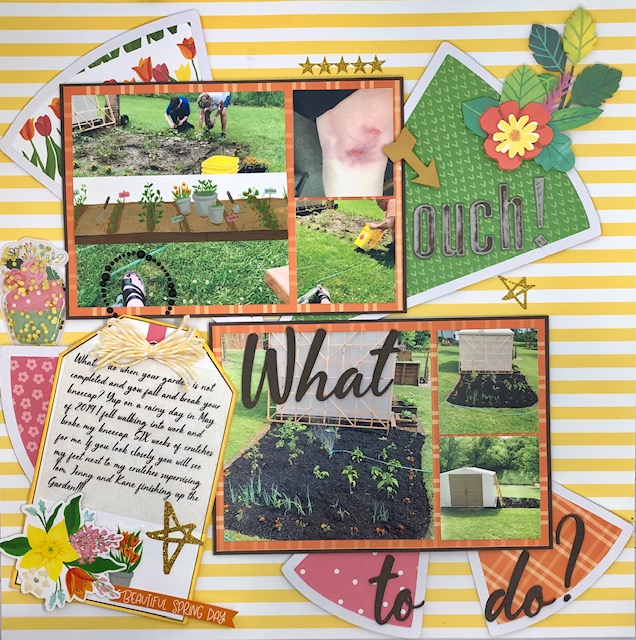
3. What To Do Layout by Melissa Bierlein
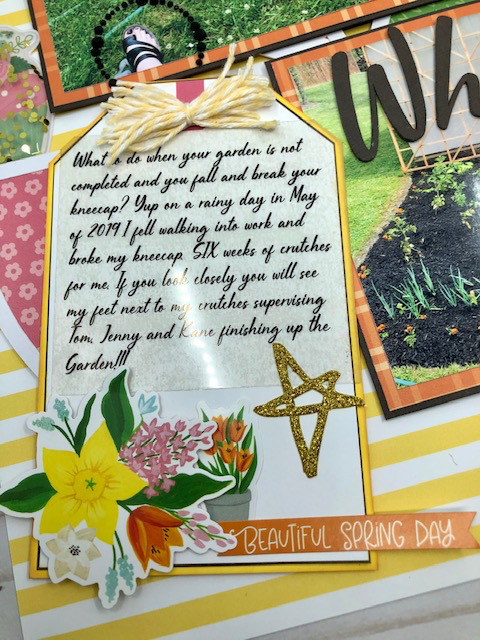
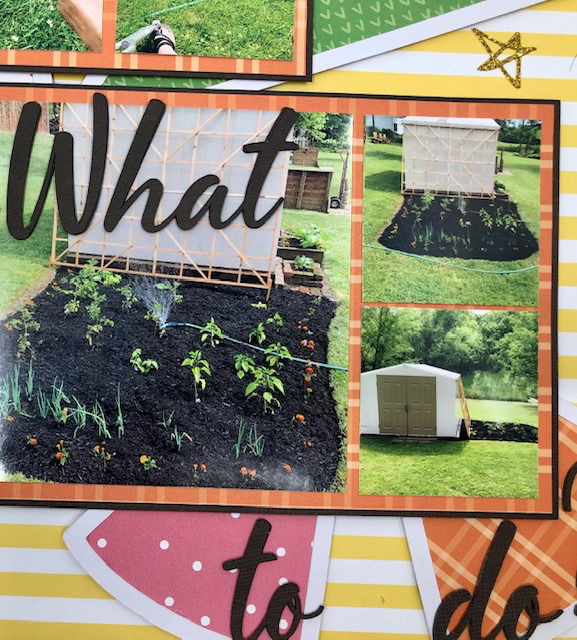
Melissa's layout is about her husband, his sister and their nephew that assisted her in finishing their garden in 2019. In the middle of putting in the garden Melissa fell and broke her kneecap at work. So thankful to have amazing people see her vision and get it completed for her! If you look closely at her feet in the photo you can see the bottom of her crutches.
For the title: Melissa cut ‘What to do ?’ three times on Cricut in dark brown cardstock from her stash. Glued the layers together so it looks more like a chipboard piece. Font is Rosseville downloaded from the internet.
Subtitle: ‘OUCH!’ title is from a very old chipboard letter set that was light blue from melissa's stash. It has been sanded, painted and distressed with ink for a vintage feel.
Background page is a yellow stripe from the kit. The cut file is Pie Graph from Cut2You by Gwen. Melissa backed each portion with a different patterned paper from the kit. The cut file was been cut in two pieces so you can see more of the patterned papers around the photos. Then, she adhered to the yellow stripe paper with foam tape for dimension. The photos are backed with an orange check from the kit and dark brown cardstock from her stash. This is the same cardstock that the title was cut from.
As for the journaling: Typed and printed on a transparency and adhered to a journaling tag from the kit. She cut the tag out of the journaling boxes and backed it with a bright yellow tag that was not included in the kit. Also, she inked the edges with an orange chalk ink pad afrom her stash. Journaling was typed in the same Rossville font the title was cut in. Melissa used some stickers from the sticker sheet in the kit on the tag and added some yellow twine at the top of the tag from her stash.
Embellishments: Melissa added an arrow inked with orange chalk ink to point towards the OUCH! subtitle from her stash. She scattered some gold stars from the Heidi Swapp stickers from the upgrades. Then, she used Shimelle layered stickers flowers in the upper right corner and added the Pebbles shaker stickers to the left of the top photo. Finally, she used the garden sticker from the sticker sheet in the kit across the top photo.
Don't forget to check Melissa's blog to get more spring scrapbook layout ideas.
4. Football Layout by Samantha Taylor
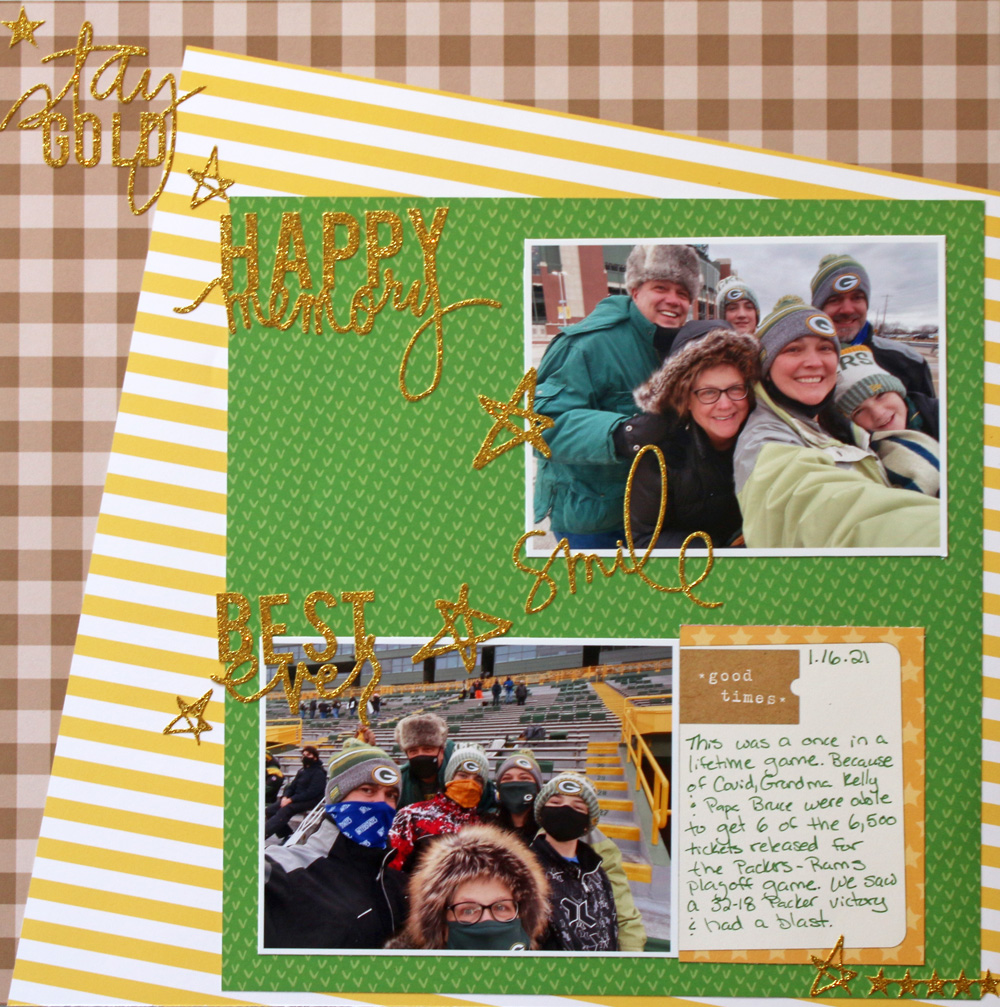
Sam wanted to show how versatile even the most themed kits can be especially when you use the upgraded embellishments. The green and yellow papers in this kit were perfect for scrapping some photos from the Packer playoff game they got to go to in January. Not spring at all but when you add all the amazing gold words from the embellishment upgrade you've got yourself a great layout.
Sam started her layout by choosing three main background papers. She backed her photos some white cardstock. Then, she added a journaling at the right lower part of her layout and chose the yellow star paper to back it. She have used all of the stickers from that embellishment pack.
5. Springtime Moments Scrapbook Layout
Samantha spent a lot of time outside with the dogs in spring. Their basset, Kevin, loves to play fetch and then get distracted by something that smells good). Sam loves taking pictures of his great floppy ears.
Sam started this layout by using a piece of blue gingham as the base. Then, she added strips of floral print paper to the top and bottom of the page. Next, she used a small strip of green paper (12" x 1/4") to overlay the joined areas on both the top and bottom of the page. Also, she added her photos and backed them with white cardstock from her stash. Finally, she added multiple groups of embellishments from the included sticker sheet and the upgraded embellishments.
6. Spring Basketball Scrapbook Layout
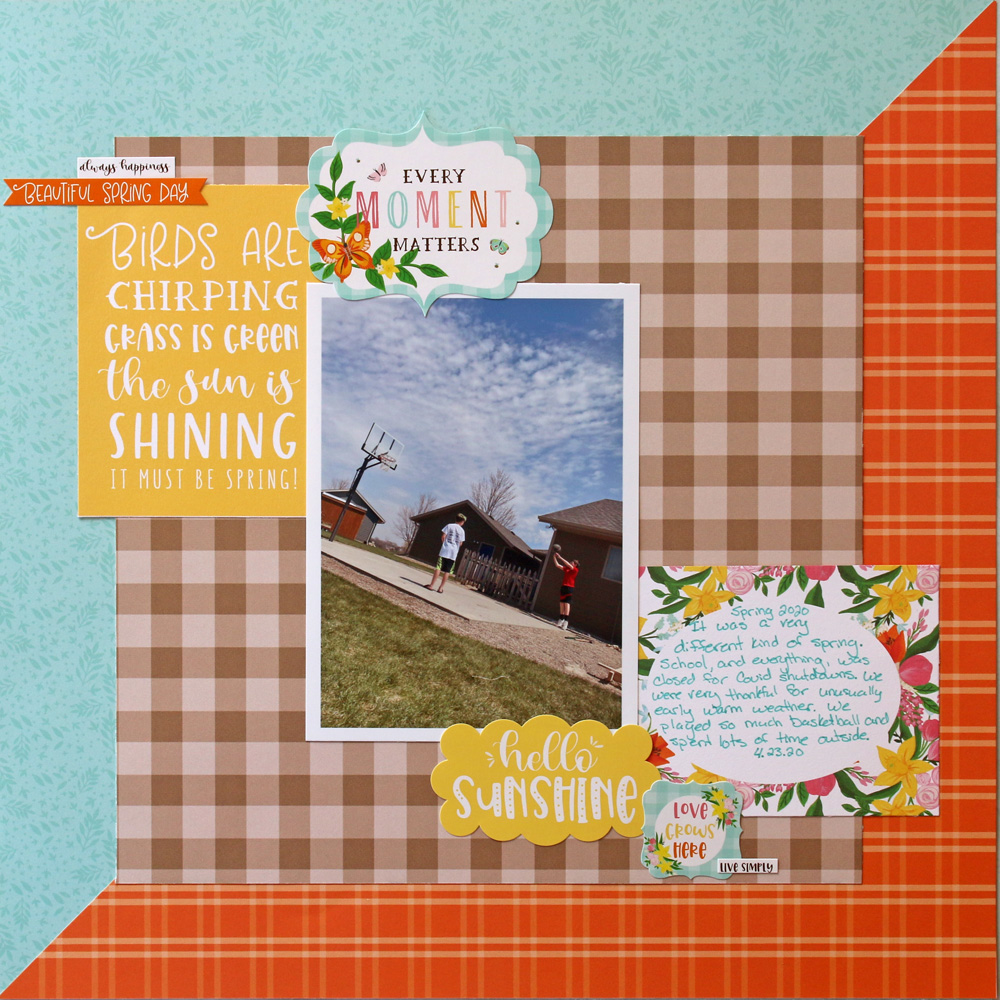
Samantha and her family had an unusually warm spring last year and due to Covid they spent a lot of time outside playing basketball. She's not even sure how many times she played games of horse. Usually for a layout, Sam uses one piece of multicolored patterned paper and build her layout around that. A multicolor piece then helps tie all the other pieces together.
Since a big floral print didn't really seem to fit the theme of her layout, she stuck to all solid colored patterned paper for more of a color blocking look. To tie everything together, Sam added pops of multi-color with the journaling tag and the sticker embellishments. All of the embellishments used on this layout are included in the main kit. Sam really loves the saturated colors in this kit and the pops of black throughout. Get to see more amazing spring scrapbook ideas on Sam's blog now!
7. Gardening Layout by Sara Mishler - Sara Scraps
Sara started with a sheet of white cardstock as her base. She cut Garden Party Paper 71/2X12 and the Spring Tags Paper to 61/2 X 11 1/2. Then, she layered them together and adhered them to the middle of the page, centered. She placed 2 4X6 to the right of the patterned paper and used one of the 3X4 cut apart pieces to add her journaling to.
Sara trimmed one row of the B side of the 4X6 journaling cards and adhered to the bottom of card stock. Also, she used the sticker sheet and 3 of the flower stickers from the upgrade add-on to create three clusters- on on the right above the photos, one on the bottom right, and one with your journaling spot.
Watch more of Sara's beautiful scrapbook layout ideas in her YouTube channel!
8. You're Bee-utiful Scrapbook by Beth Solar
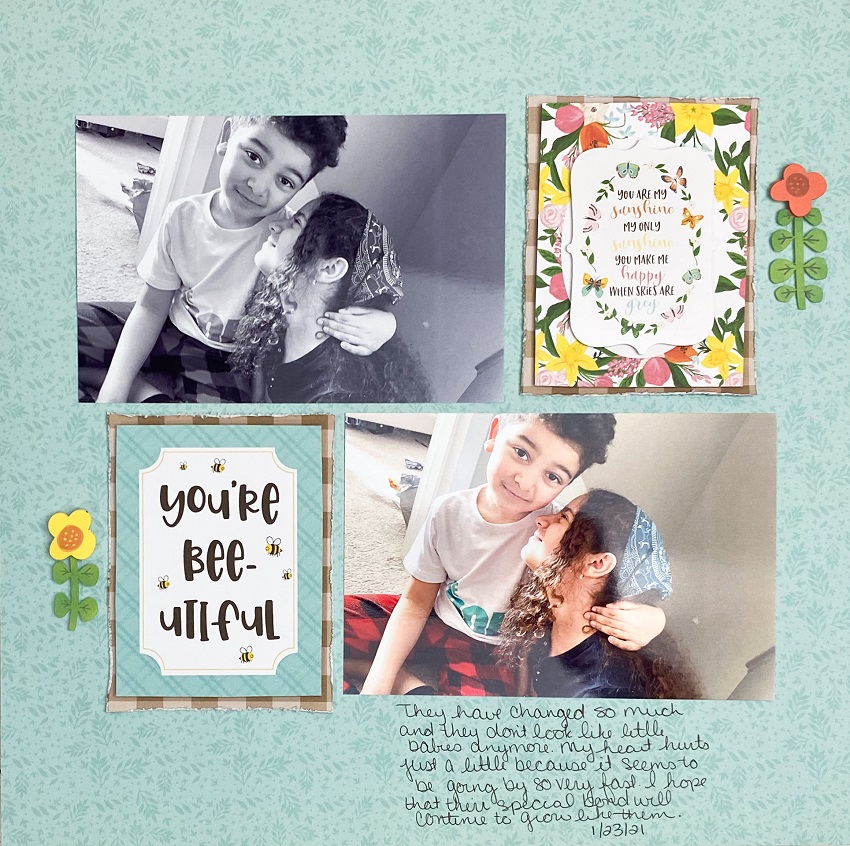
Beth used the Fresh Cut Flowers as her main paper for the layout. She cut a strip of paper from the Garden Party paper to 3.25x4.25 to back the cards from the 3x4 journaling cards paper. Then, she chose 2 cards from the 3x4 journaling cards and cut them a tad smaller than 3x4. Next, she used a paper distresser to distress the paper from the Garden Party that she cut.
Beth used craft foam to adhere the 3x4 journaling cards to the Garden Party paper. Also, she printed the same photo as 4x6 photo. One in black and white and one in color. She laid everything out in a grid pattern and used flowers from the never grow up flower stickers to adhere on the sides of the journaling cards.
Finally, she journaled about how much her babies have grown and how they don't look little anymore with a brown pen to match the Garden Party paper. Watch more of Beth's spring scrapbook layout ideas in her YouTube channel!
Visit our blog for more spring scrapbook layouts using our monthly kits and let your spring projects bloom!
Join our exclusive Facebook Community for Club Members. It will grant you access to amazing layouts and content made by our design team, fun monthly contests, and FREE Facebook Live tutorials (Mar. 24th) to meet other crafters!
Haven't subscribed yet? Now's your chance, be sure to sign up today!
GET OUR MONTHLY KITS DELIVERED TO YOUR DOOR!





These are great!! Love them all ❤️Just a heads up though, #8 says “your” instead of “you’re” in the title. Not a big deal, just letting you know!
Thank you, Briana.❤️ We have corrected it, thanks for the heads up.