10 Beach Scrapbook Layouts & Crafts
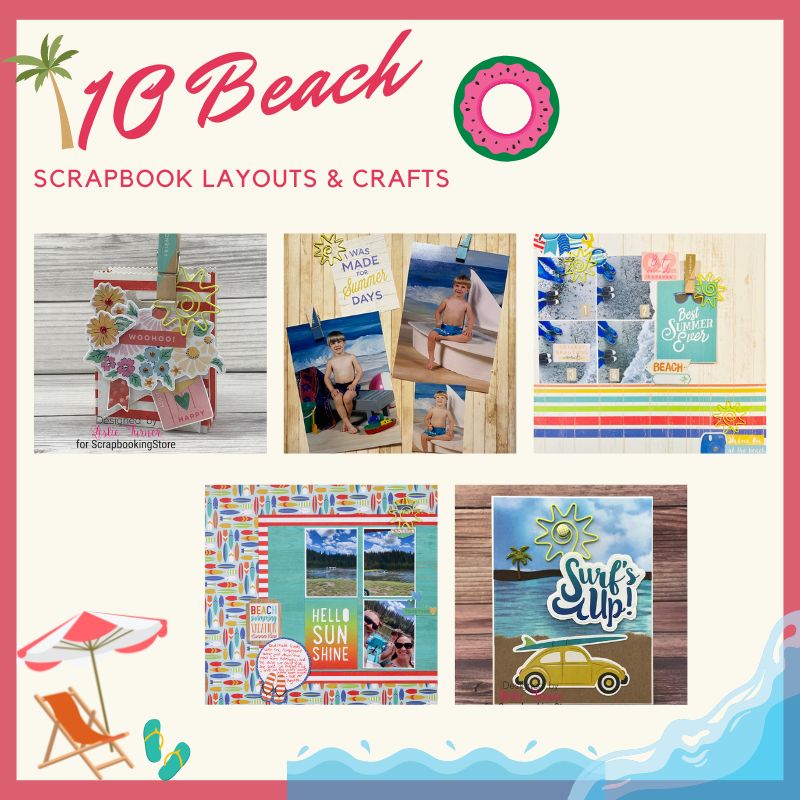
Grab your surfboard and head to the beach with these gorgeous beach scrapbook layouts & crafts from our awesome Design Team members using our August 2022 collection, Beach Day by Echo Park. Document your summer this year and follow these projects!
We’d love to welcome our newest DT member - Leslie Turner!
1. Vacation Scrapbook Layout by Samantha Taylor
Don't let this kit fool you, it's not just for summer photos. The bright colors in this kit are great for any brightly colored photos.
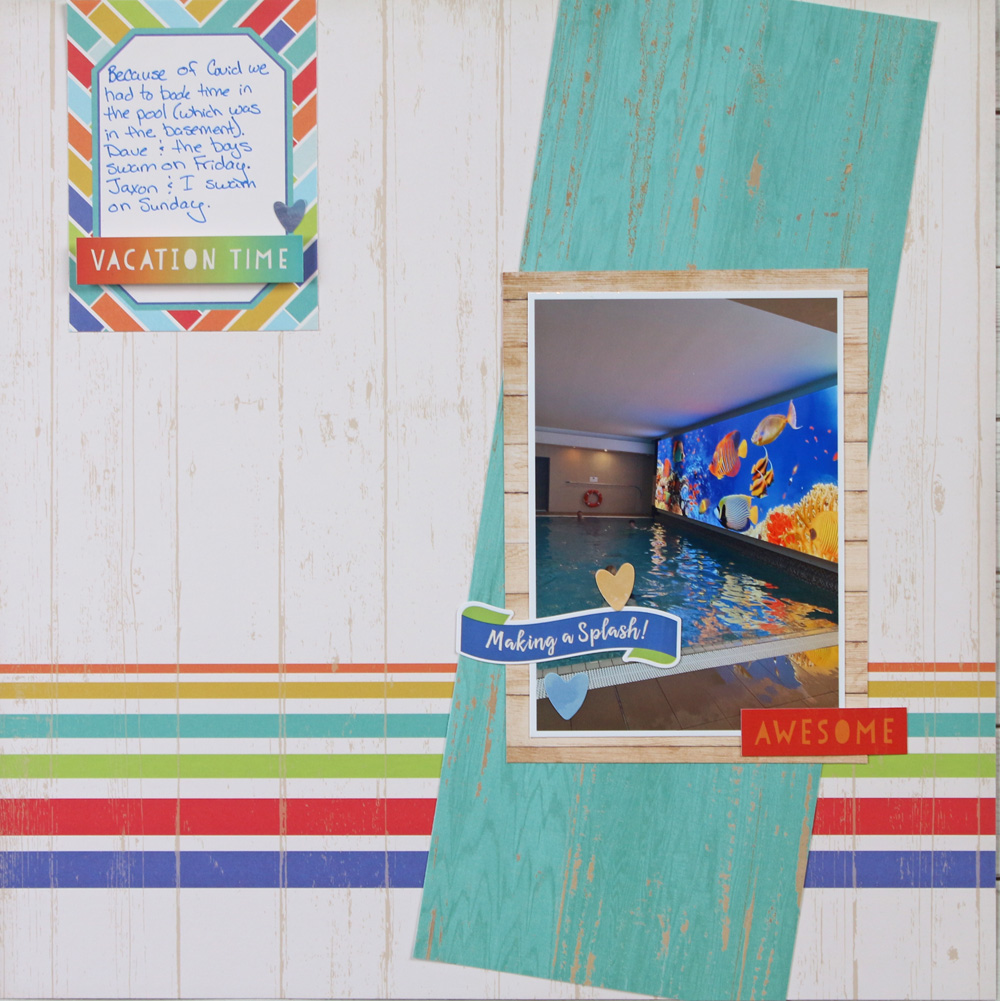
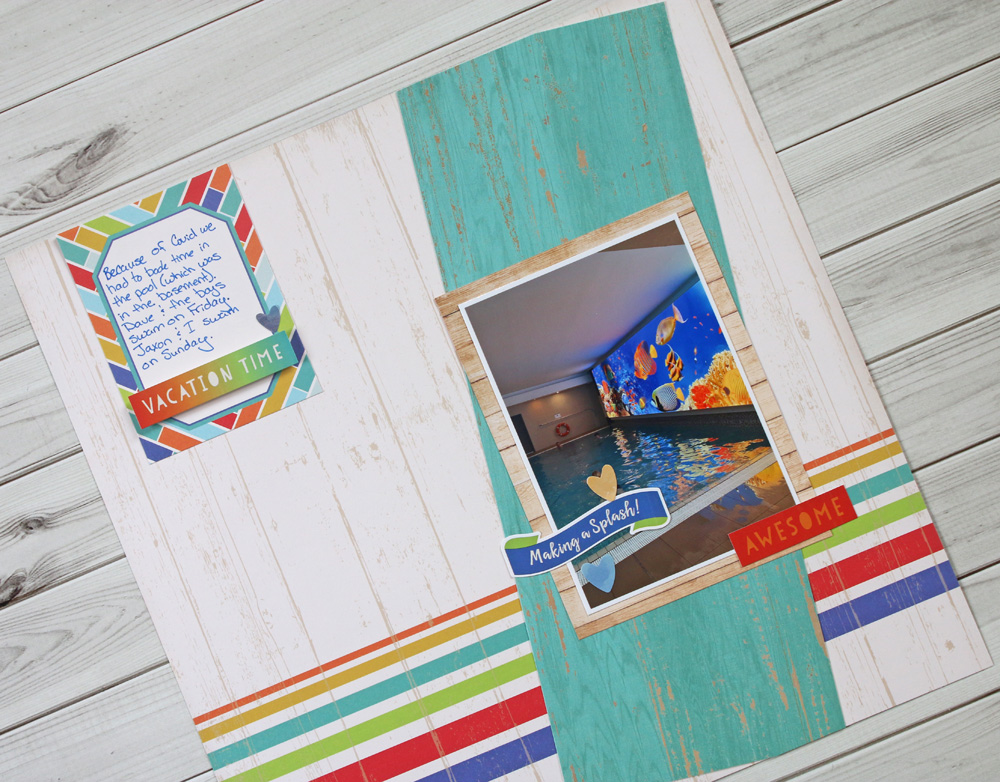
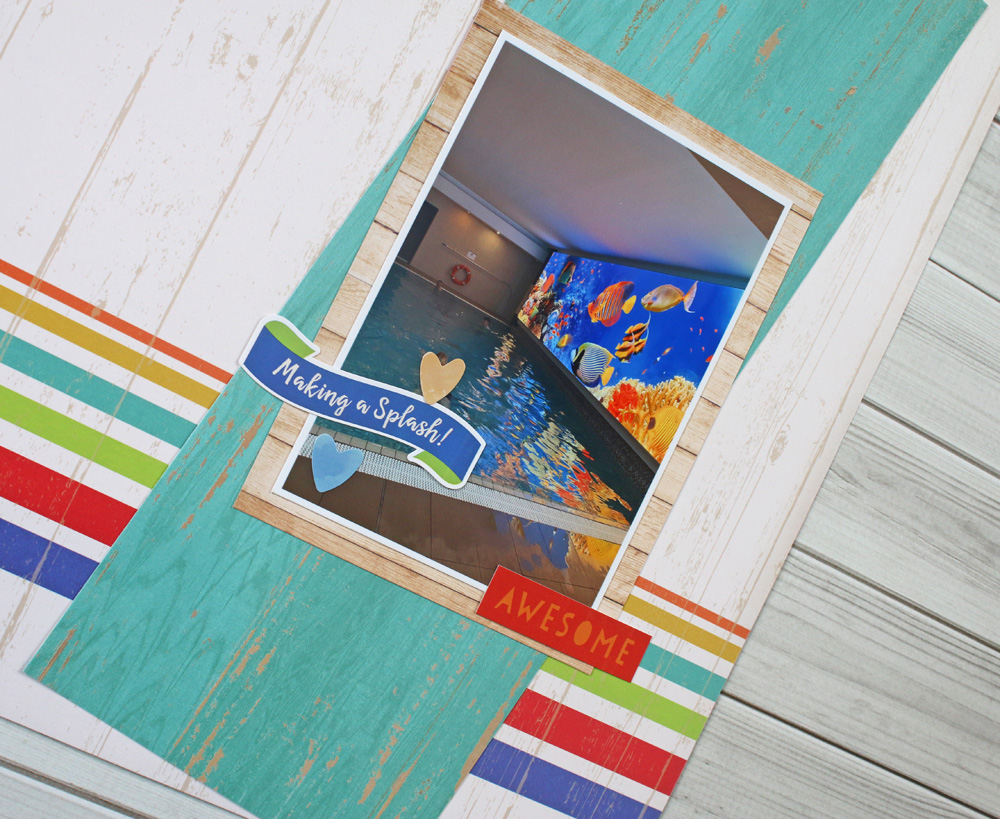
Sam had a photo from a pool where they swam in during vacation. The pool was in the basement of the hotel but had this big bright fish mural.
In this layout, she decided to use woodgrain and striped paper for the base of her layout, and let it do most of the work. She added a 5" x 12" strip of blue woodgrain paper at an angle. Also, framed her photo with a 4" x 5 1/2" piece of woodgrain paper. Finally, Sam embellished with a journaling tag and stickers from the included sticker sheet.
2. Best Summer Scrapbook Layout by Samantha Taylor
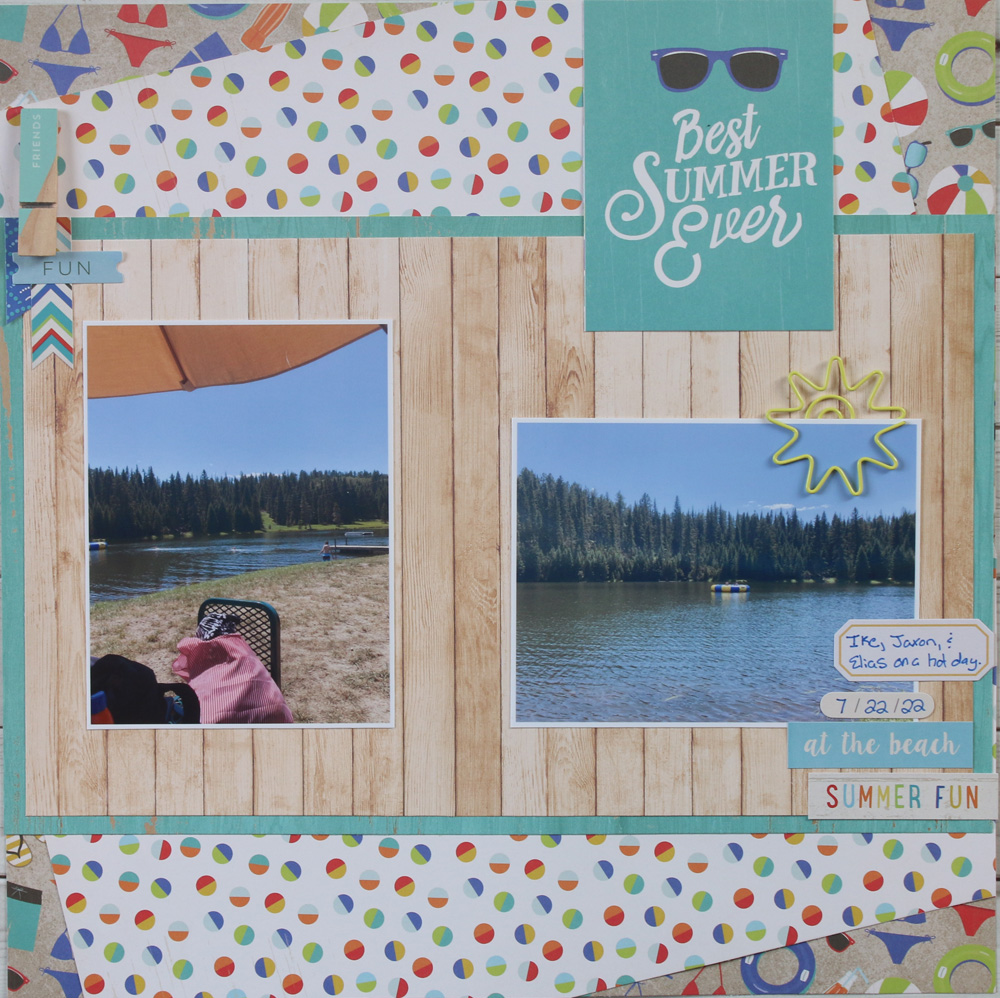
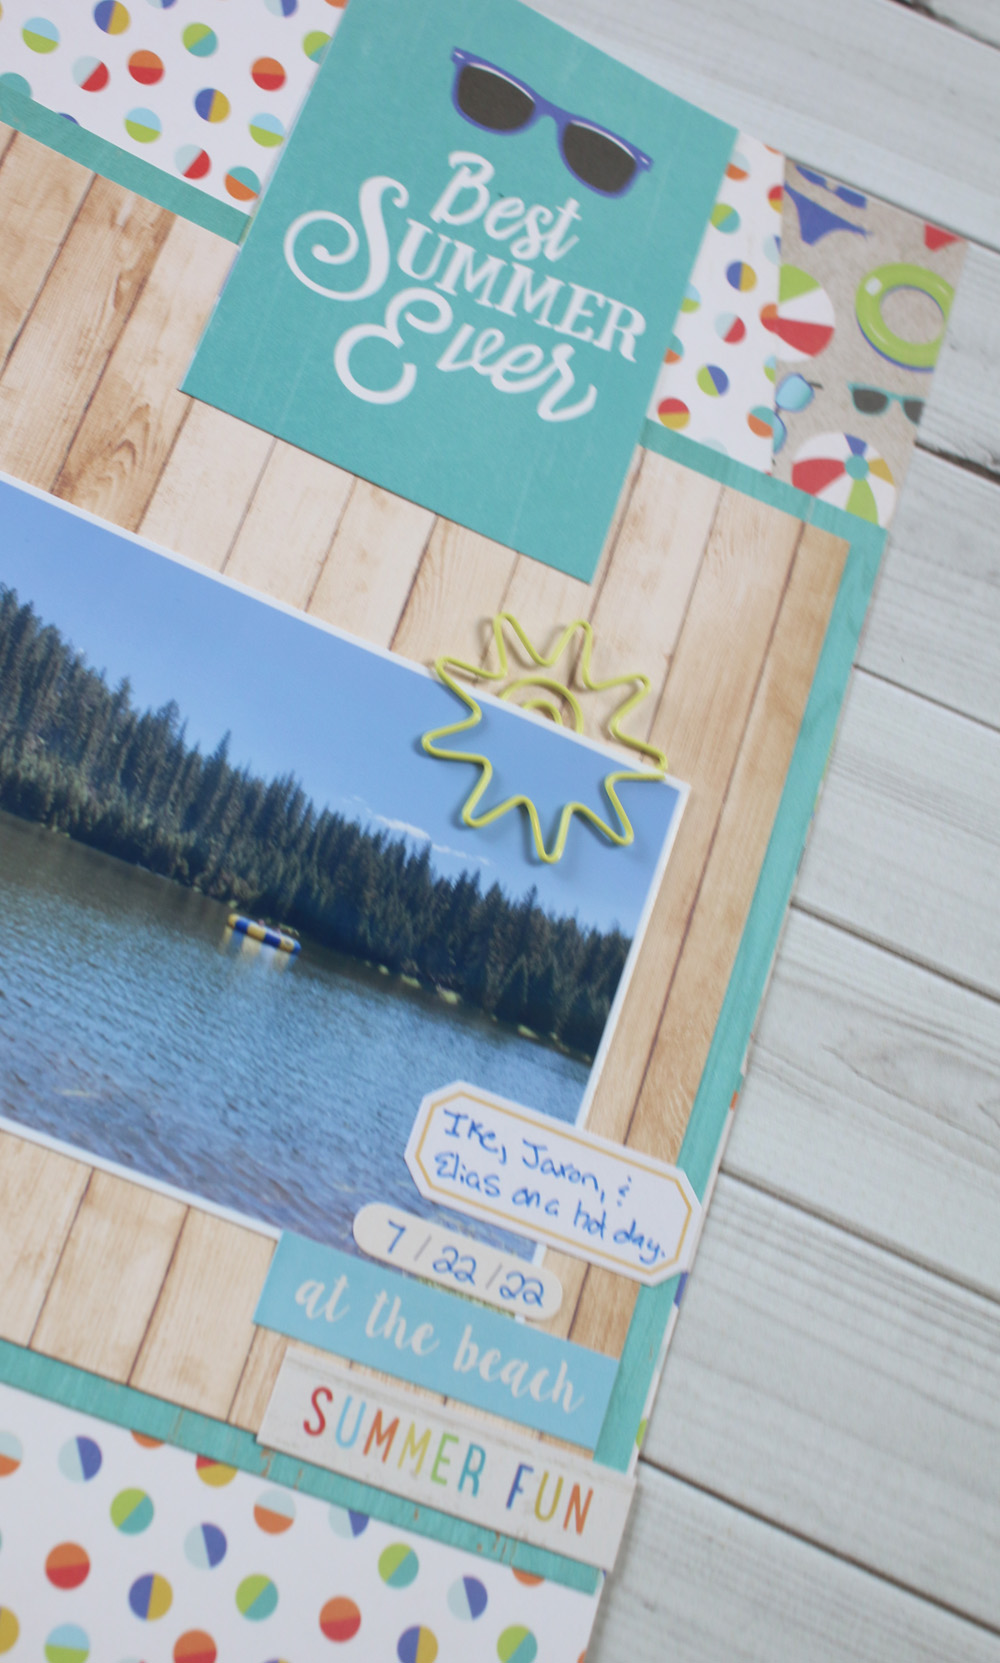
Sam’s beach getaway this summer has been part of a pond located in the Black Hills. It's a pretty gorgeous setting and not your typical beach, but they have loved it. Sam used the kit this month to scrap a couple of photos of her kids and their friend swimming on a hot day.
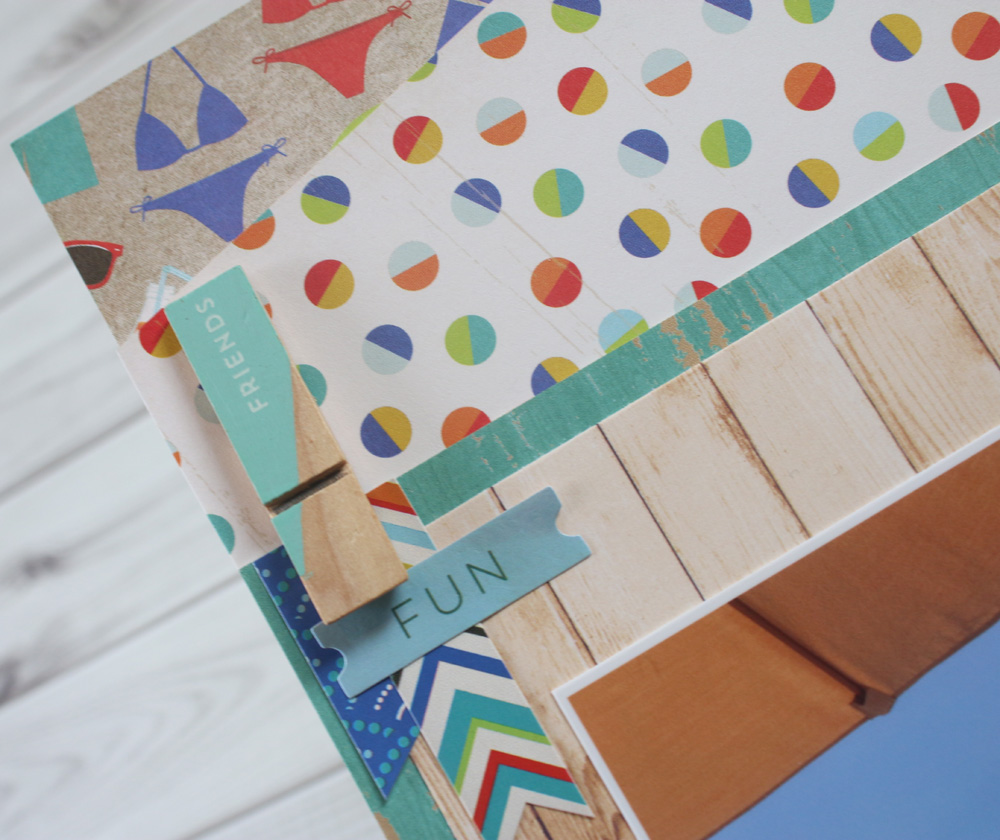
She started with the swimsuit paper as her base. Then, she added the circle paper on top of the swimsuit paper at an angle. Next, she layered an 8 1/2" x 11 1/2" piece of brown woodgrain paper over a 9" x 12" piece of Beach Ball Bash paper and added them to her layout. She added her photos. Finally, she embellished with a journaling tag, stickers from the included sticker sheet, and embellishments from the upgrades.
Sam likes the look of the clothespins but thought they might be too bulky, so she pulled the top half of the clothespin and attached it with Glue Dots. In that way, Sam got the look of the clothespin without too much added bulk.
Get to see more beach scrapbook layouts & crafts on Sam's blog now!
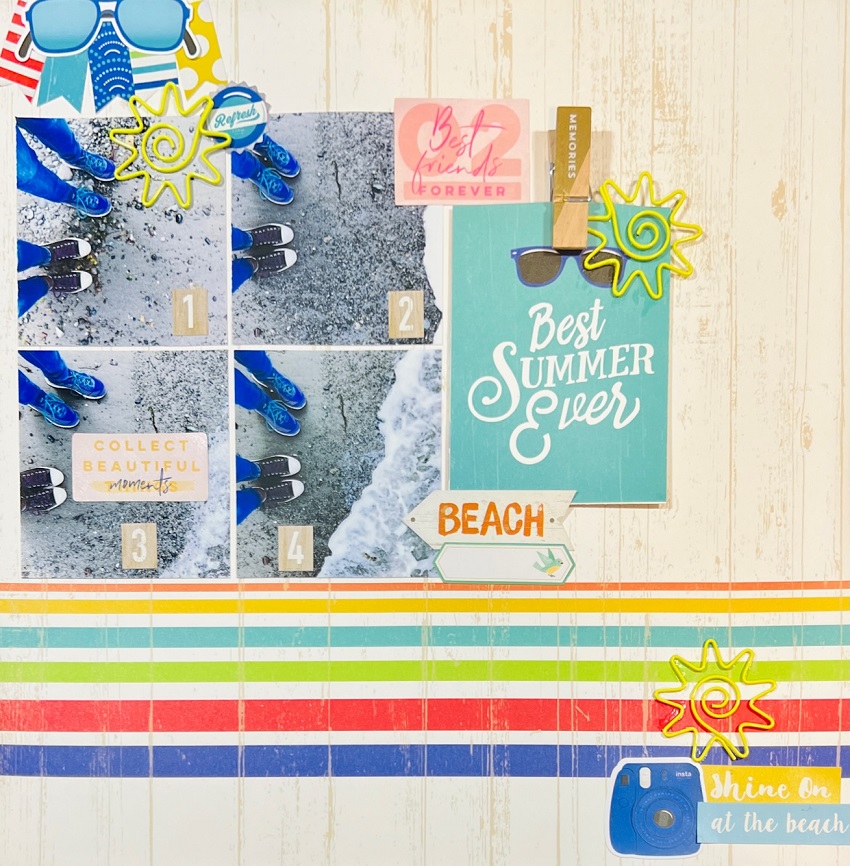
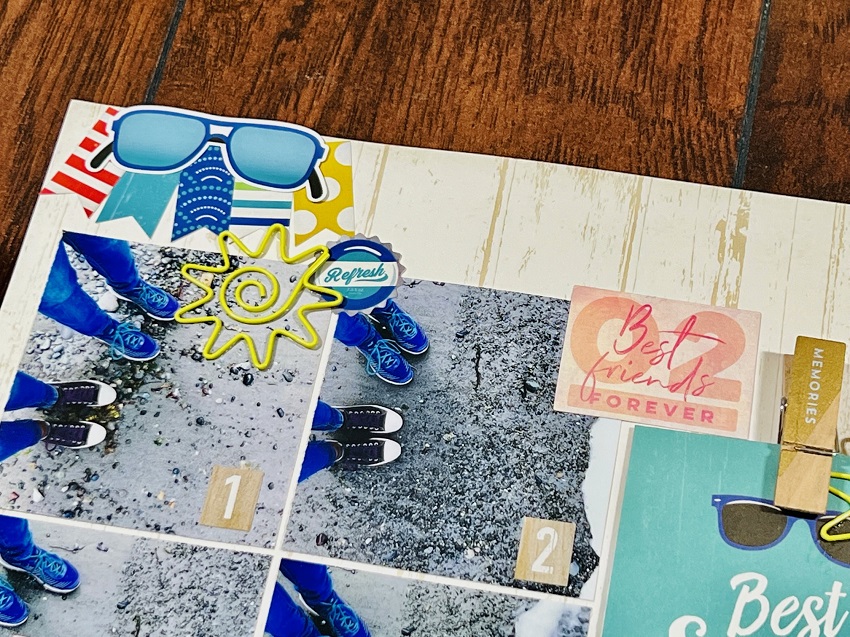
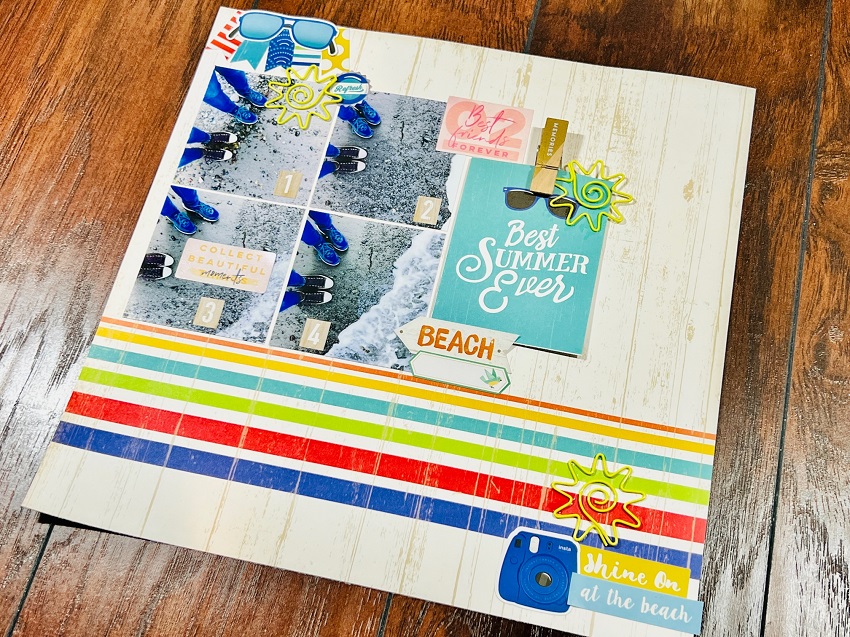
3. Best Friends Forever Scrapbook Layout by Megan Blethen
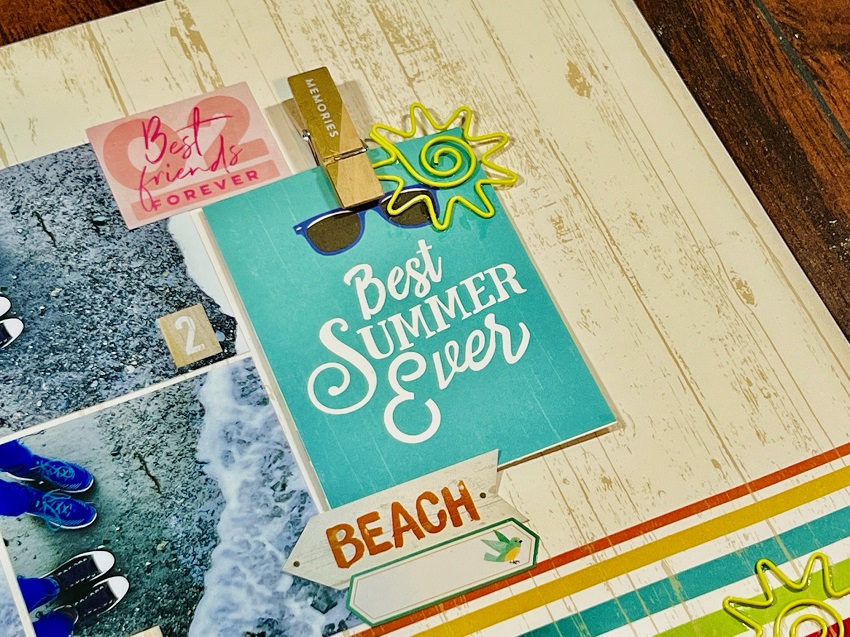
Meggy used the Surf Shop as her background paper and used four photos. She cut each of the 4 photos by 3x3 and put them on a mat using the paper but you may choose your paper. Make sure to have a quarter-inch mat on paper of your choice then pick one of the 3x4 journaling cards 12x12 cut apart sheet from the kit, to use as your title.
Embellish around the title card with the sticker sheet from the main kit. Also, the top left corner with stickers and the upgrade kits embellishments. Lastly, decorate the bottom right corner with the 3rd cluster using the stickers and you are done!
Also, Meggy added journaling and the frames that were included in the upgrades. Make sure to watch Meggy on her Youtube channel and get to watch more home scrapbook layouts.
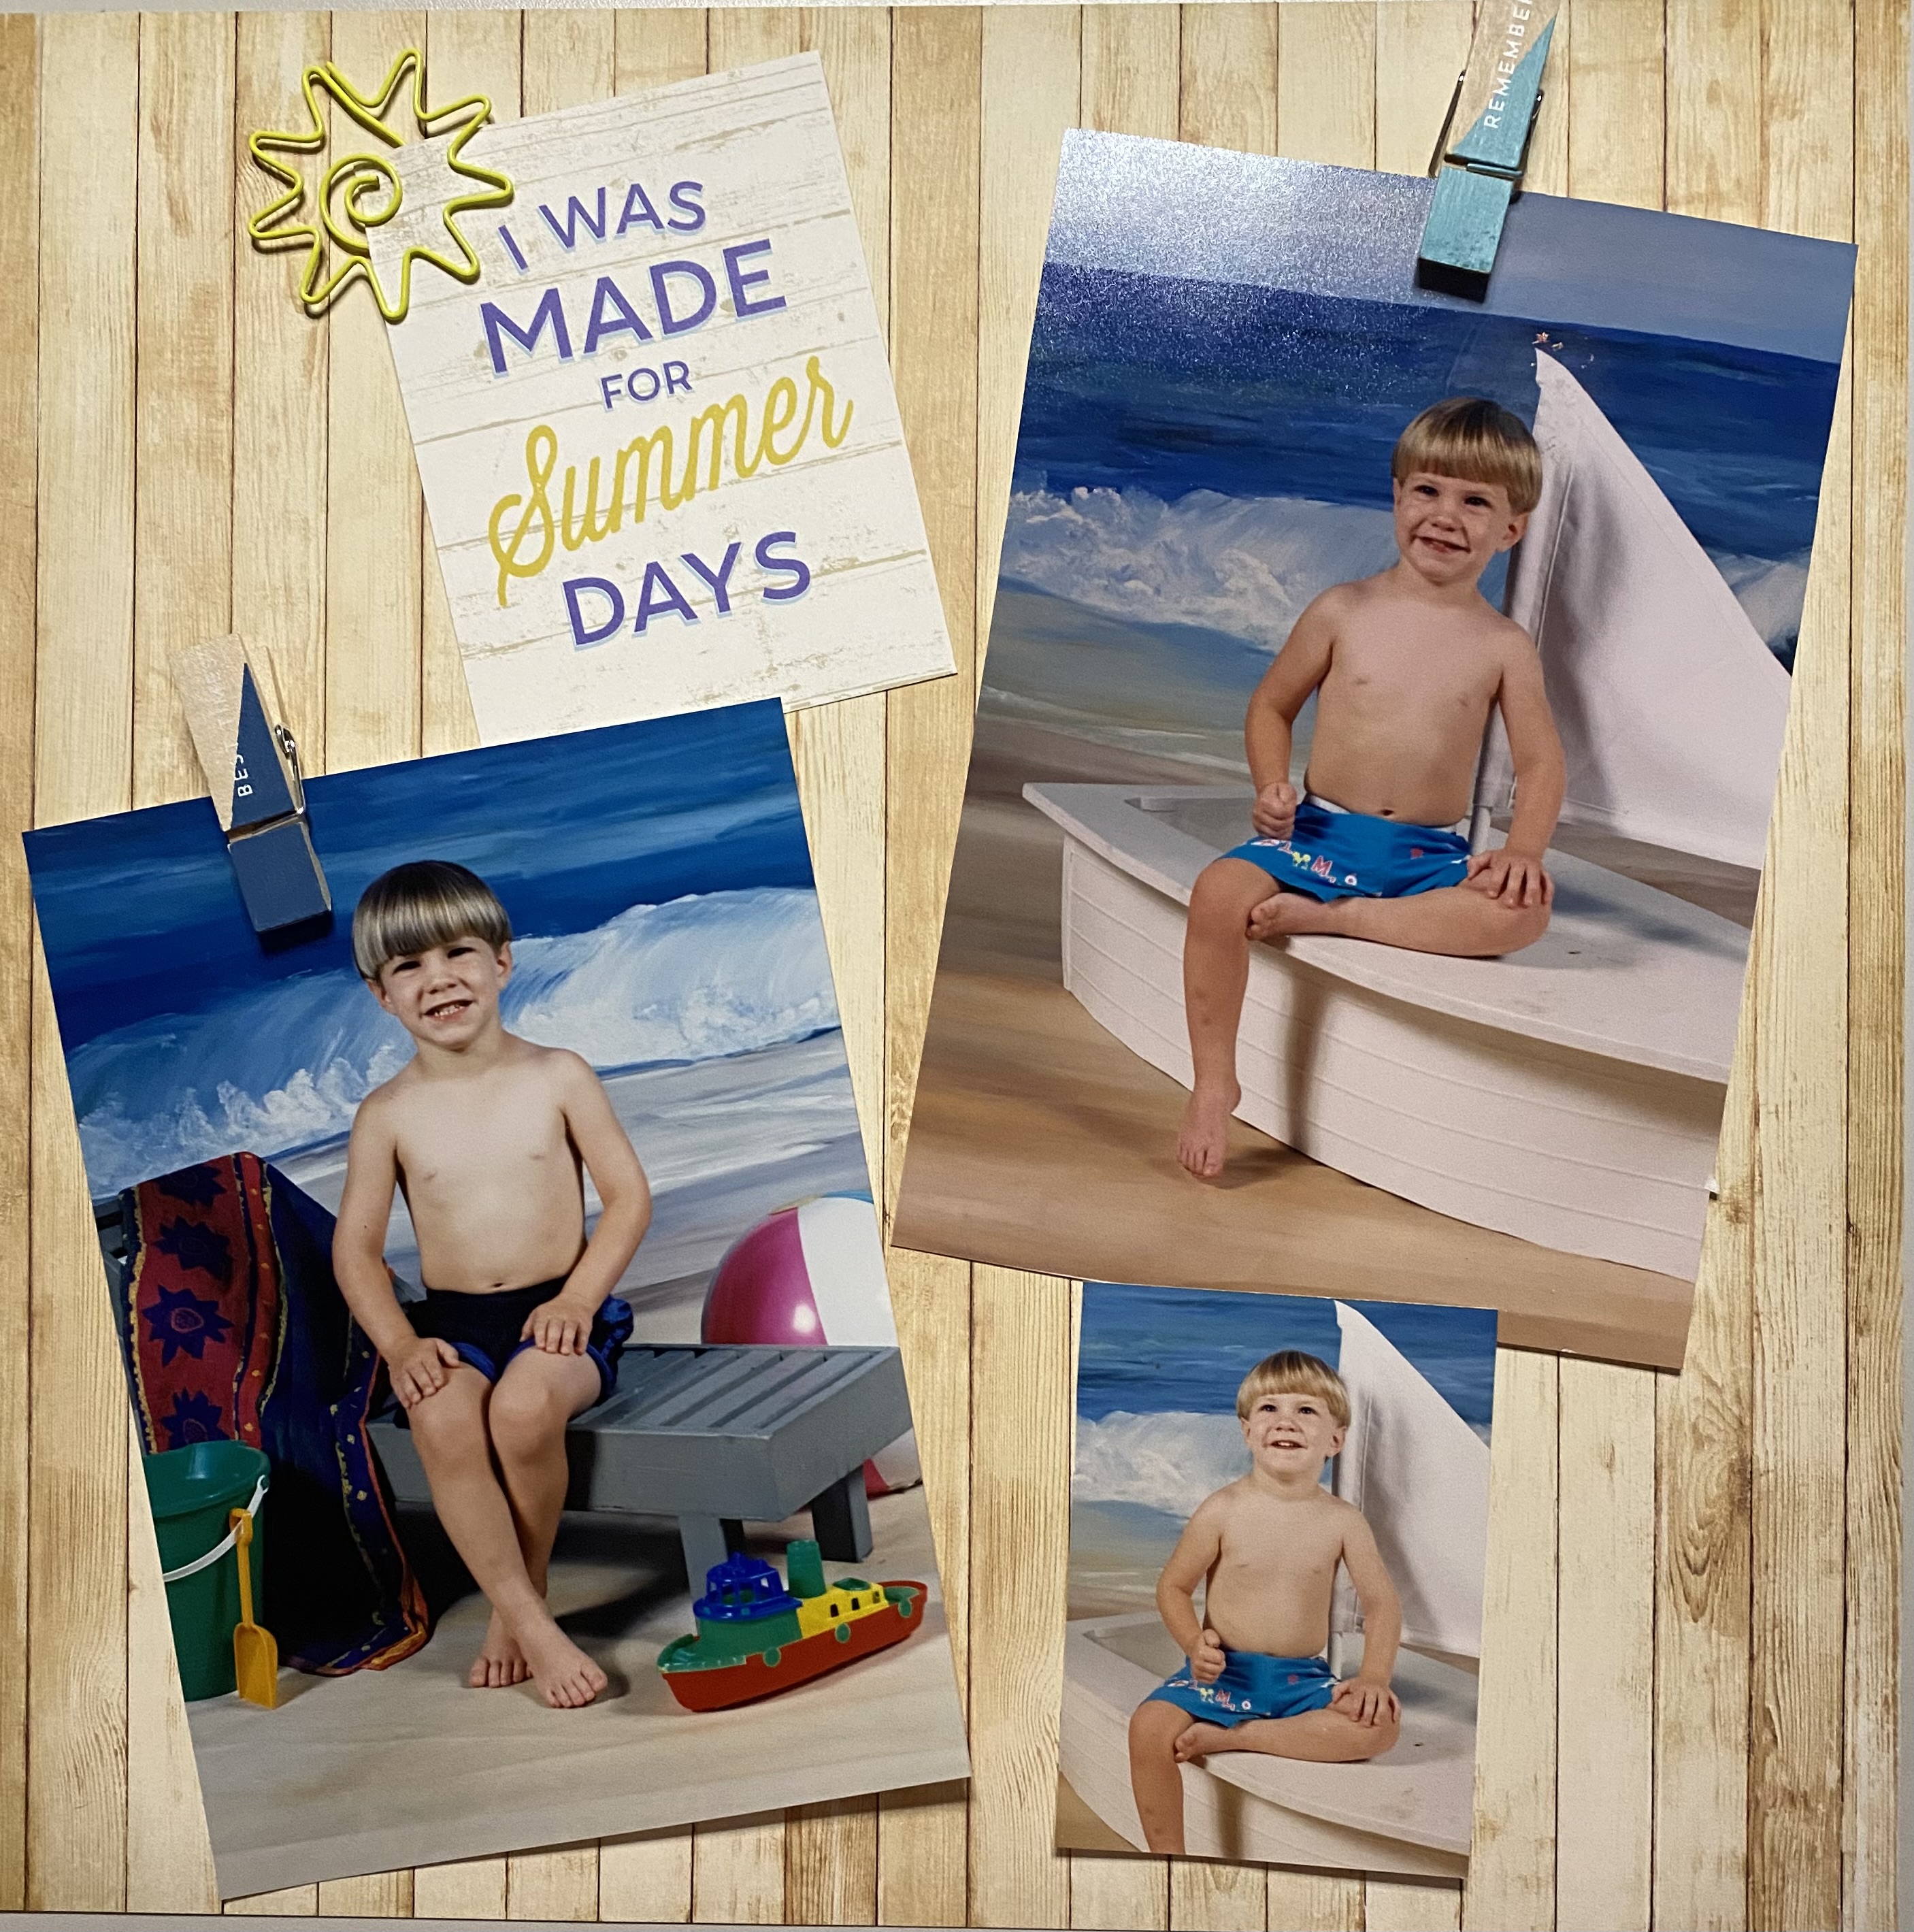
4. Made for Summer Days Scrapbook Layout by Lori Carson
Lori selected the wood panel paper as the background and used a cut-apart. She added the sun paper clip add-on from Studio 112 and took two clothespin add-ons from American Crafts and adhered them to the paper. Then, she used the clip to hold the picture. This will allow Lori to change the picture if she likes. She also framed this in a 12x12 shadow box due to the dimension of the clothespin. This will keep the photos dust free but on display and allow for easy change out of the photos.
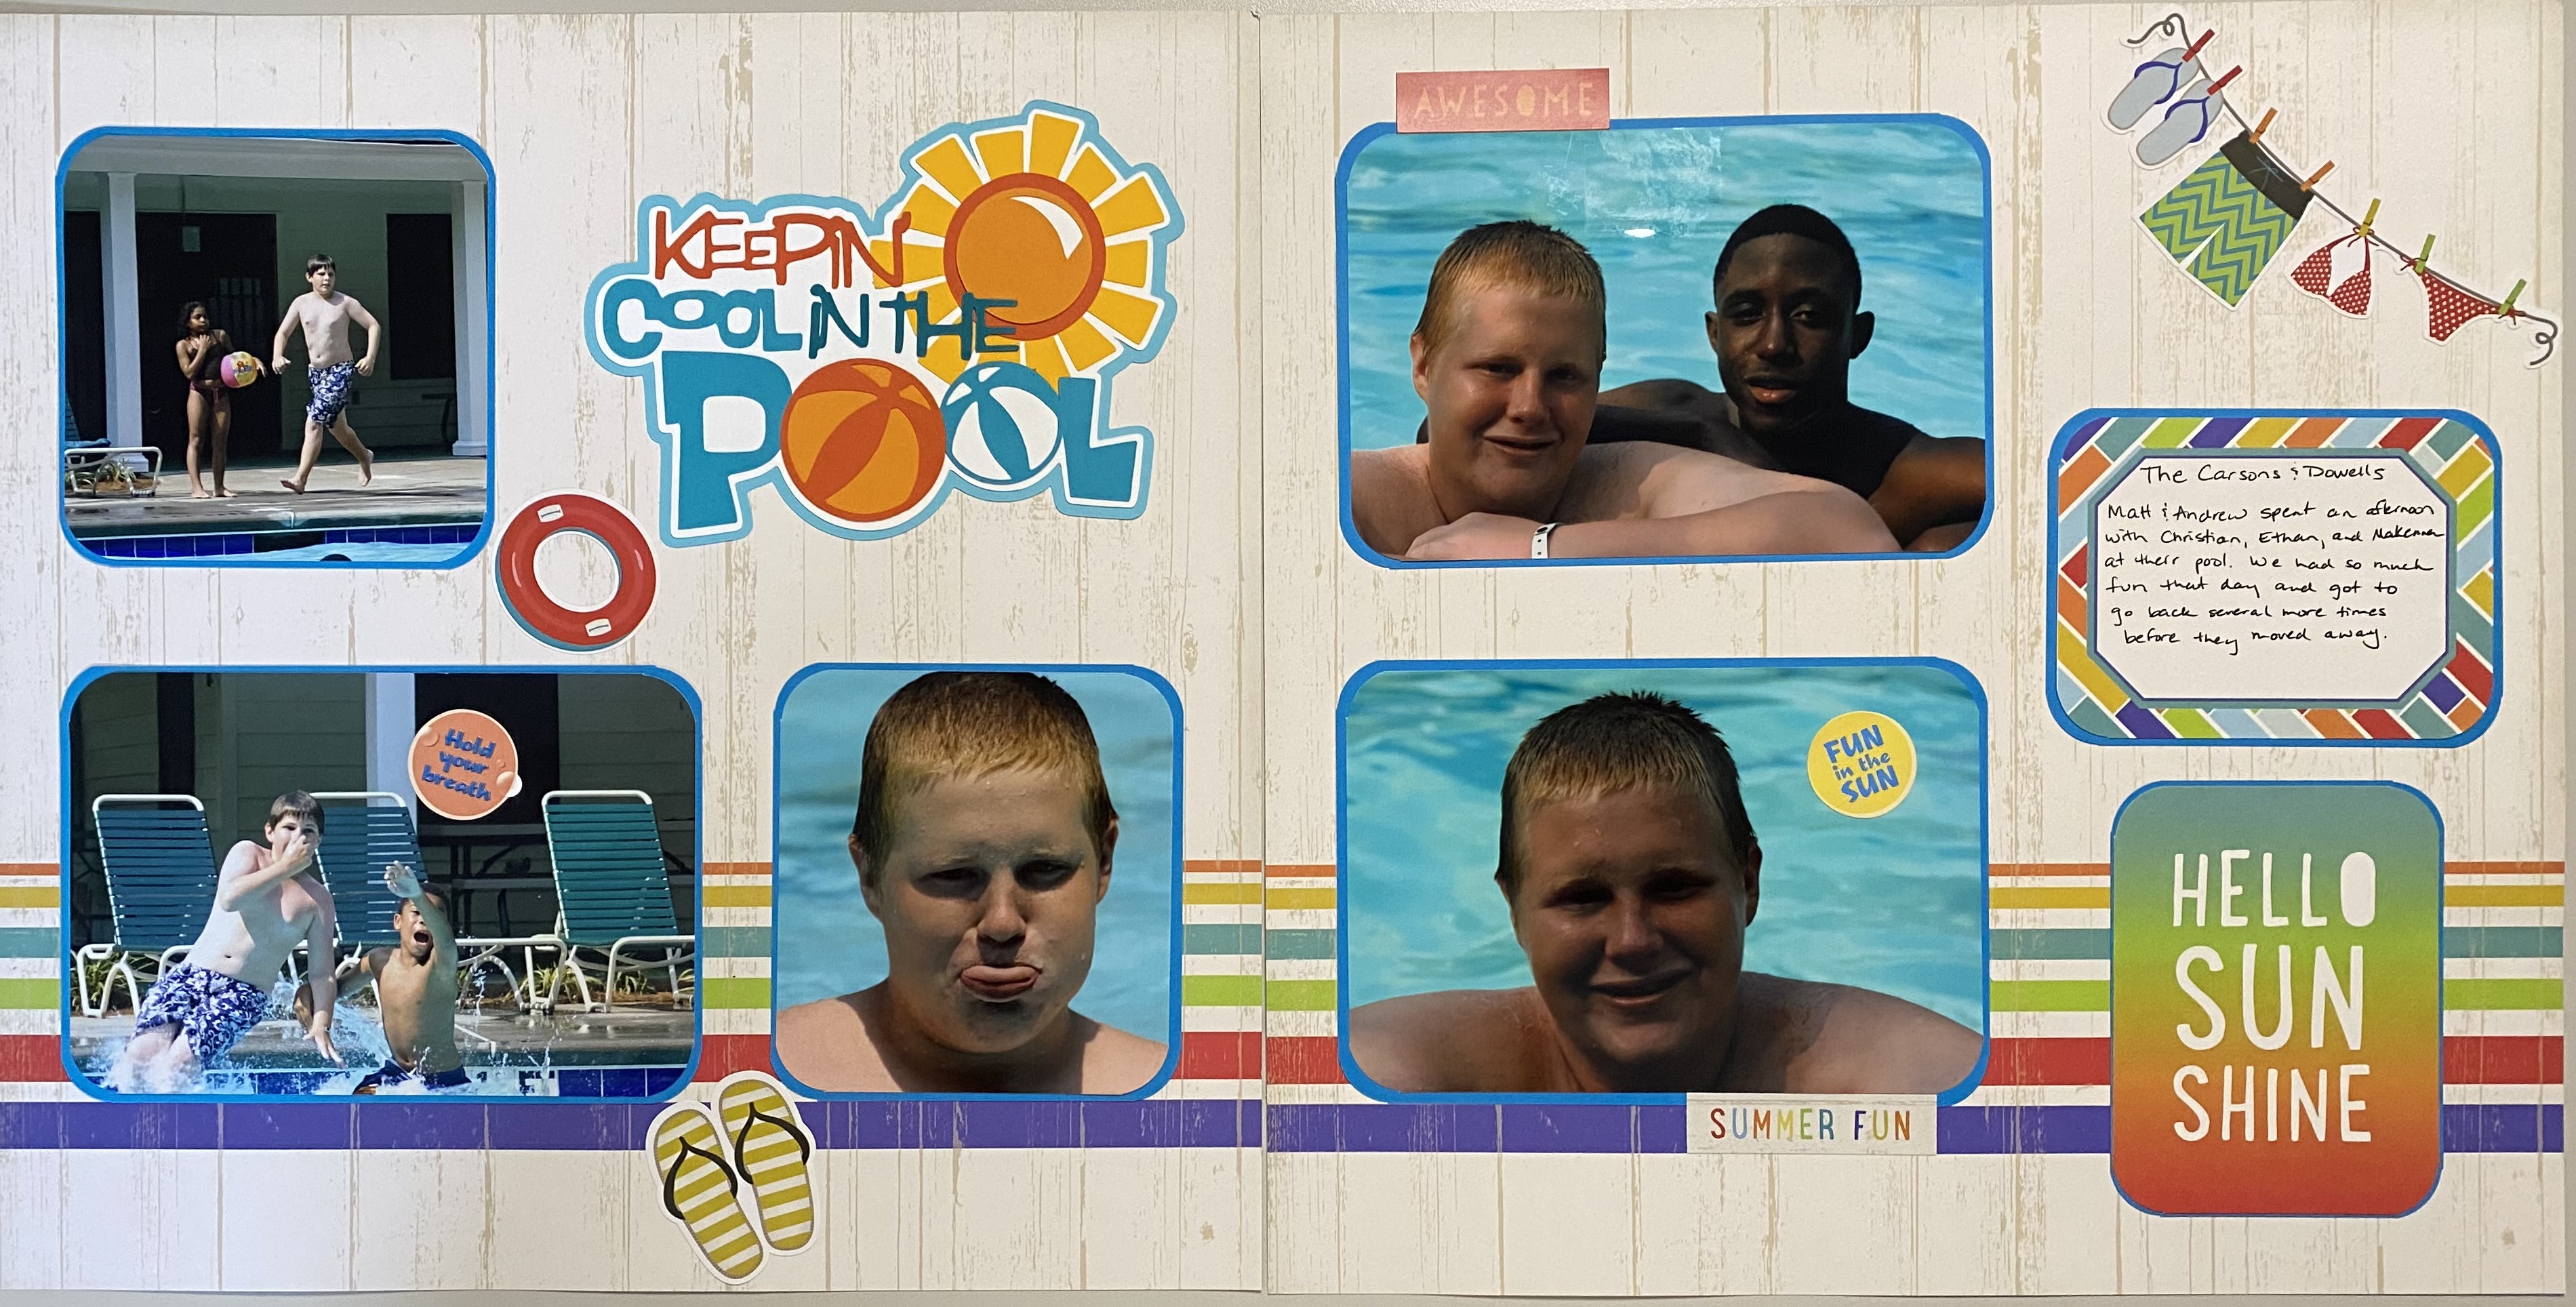
5. Keeping Cool in the Pool Scrapbook Layout by Lori Carson
As Lori had two of each design for the paper, making a double layout was easy.
Lori selected this paper because she liked how it matched the title she already had made. This paper also gave her all kinds of Gidget vibes if only she had surfing pictures or knew a Moondoggie type!
She matted the pictures on some blue cardstock from her stash and placed them on the layout. She used the two cut apart cards, one for journaling and one as a subtitle. Then, she added some additional stickers from the sticker sheet in the paper pack.
6. Cards Layout by Lori Carson
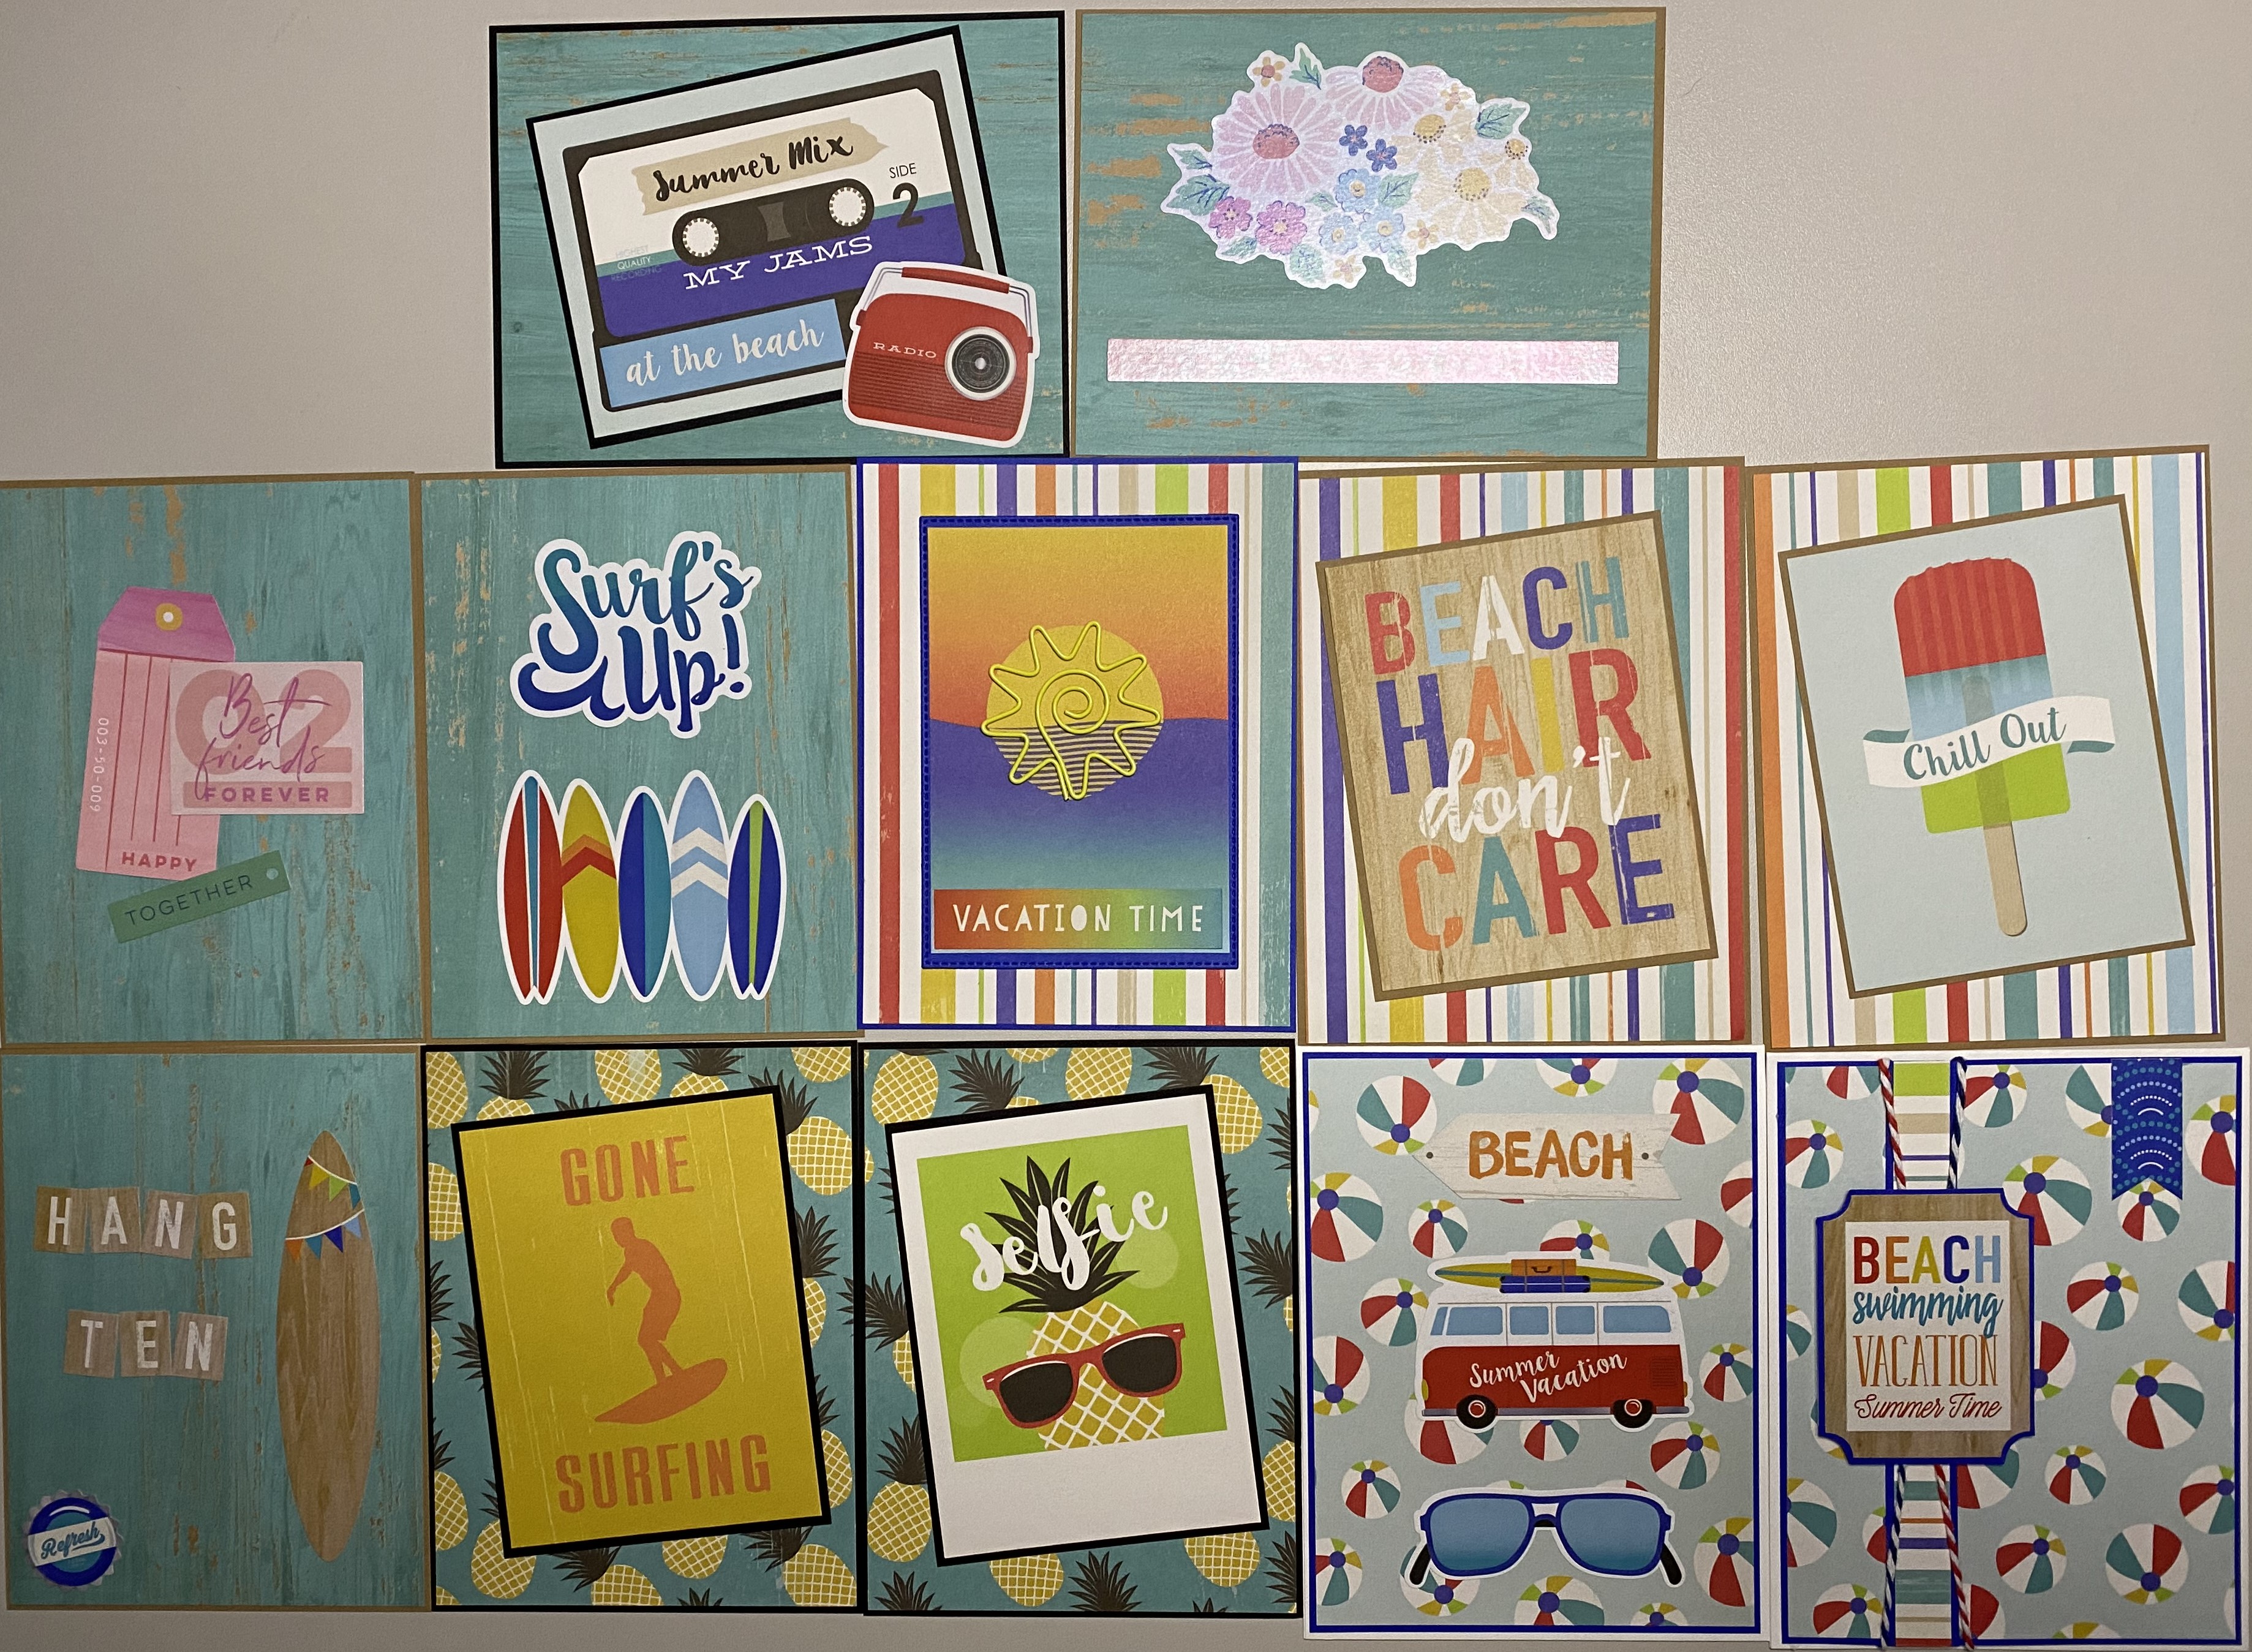
Lori made a dozen cards. Using the remaining paper she cut-apart the cards, and the add-ons. She matted the patterned paper on cardstock from her stash and used the same cardstock to mat the cut-apart cards. She also used some red/white and blue/white twine on one card and other stickers from the sticker sheet in the paper pack.
Next, she matted the pictures on some blue cardstock from her stash and placed them on the layout. She used the two cut-apart cards, one for journaling and one as a subtitle. Then she added some additional stickers from the sticker sheet in the paper pack. Don't forget to watch more of Lori's home scrapbook layouts and cards on her YouTube channel.
7. Summer Sandal 3D Project by Leslie Turner
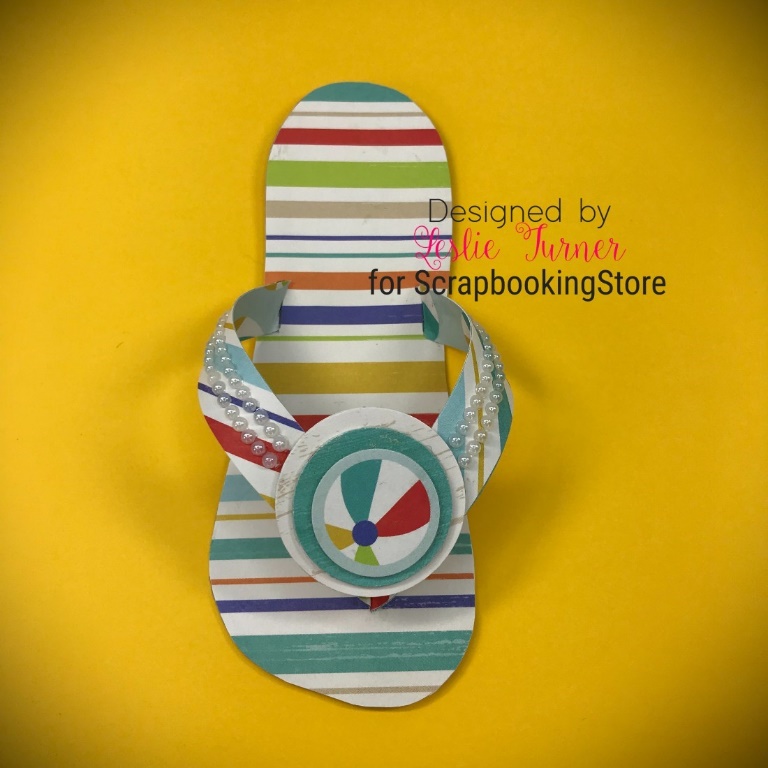
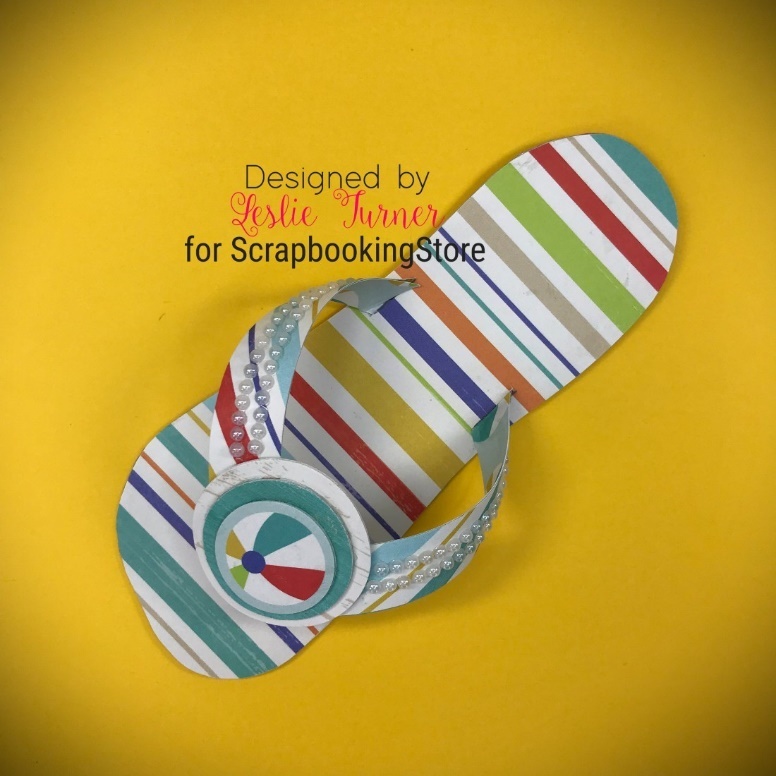
Leslie likes all the summery colors and patterns of the papers in this collection. She loves creating paper shoes and thought it would be fun to create a summer sandal 3-D project using her flip flop template HERE which she’s offering to our readers.
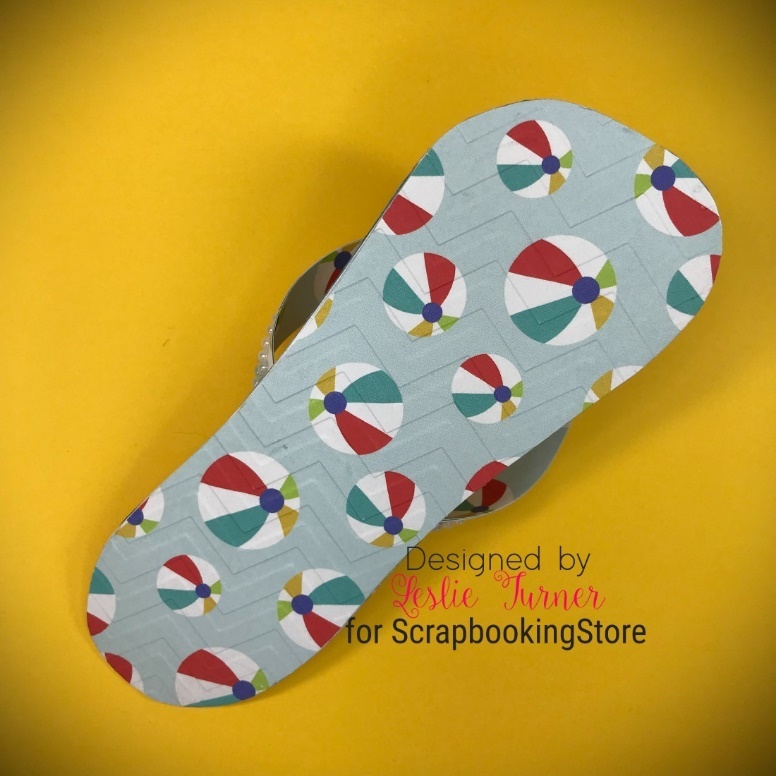
Using the template, she cut the flip flop midsole from heavyweight white cardstock, along with the insole and straps from striped paper and the sole from beach ball paper in the kit. She used a chevron embossing folder and ran the sole through the die cutting/embossing machine for a little texture. Next, she adhered the pieces together and added a beach ball embellishment created with 1”, 1-1/4” and 1-1/2” circle punches along with two strips of white pearls on each strap. These papers made an awesome little sandal!
See more of Leslie’s projects on her blog!
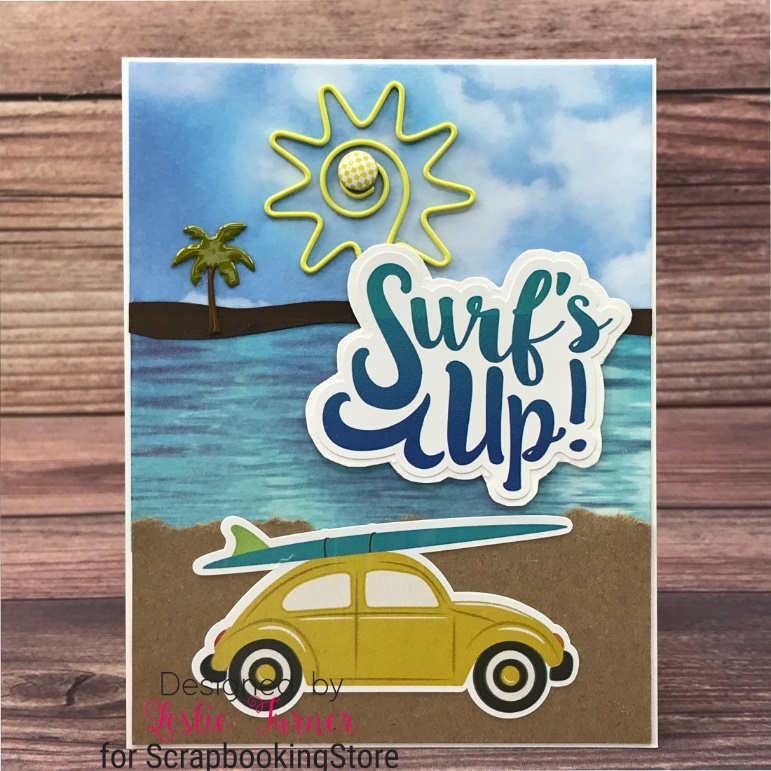
8. Surf's UP Card by Leslie Turner
Leslie likes all the beach papers, coordinating stickers and upgrades in this collection. She loves creating little scenes and felt like a ride along the beach headed to the waves to go surfing was in order!
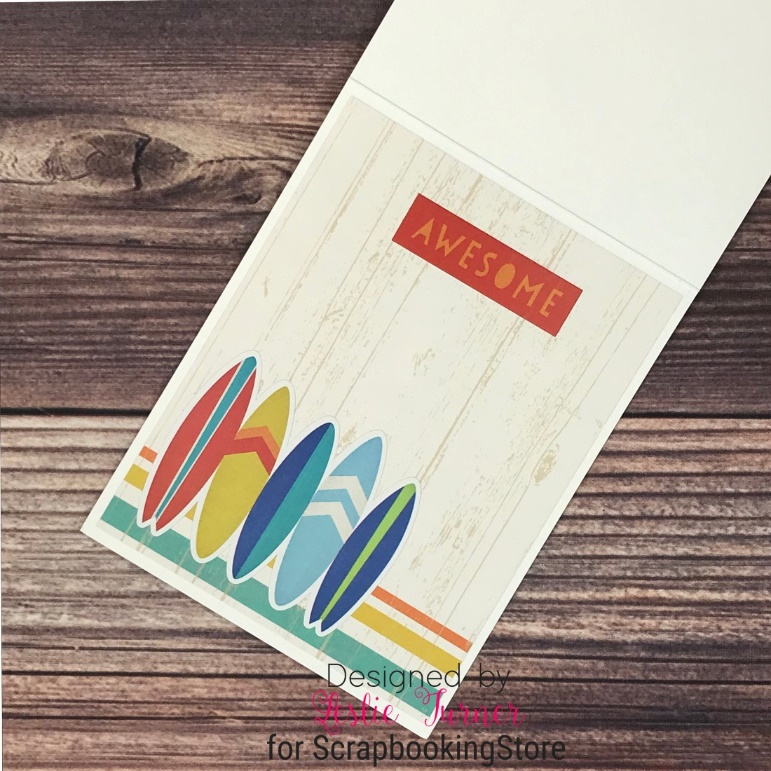
Also, she cut a standard A2 size top-folding card base from heavyweight white cardstock and used wide sky and water washi tape and kraft paper to create the scene which she embellished with a landline hand-cut from dark brown cardstock, a palm tree brad, and a sun clip from the upgrades attached with a harlequin patterned brad. Then, she added stickers from the sticker sheet to complete the front. Lastly, she cut the inside panel from patterned paper and embellished it with stickers from the sticker sheet.
See more of Leslie’s projects on her blog!
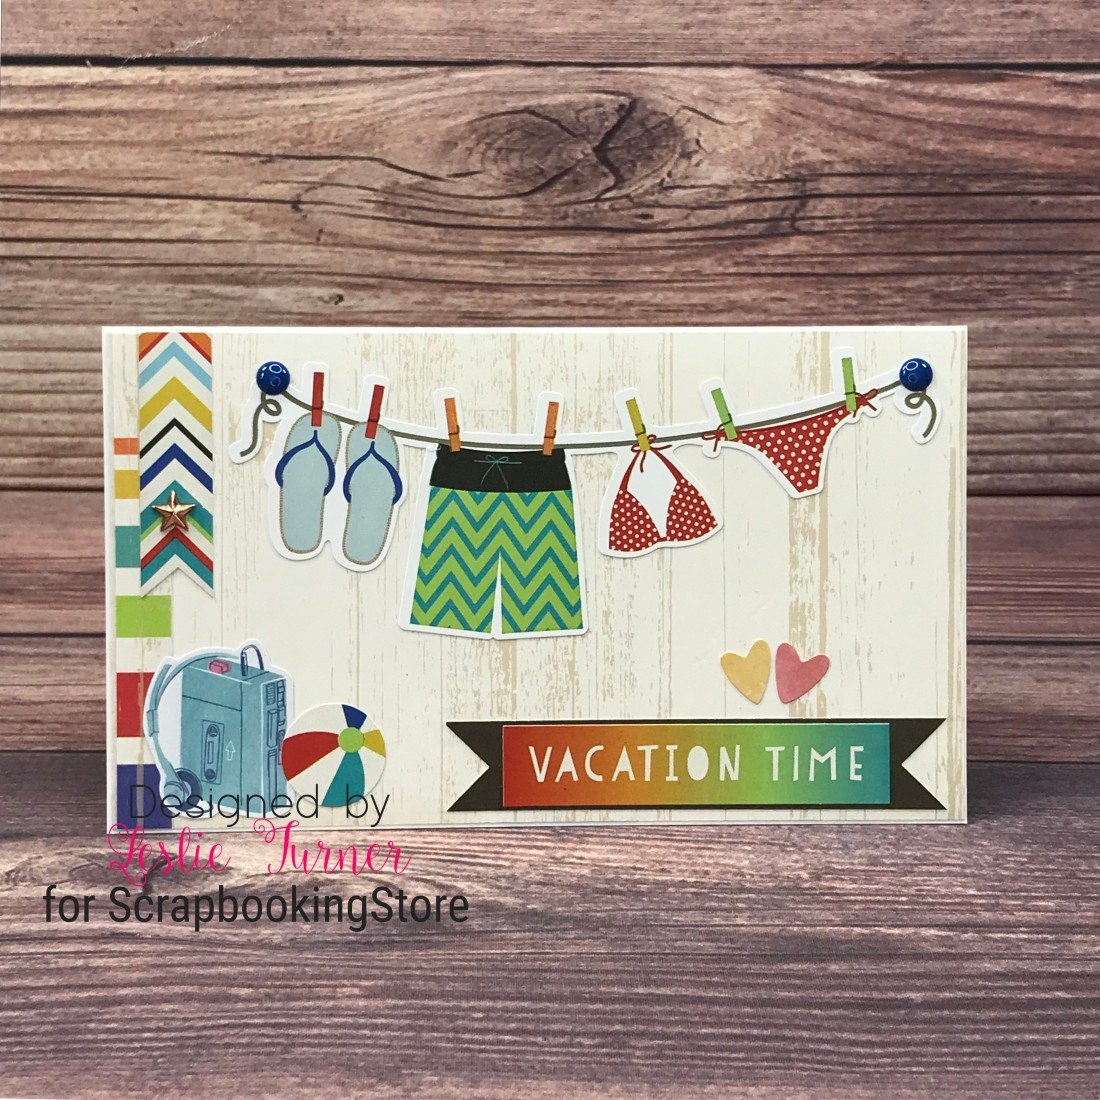
9. Vacation Time Mini Slimline by Leslie Turner
Leslie likes the awesome variety of papers and coordinating stickers along with the embellishment upgrades in this month’s kit. She has several friends vacationing this summer at beaches in various locations and thought it would be fun to create a mini slimline card as a send-off to a beach vacation!
She cut a 3-1/2” x 6” mini slimline card base from heavyweight white cardstock and used a woodgrain-look patterned paper from the kit as the background. She added a paper strip down the left side, stickers from the coordinating sticker sheet, and a few stickers from the upgrade sticker sheet.
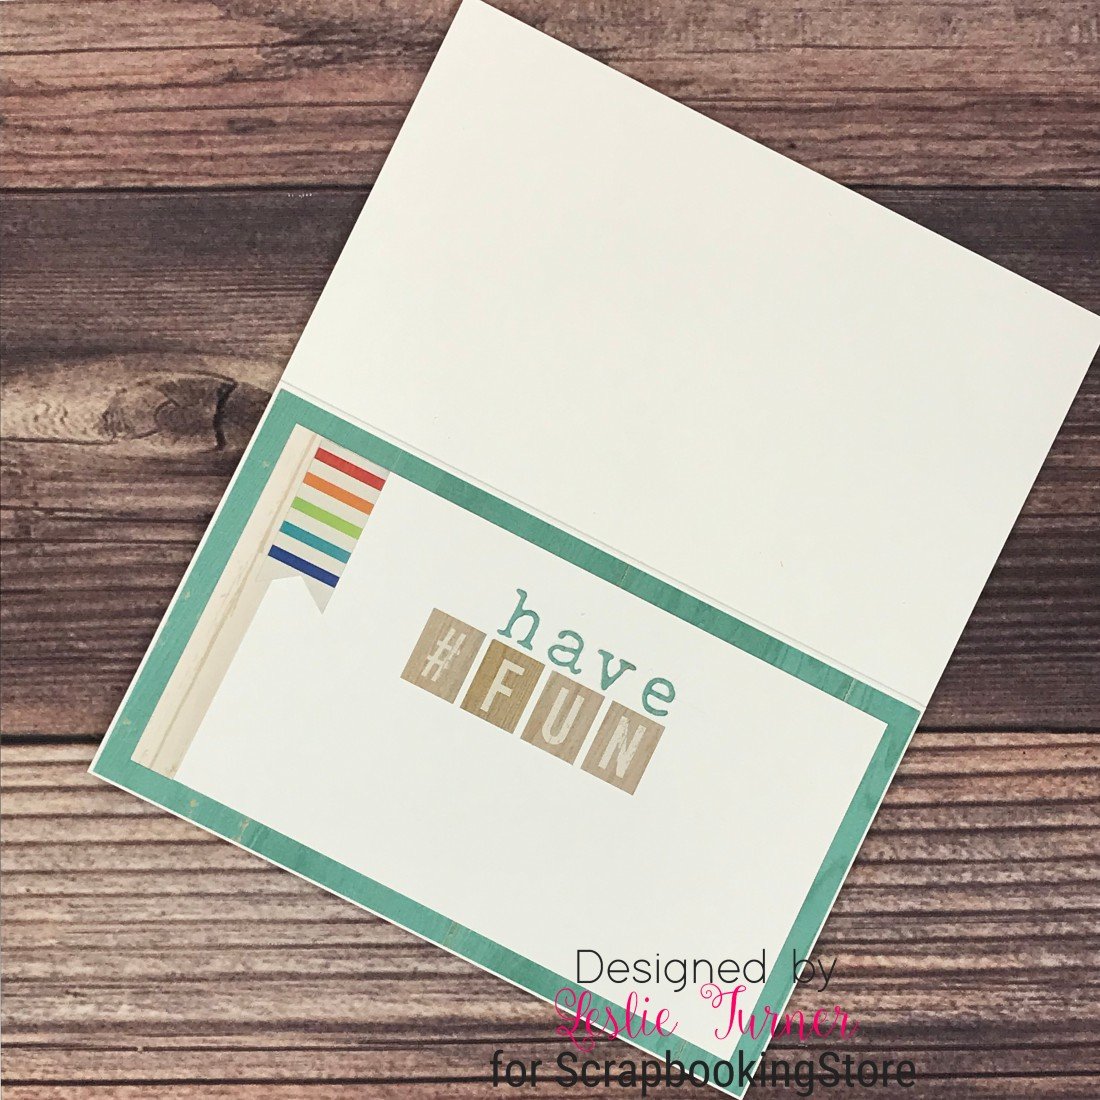
She cut the inside panel from lighter weight white cardstock and embellished it with a paper strip, stickers from the coordinating sticker sheet, and die cut alphas. Then, she layered the panel on green patterned paper from the kit which completed the card.
See more of Leslie’s projects on her blog!
10. Gift Bag with Artist Trading Coins by Leslie Turner
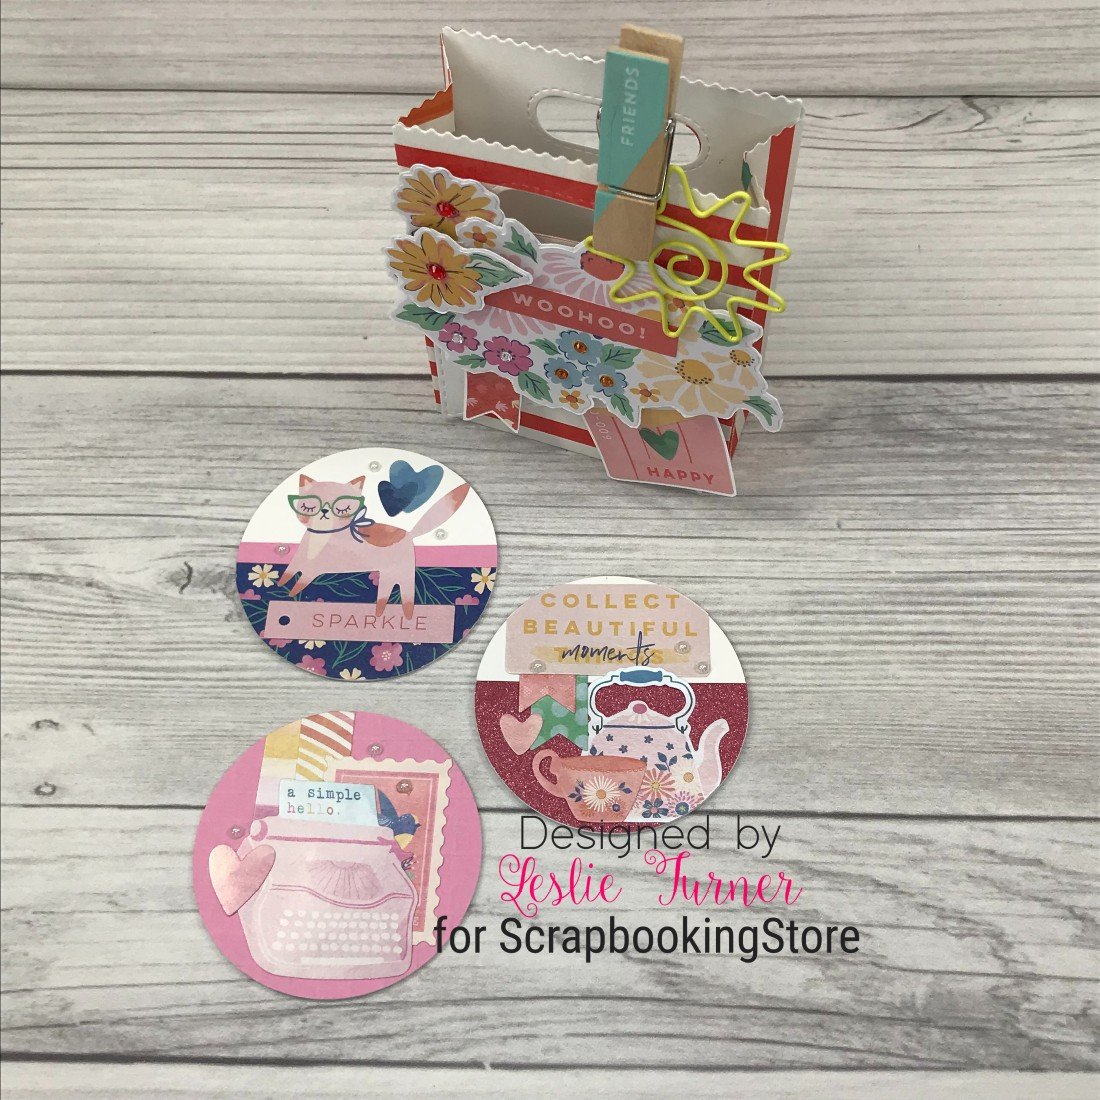
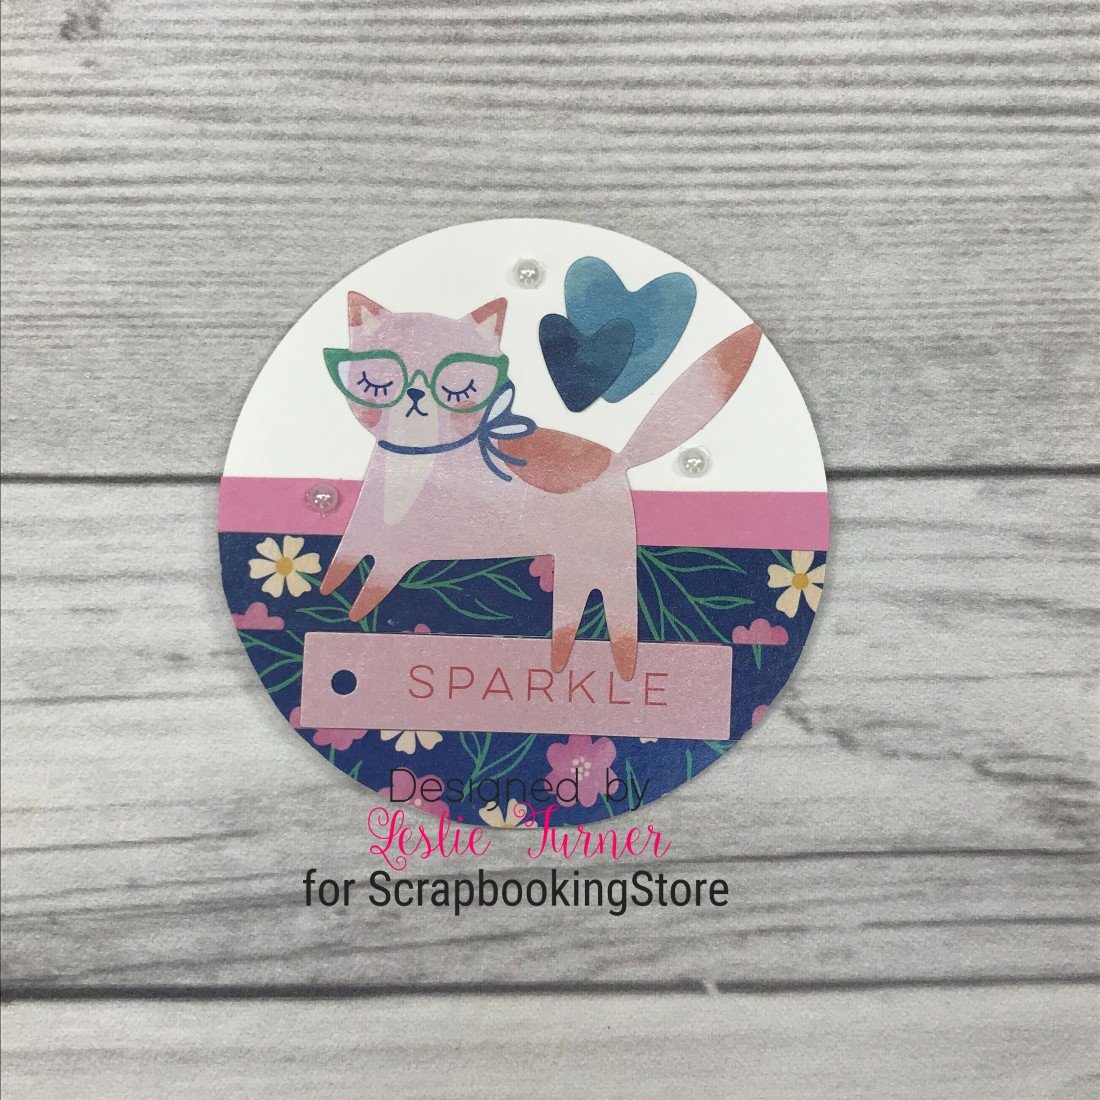
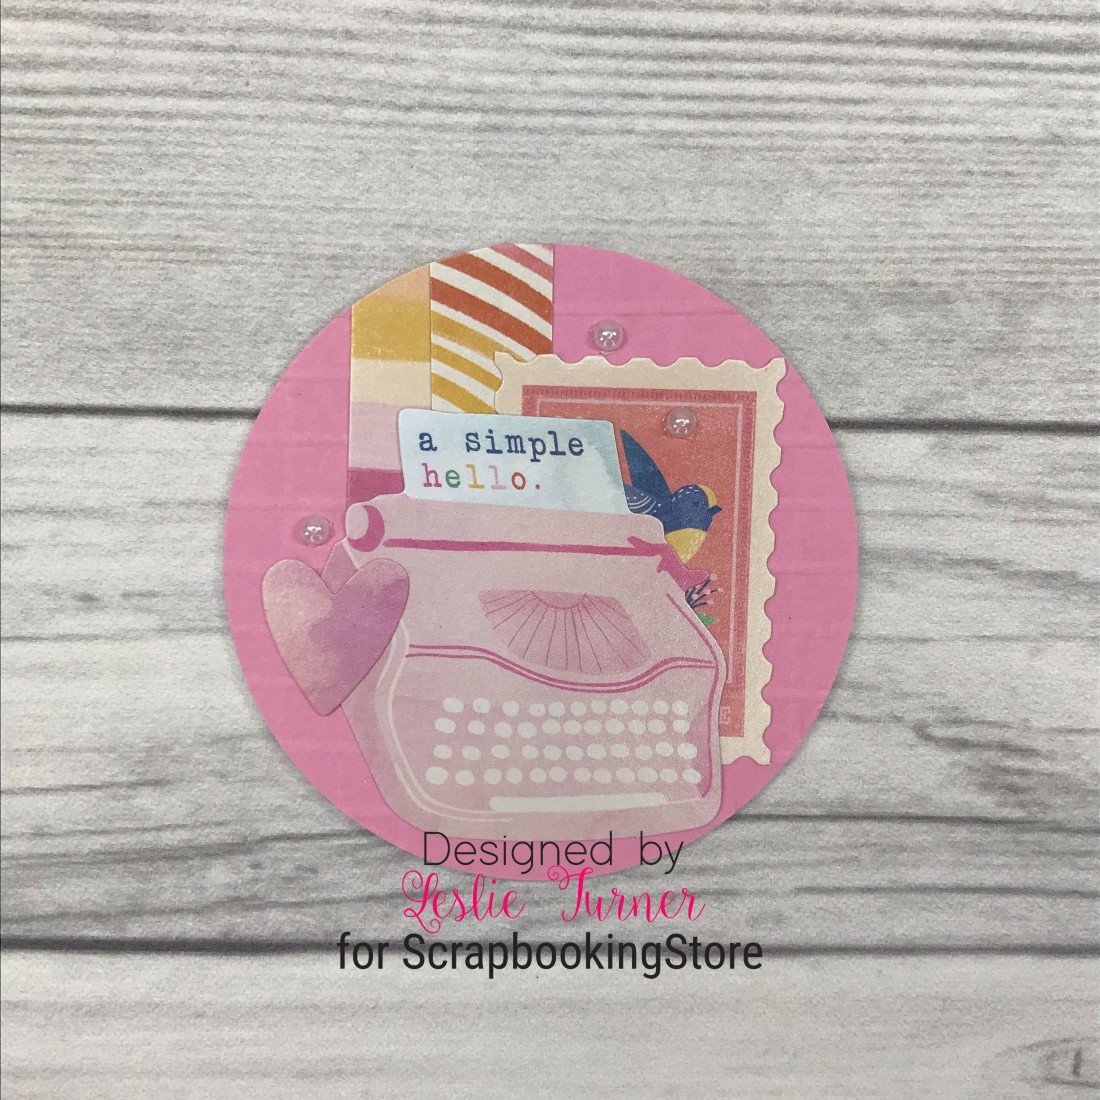
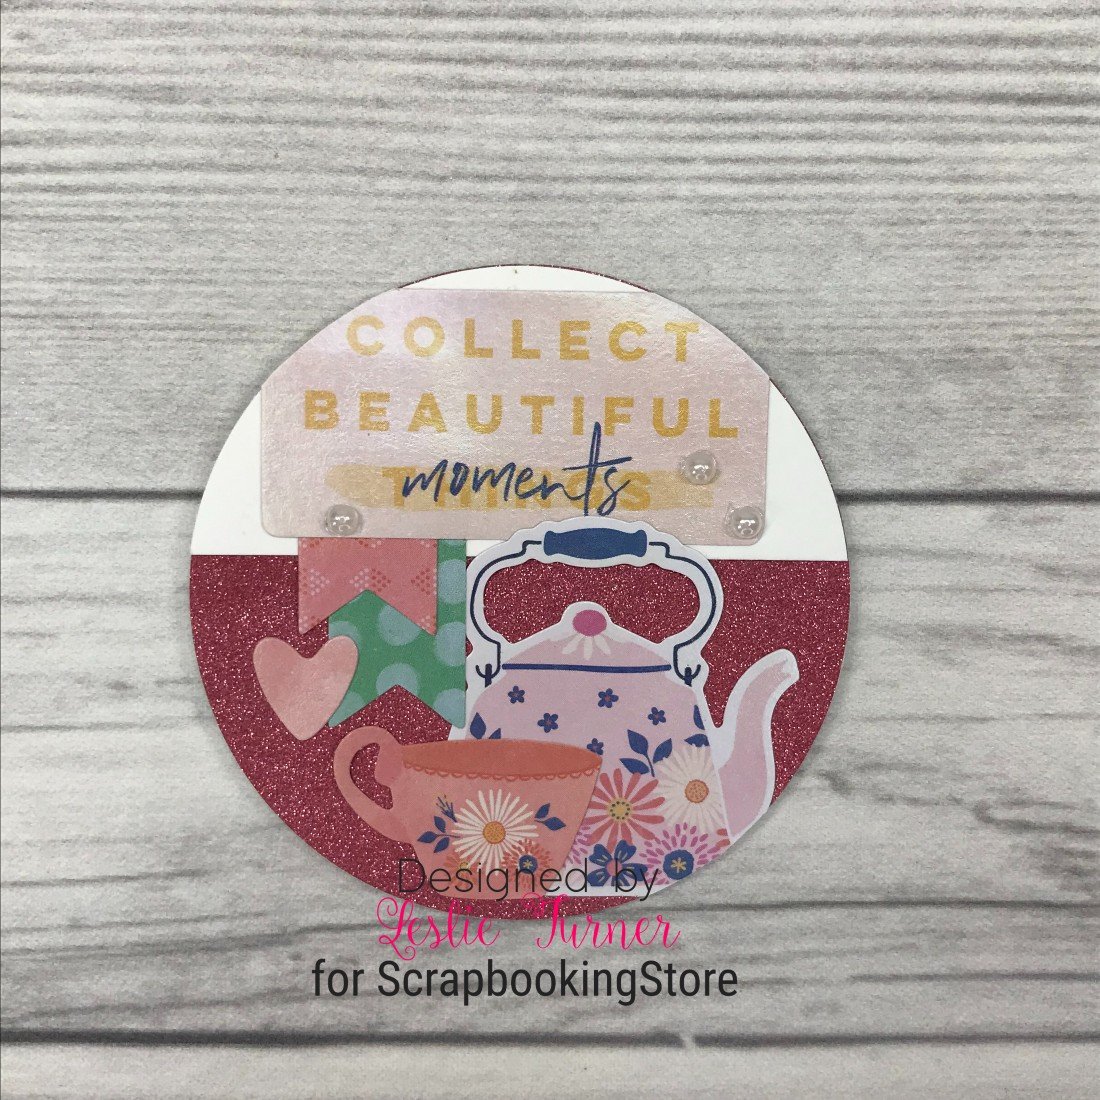
Leslie loves the versatility of the papers and the embellishment upgrades in this month’s kit. While the collection is beach-themed, she created a fun gift bag with striped paper from the kit to be used for a birthday. And as you’ve already discovered, she’s an avid collector and maker of artist trading cards (which includes 2-1/2” coins in addition to cards), so she created three coins embellished with stickers from the upgrade sticker sheet to tuck into the gift bag.
Using a die from her stash, she cut the front and back pieces of the gift bag from a red and white striped pattern paper in the kit and assembled it. Also, she embellished the front of the gift bag with a die-cut banner and quite a few stickers, a clothespin, and a yellow sun clip from the embellishment upgrades. She also added some gemstones which completed the front.
To make the artist trading coins that she tucked into the gift bag, she punched 2-1/2” circles from heavy-weight cardstock and embellished them with cardstock, glitter paper, bling, and stickers from the upgrade sticker sheet.
See more of Leslie’s beach scrapbook layouts & crafts projects on her blog!
Join our exclusive Facebook Community for Club Members. It will grant you access to amazing layouts and content made by our design team, fun monthly contests, and FREE Facebook Live tutorials to meet other crafters!
Haven't subscribed yet? Now's your chance, be sure to sign up today!
GET OUR MONTHLY KITS DELIVERED TO YOUR DOOR!
