What's inside this
June Scrapbooking kit
Unpack the spirit of wanderlust! Infuse your layouts with sunshine, adventure, and carefree vibes using the Let's Take The Trip Kit by Echo Park. Immerse yourself in a collection that captures the joy of travel, soaking up the beauty of every destination. Embrace warm breezes, firefly-filled evenings, and adventures under the bright sun.
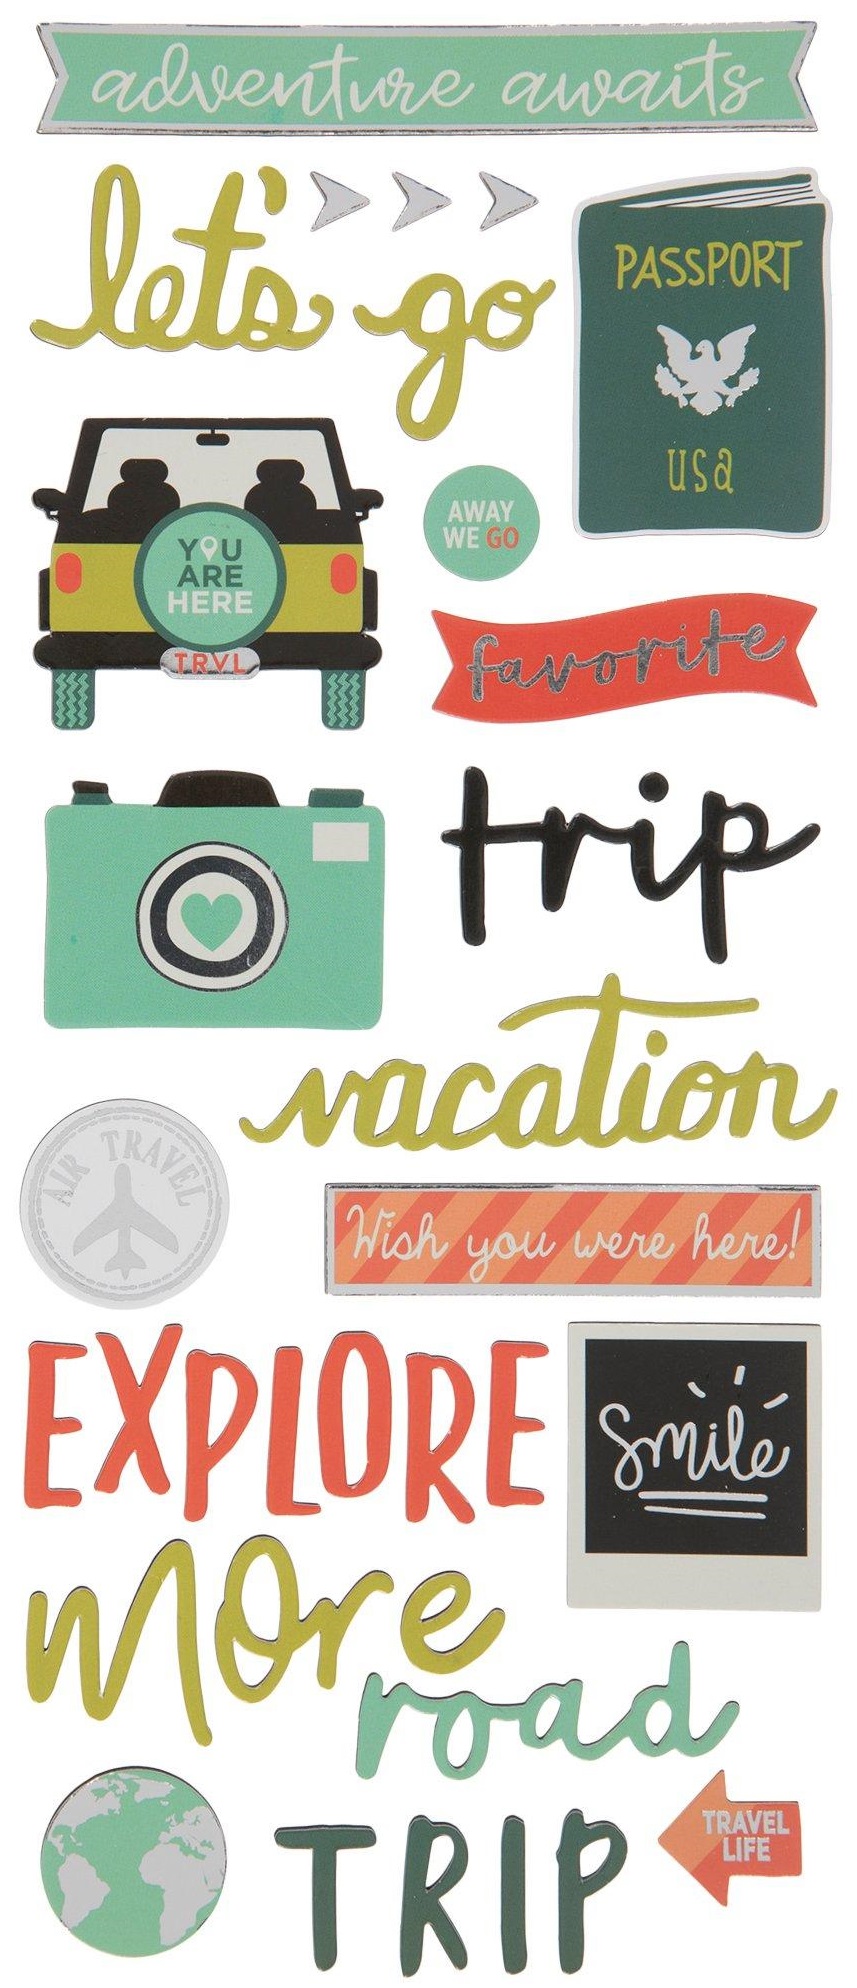
It includes 12 gorgeous double-sided papers and a 12x12 matching sticker sheet. Whether you're crafting cards, scrapbook layouts, tags, journaling pages, or other paper projects, this collection will inspire you to capture the vibrant spirit of June!
Upgrades
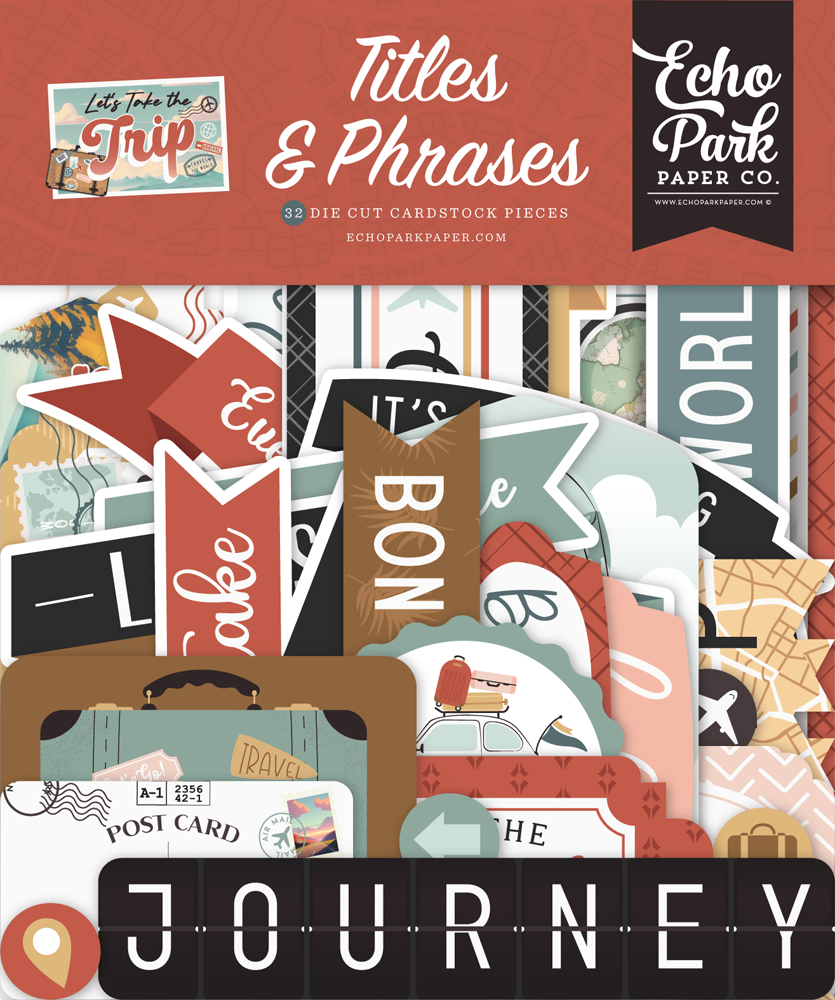
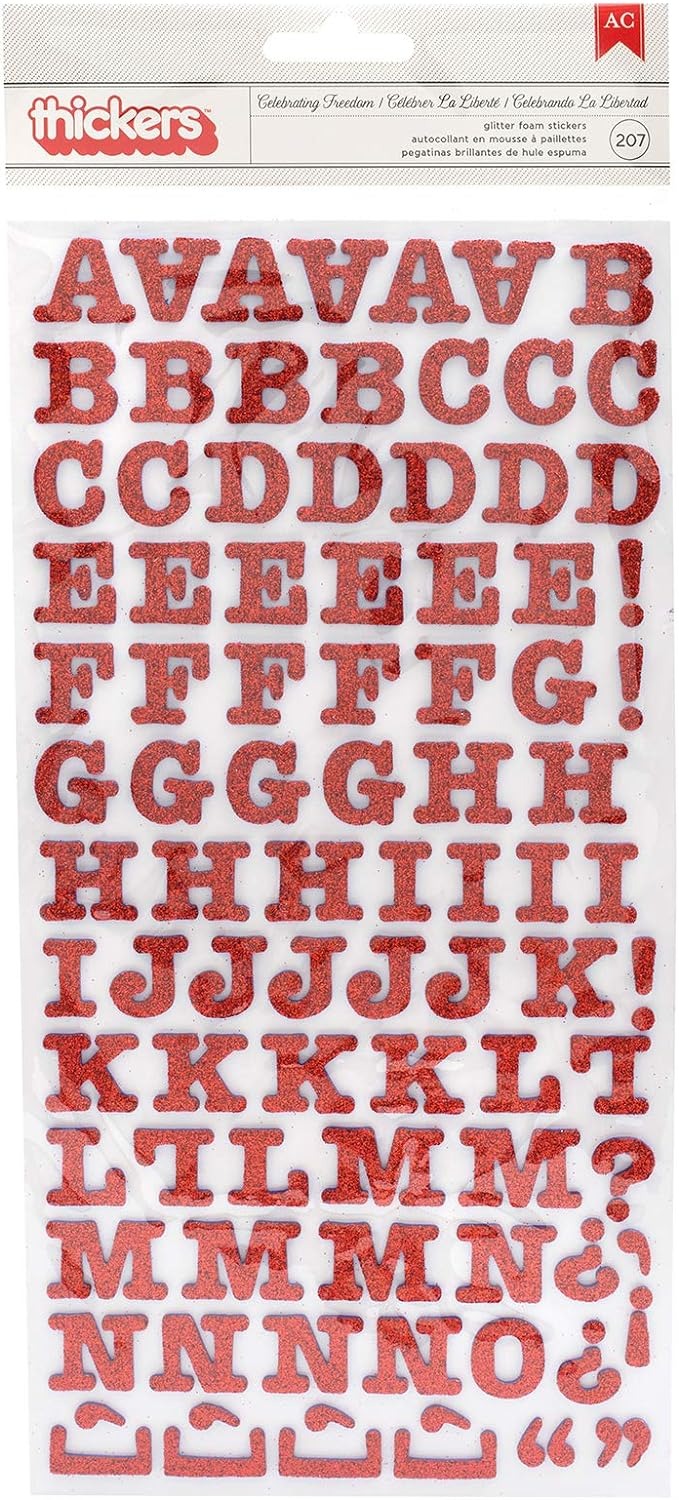
Here’s what you’ll get! For our upgrade clients, we've got some fantastic embellishments to perfect your scrapbook pages for the wonderful adventures that lie ahead on your travels!
Received this kit as a gift subscription? No problem, you can also contact us to upgrade!
New to our club? Join our Members Facebook Group so you gain access to all our inspiration, contests, and more: www.facebook.com/groups/ScrapbookingStoreClub/
Project Inspiration for June kit
We’re so excited to present our June layout and craft ideas created by our fabulous Design Team members using our collection Let's Take The Trip Kit by Echo Park.
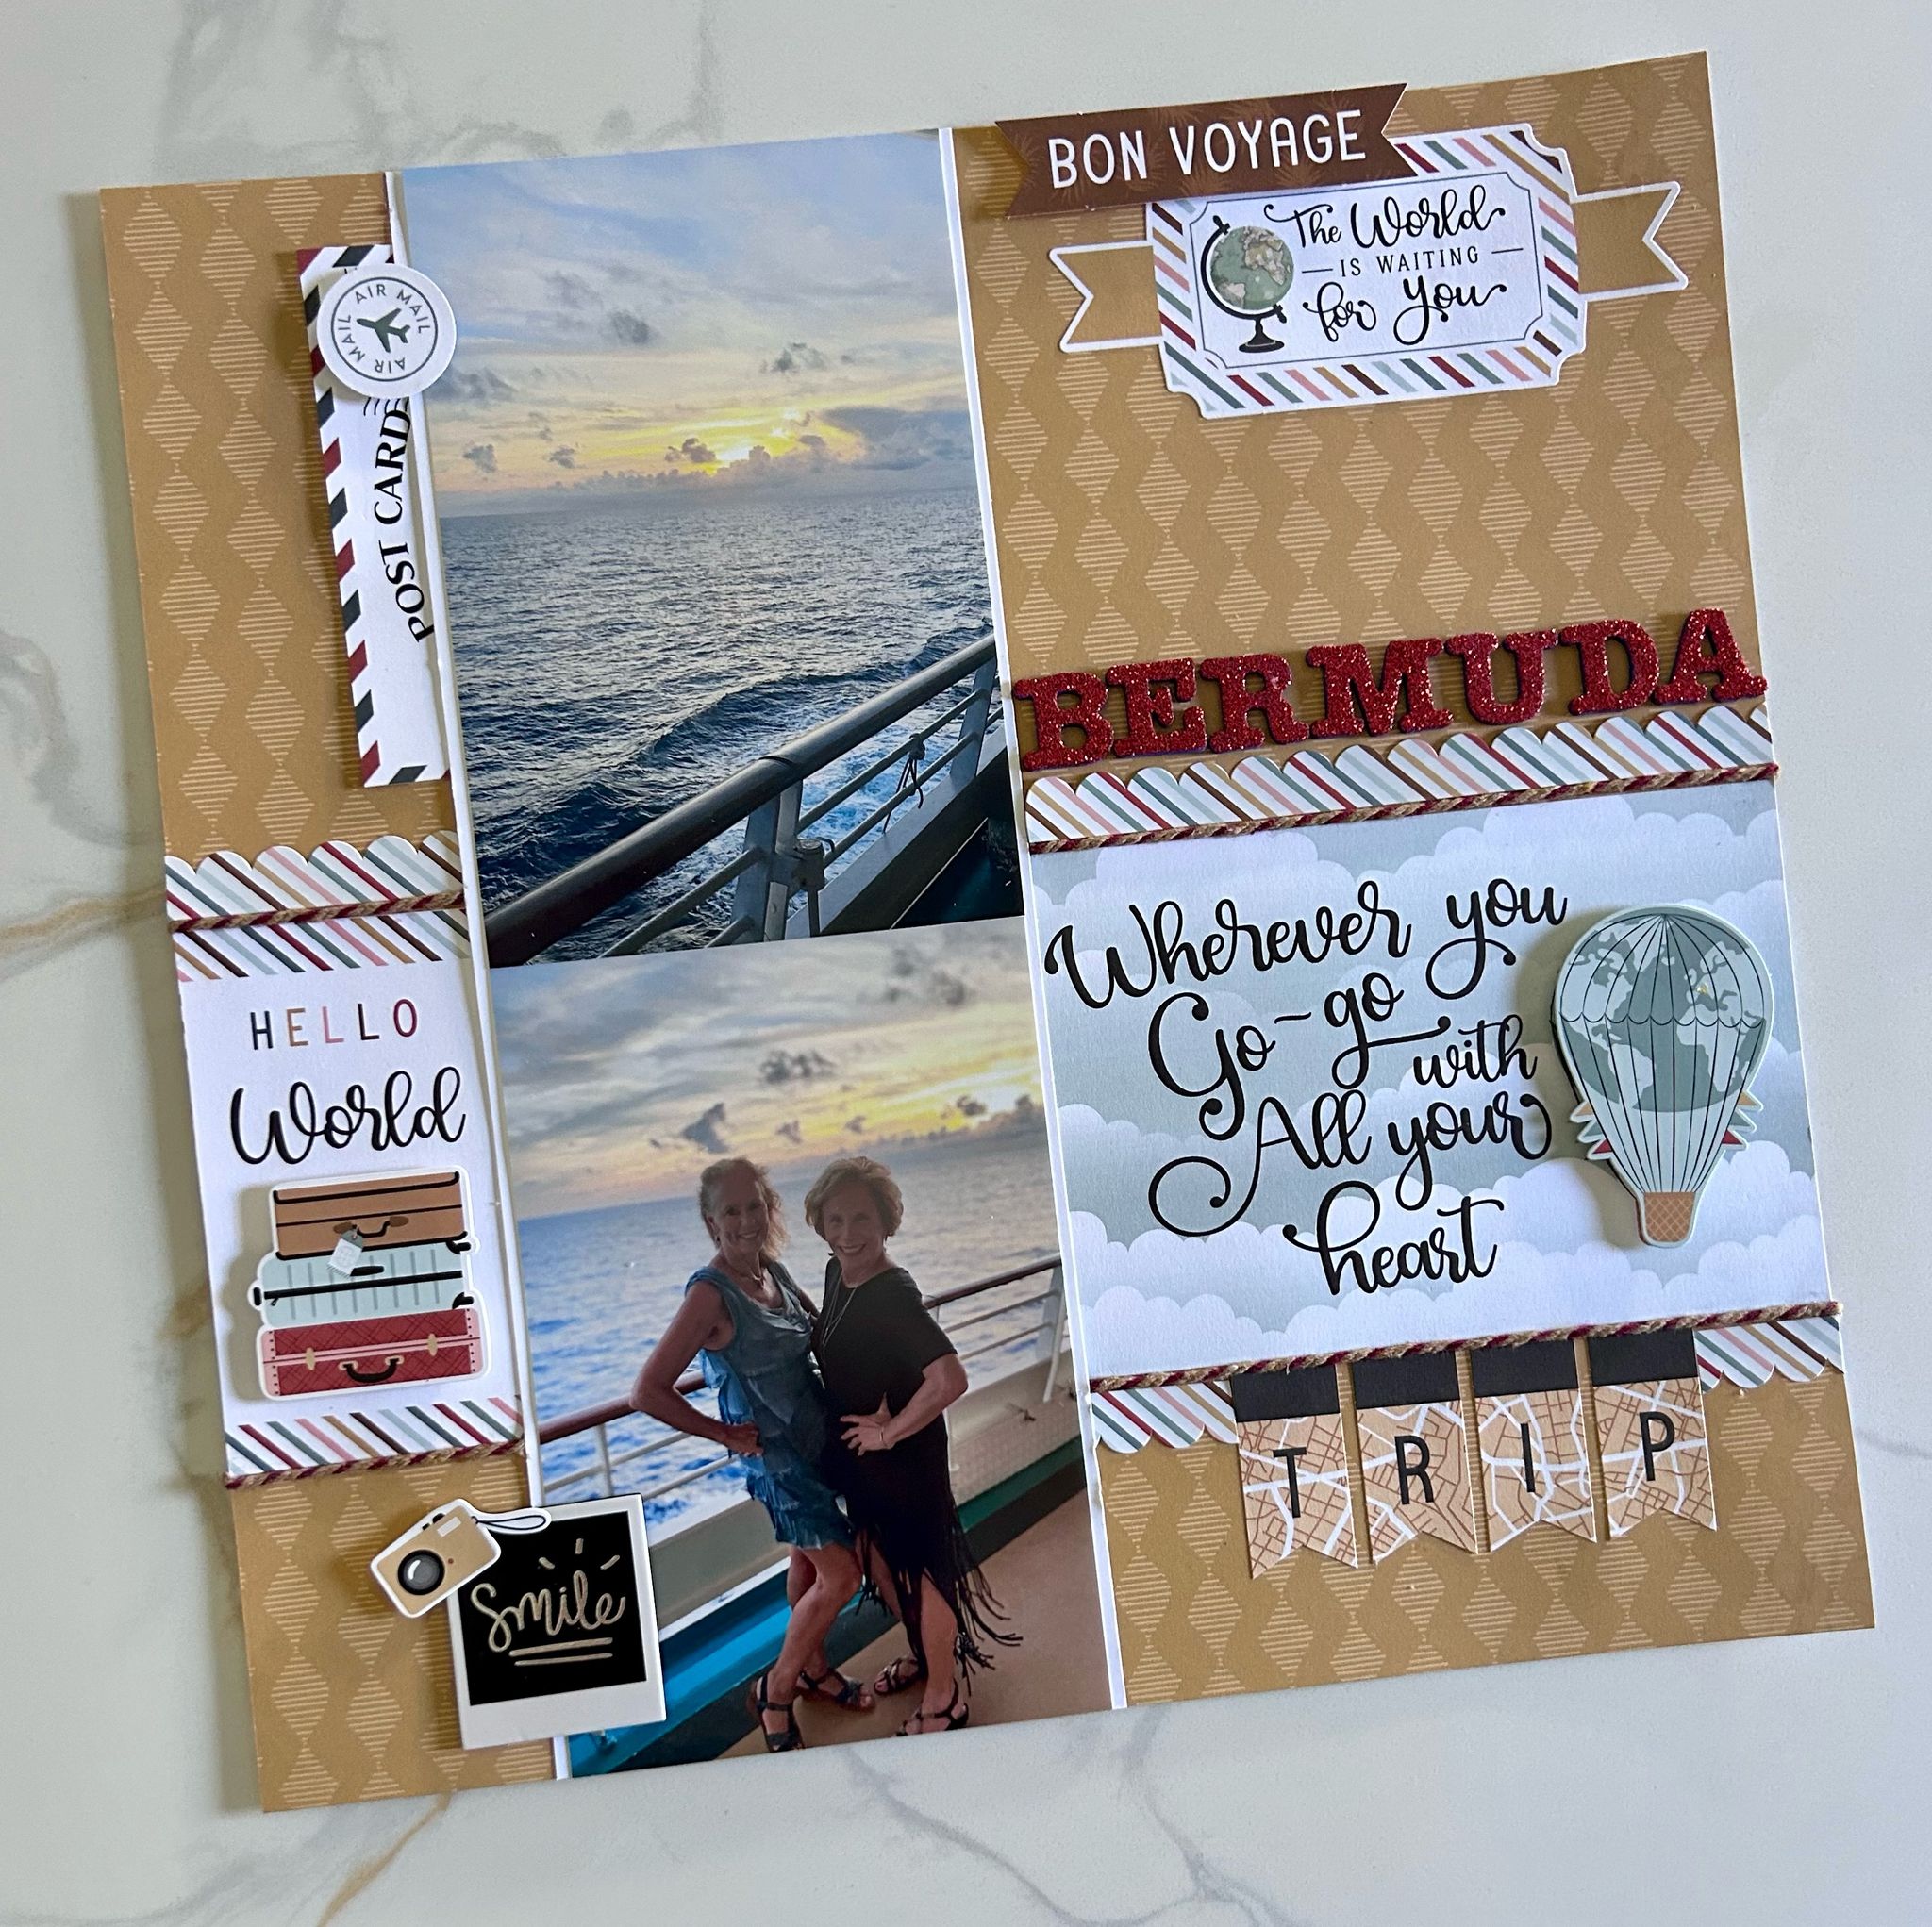
BERMUDA SCRAPBOOKING LAYOUT
Marci Bensing
This delightful layout evokes the warmth of a June cruise. The crafter lays the groundwork with a subtly patterned paper, letting a "JUNE COLLECTION" title take center stage. Those photos, originally vertical, receive a clever makeover. Using coordinating cut-apart from the same sheet, they're transformed into horizontal displays, framed with a rustic twine border. White mats elevate the photos, and pops of dimension arrive courtesy of well-placed stickers that mirror the photos' content. A hidden treasure awaits the inquisitive viewer: a "postcard" cut-apart peeks out from under the top photo, concealing a space for journaling beneath.
CRUISE SCRAPBOOKING LAYOUT
Marci Bensing
Hello! Here's another travel layout from a 2022 cruise. A dark background sheet sets the stage for this design, with the top half featuring cloud paper. The cloud paper was torn into three strips to create layers and add dimension. For embellishments, various elements were added around and on these strips. The bottom half showcases two photos, framed by additional embellishments to bring the layout together. The result is a quick and easy travel layout that's both beautiful and memorable!
Explore Scrapbooking Layout
Samantha Taylor
Sam has a lot of trip photos to scrapbook, so they were thrilled when they opened this month's kit. They especially love that it has a bit of a more masculine feel to it. It's a fun and fresh take on travel papers. Sam also noted that many of these papers have B sides with lovely prints that aren't specifically travel-themed, so even if you don't have a lot of travel to scrap, you'll still love June's kit.
This layout features not only the paper kit but also the embellishment upgrade kit. Sometimes with trip photos, Sam has a lot of pictures from the same place. They often like to print out smaller (3" x 4" or 2 1/2" x 3 1/2") photos to fit more onto a page. Using smaller photos also gives Sam space to journal and embellish the page.
Adventure Scrapbooking Layout
Samantha Taylor
This is a two-page layout with halves that coordinate but aren't an exact match or mirror of each other. It's a great way to tell the story of photos that are connected but might not be happening at the exact same time or place. For example, on Sam's layout, they grabbed breakfast and then walked down to the river afterward. It's also an excellent method for creating a two-page layout when you only have one piece of each patterned paper. This layout uses only the papers and stickers from the June paper kit.
Eat-Sleep-Travel-Repeat Card Layout
Leslie Turner
Leslie is totally loving the papers, stickers and upgrades in this month's travel-themed kit and says she has thoroughly enjoyed creating with it. She created a vertical split panel card using several coordinating papers and a journaling card along with a sticker from the sticker sheet and two-dimensional stickers from the upgrades. She cut the card base from dark red cardstock along with layering panels from several coordinating papers in this month's kit.
She chose a large journaling card from the paper pack for the front sentiment and cut it with a stitched rectangle die in her stash. She used a couple dimensional silver arrows from the upgrades to embellish the front and added a disc magnet for a closure. She cut the inside panels from more of the patterned papers and added a sticker from the sticker sheet for the sentiment. She says the kit did all the work on this super simple design!
Let’s Go Explore the World triple panel Card Layout
Leslie Turner
Leslie says she has been in a fun fold frenzy lately and created several fun folds with this month's collection. This triple panel features papers and stickers along with items from the upgrades. She says it's amazing how quickly a card comes together when you have the right papers and coordinating elements!
She cut the card base and panels from gray cardstock along with layering panels from an assortment of papers in the kit. She layered the focal image on gray cardstock also and popped it up on foam strips. She added a few dimensional stickers from the upgrades to embellish the front. She added several stickers from the sticker sheet to embellish the middle section. And finally, she cut the inside panel from white cardstock and embellished it with stickers from the sticker sheet and a sentiment from the upgrades.
Trip of a Life Time accordion Card Layout
Leslie Turner
Leslie totally loves creating travel-themed projects and fun folds, so this accordion card was a win-win, she says. It was downright enjoyable from the creation of the card base to embellishing with papers and stickers along with glitter alphas and dimensional stickers from the upgrades. She cut the card base from dark red cardstock along with the front layering panel and inside accordion layer from coordinating papers in the kit. She embellished the front with a tag from the paper pack and a sticker from the sticker sheet, added some ribbon, and popped the tag up on foam strips. She added several elements from the upgrades which completed the front. She used circle punches from her stash and alpha stickers from the sticker sheet to create the inside sentiment. She added a signature panel cut from white cardstock that she embellished with an additional sticker from the sticker sheet.
Let’s Take the Trip mini album Layout
Leslie Turner
Leslie says this month's kit was absolutely amazing and she totally loves all the projects she created with it. But she is especially fond of this mini album with cascading pocket pages featuring papers and stickers along with elements from all three of the upgrades. She cut the album and box/lid base pieces from black cardstock along with all the layering panels from assorted prints in the collection. She used stickers from the sticker sheet along with die cut pieces, glitter foam stickers and dimensional stickers from the upgrades to embellish the album, all the pages and inserts, and the box. She used a stitched rectangles die from her stash to cut the focal element on the front of the box.
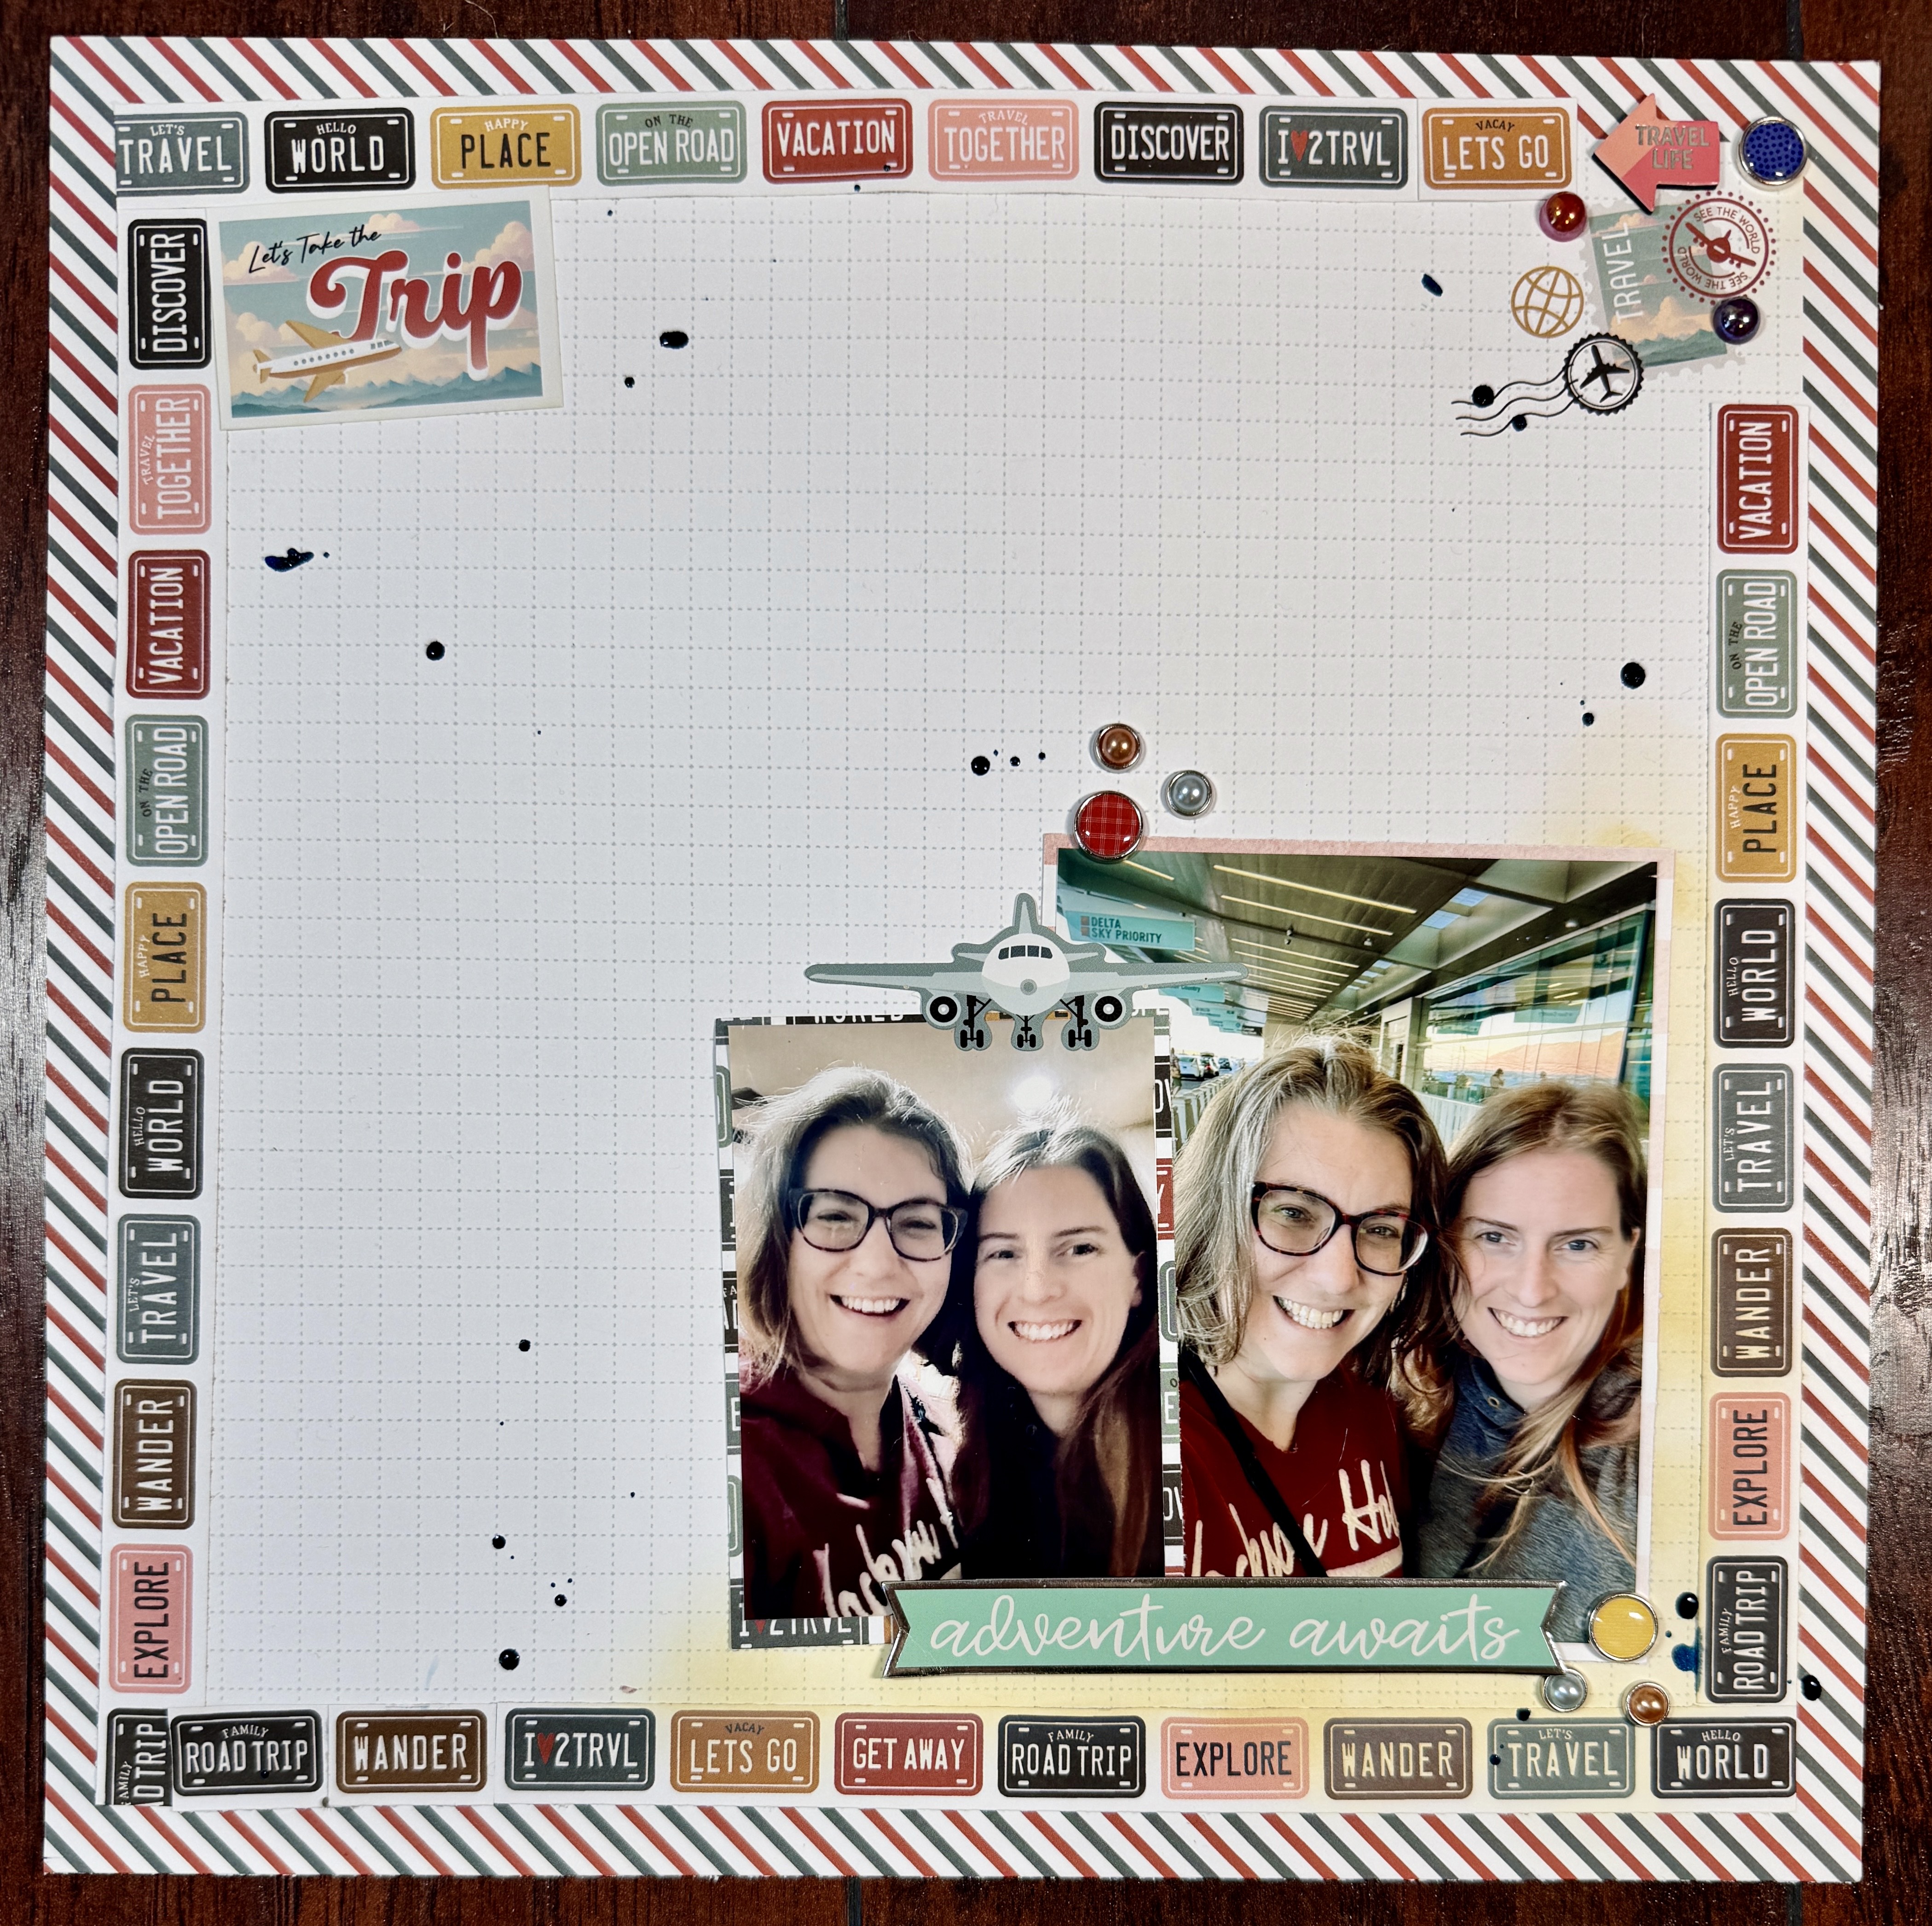
Adventure Awaits Scrapbooking Layout
Meggy Paulos
Meggy picked her background paper, choosing ‘Mailing Postcards,’ then selected her photos, one measuring 5.25x3.75 and the other 2.75x3.80, matting the smaller photo with ‘Road Trip Plates.’ She used her favorite paper to cut a border strip half an inch tall by 12 inches, also from ‘Road Trip Plates,’ and placed the new border just above the original background's pattern paper border. After gluing down her photos, she picked embellishments and made clusters in the top left, top right, and above the two photos. She put the title under the photos, making a cluster with embellishments from her stash. Finally, she unscrewed the lid of her spray mist to add little droplets around the layout and planned to add journaling to the left of the photos.
FACEBOOK LIVE SESSION
Check link here to see the Facebook Live tutorial for April.
June Sketch Challenge
Join our monthly Sketch challenge on our exclusive Facebook member's page and win awesome prizes! Sketch created by our designer Leslie Turner.
ScrapbookingStore.com © 2024 All Rights Reserved | Terms & Conditions | Privacy Policy

