What's inside this
August Scrapbooking kit
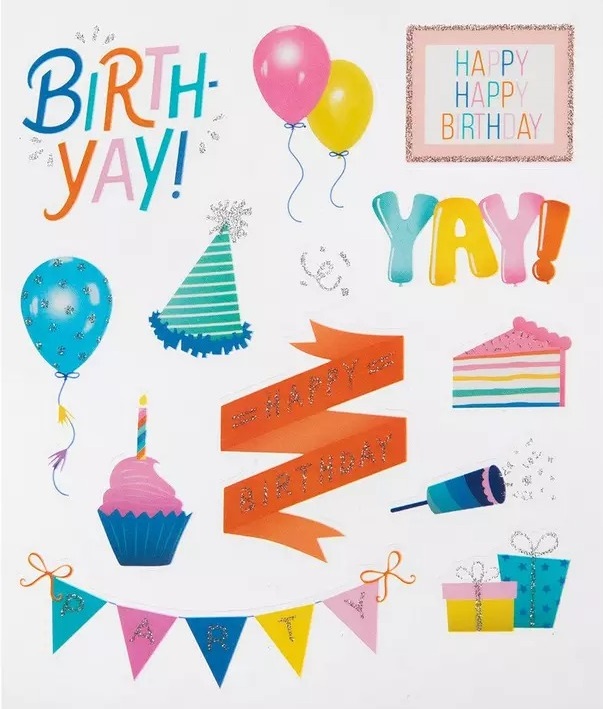
Unleash those party vibes! Dive into the SimpleStories x ScrapbookingStore Exclusive with our ‘It’s a Party!’ collection. You get the Simple Set Birthday collection, plus (6) additional double-sided sheets. Fill your layouts with color, patterns, laughter, and festivities! This collection perfectly captures the essence of a fun-filled party, brimming with confetti, balloons, and joyous moments. Feel the excitement of lively gatherings, enjoy sparkling evenings with friends, and capture every celebration under twinkling lights. Whether it's a birthday bash, a festive holiday, or just a spontaneous get-together, this timeless collection has everything you need to make your memories shine.
It includes 12 gorgeous double-sided papers and a 12x12 matching sticker sheet. Whether you're crafting cards, scrapbook layouts, tags, journaling pages, or other paper projects, this collection will inspire you to capture the vibrant spirit of a celebration!
Received this kit as a gift subscription? No problem, you can also contact us to upgrade!
New to our club? Join our Members Facebook Group so you gain access to all our inspiration, contests, and more: www.facebook.com/groups/ScrapbookingStoreClub/
Project Inspiration for August kit
We’re so excited to present our August layout and craft ideas created by our fabulous Design Team members using our collection SimpleStories x ScrapbookingStore Exclusive with our ‘It’s a Party!'
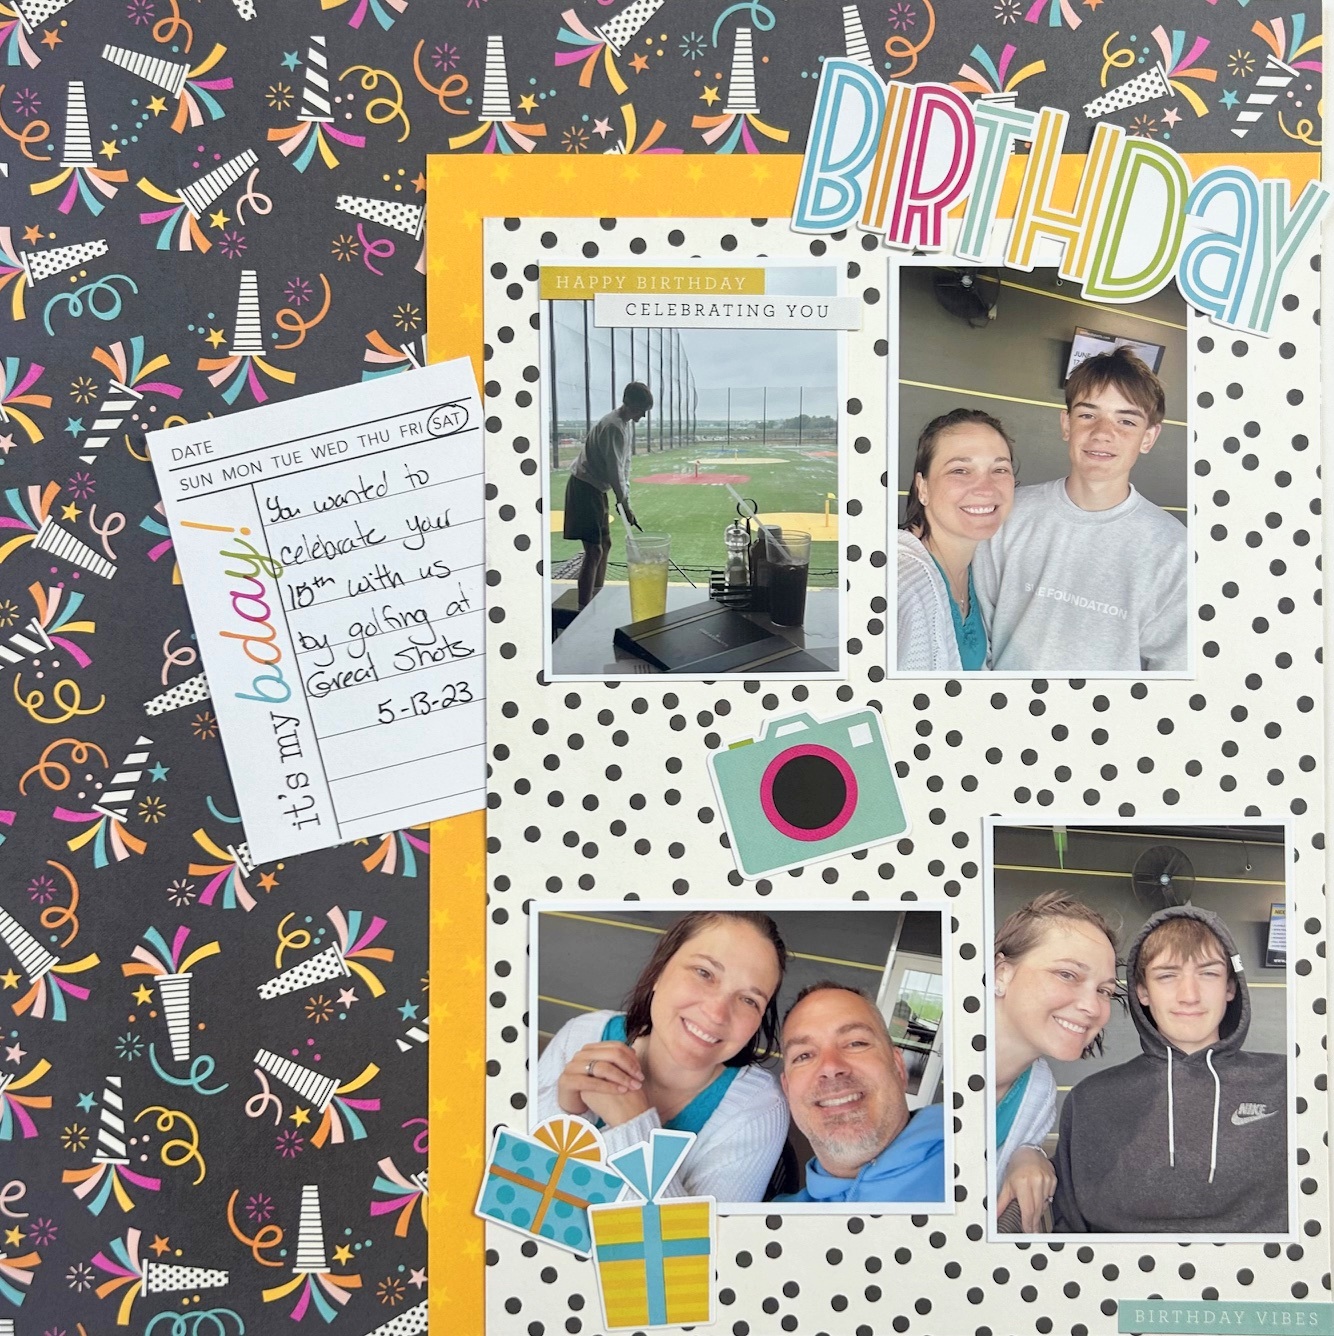
IT'S MY BIRTHDAY SCRAPBOOKING LAYOUT
Sam really loved the look of the black paper with the pops of brightly colored party blowers, so they knew right away that was the paper to use. They figured some photos of the family golfing at Great Shots to celebrate one of their kiddo's birthdays wouldn't be too busy on that paper. Since it was such a bold choice, Sam started with it as the base. To tone it down a bit, they layered an 8 1/2" x 10 1/2" rectangle of yellow star paper on top. Then, they added an 8" x 10" piece of black and white polka dot paper over the star paper. Sam placed their 2" x 4" photos onto the polka dot paper and added a journaling tag cut from the kit paper. Finally, they added stickers from the included sticker sheet for the title and embellishments.
CELEBRATING YOU SCRAPBOOKING LAYOUT
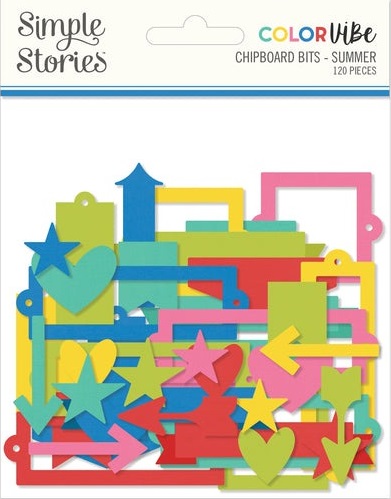
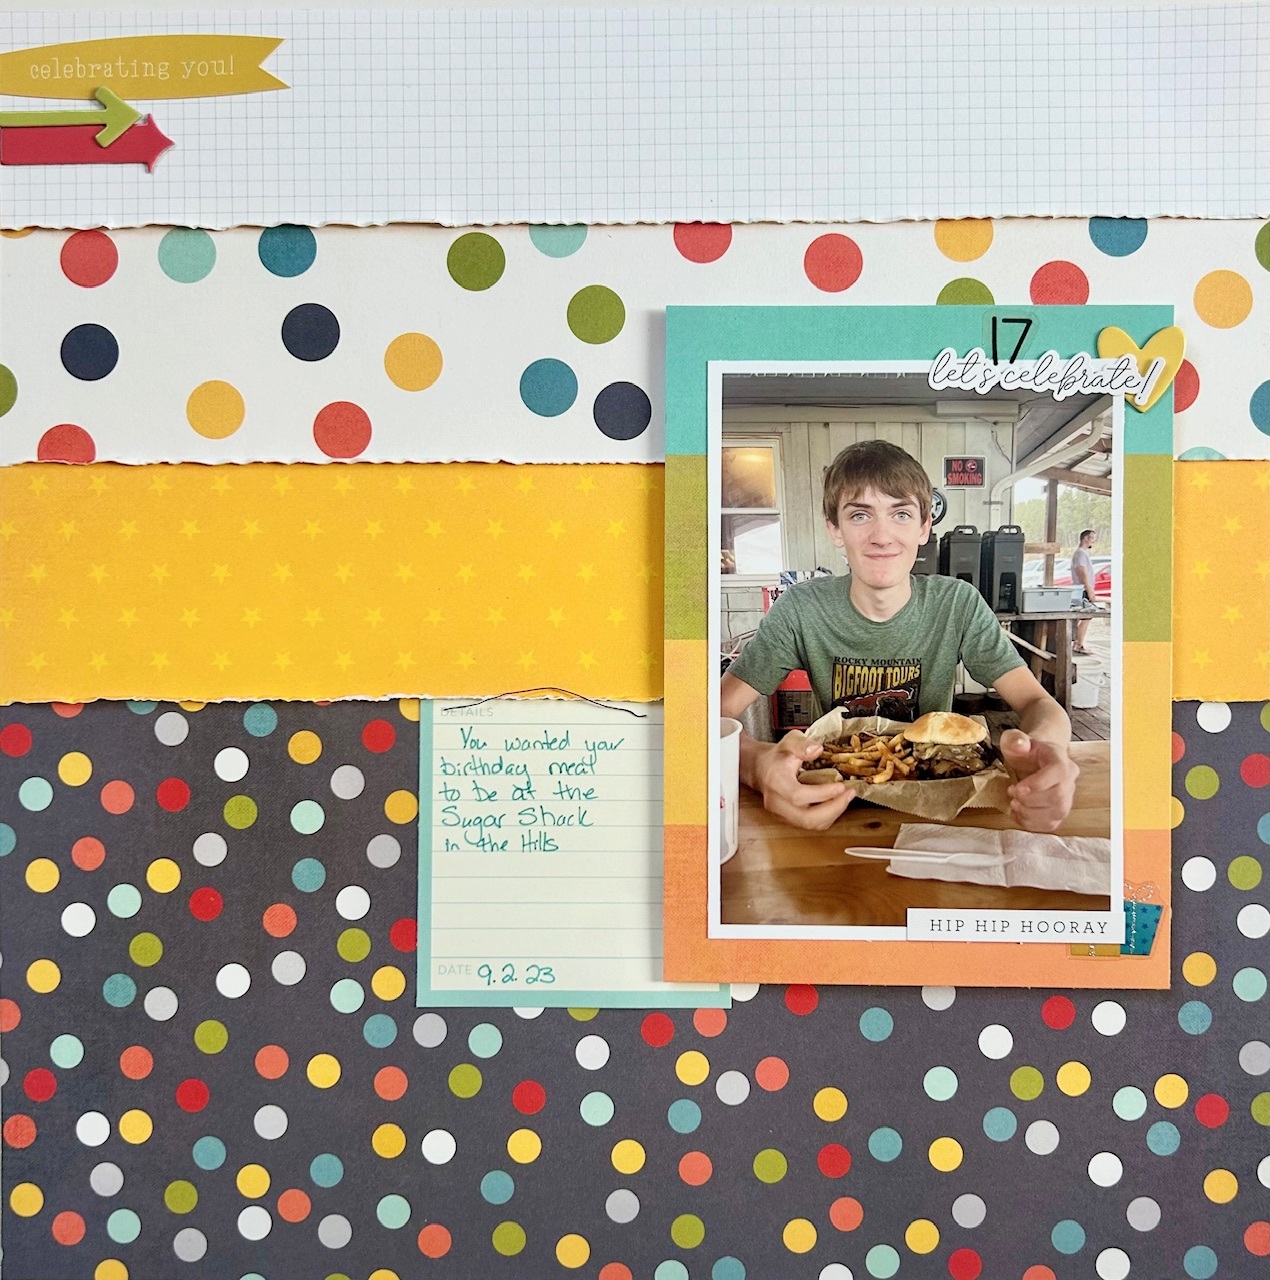
As Sam's kids have gotten older, they’ve moved away from throwing big parties. Instead, the kids choose a place to go out to eat with the family. This particular layout features a photo of Sam’s son enjoying his birthday burger at the spot he picked for his 17th birthday. There were so many great polka dot sheets in this month’s kit that Sam couldn’t decide which one to use, so they ended up using two. Sam started with the smaller polka dot paper as the base. Then, they cut 2" strips of the remaining patterned papers (large polka dot, yellow star, and grid) and layered them on top of each other, distressing the edges where the papers overlapped. Sam framed the photo with a piece of wide striped paper and added it to the base. Next, they added a journaling tag cut from the kit’s paper. To finish off the layout, Sam added a title and embellishments using stickers from the included sticker sheet, stickers from the Upgraded Embellishment Kit, and chipboard pieces from the Upgraded Embellishment Kit.
HAPPY BIRTHDAY SCRAPBOOKING LAYOUT
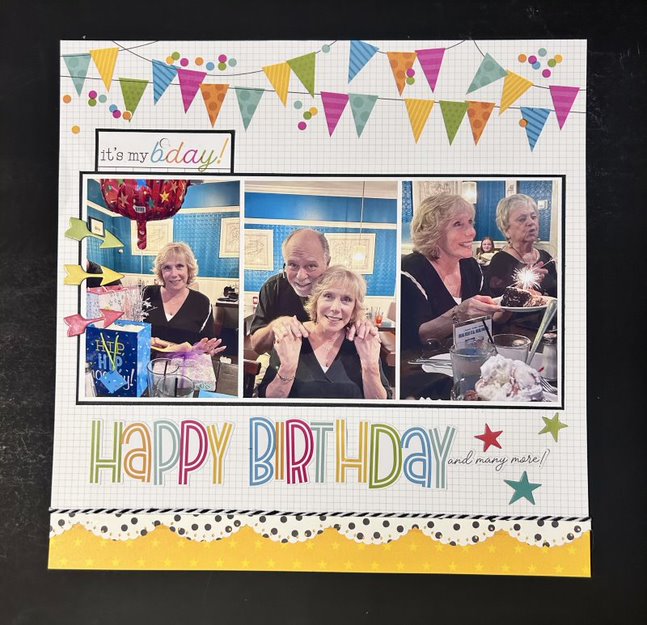
June was Marci's birthday, so she created a layout featuring her birthday dinner. She started with a bannered paper, cut off one inch, and reattached it backwards to show the yellow side at the bottom. To cover the line this created, Marci used a black and white polka-dotted sheet, cut with a border punch, to connect the papers. A HUGE twine lover, she added a piece of twine for a finishing touch. Marci bordered her three photos with white and black, leaving space to tuck the "It's my Birthday" piece behind the first photo. She added an easy title from the sticker sheet, some chipboard stars from the kit extras, and a few more details like twine on the removable "It's my Birthday" piece, a twine bow in the lower left corner, and a balloon sticker. This is where she added her journaling, revealing her age—69! LOL!
GONE FISHING SCRAPBOOKING LAYOUT
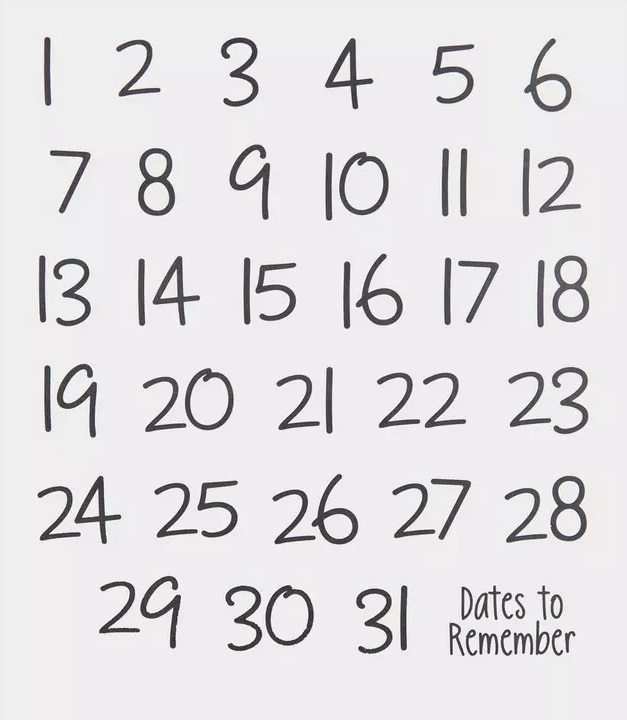
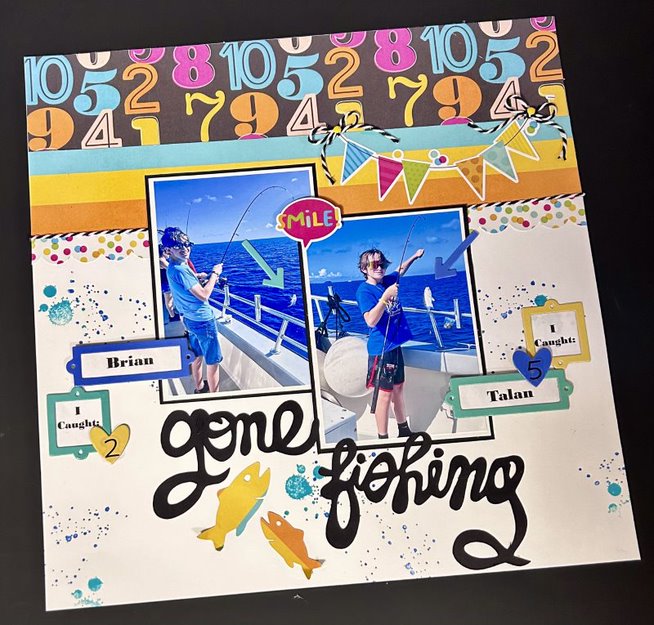
Marci enjoys challenging herself by using a party-themed kit in unconventional ways. Initially designed for birthdays, she adapted it for a fishing-themed layout. Using elements like numbered paper to ask "How many fish can they catch?" and striped paper for contrast, she added twine and scalloped borders. After positioning photos, Marci stamped splatters on the background to simulate water, placed photos with a "smile" sticker, and labeled each with chipboard names and fish counts. Chipboard hearts and arrows highlighted the catch, while a banner sticker and Silhouette Cameo title capped off the design, with striped paper fish completing the scene.
18 & COUNTING SCRAPBOOKING LAYOUT
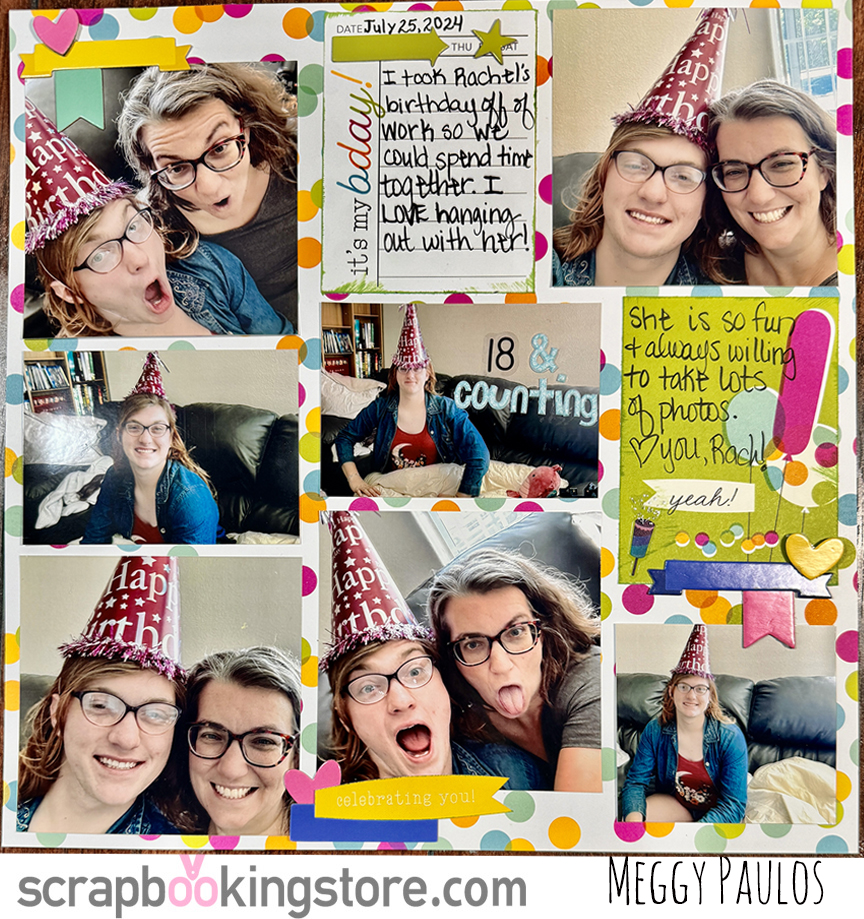
Megan is excited to share her latest layout, created using this month's birthday-themed kit and her own sketch, which she designed with plenty of space for photos since she loves capturing birthday memories. She began by choosing the 'Elements' paper as her background and printed four photos at 3.75x3.75, two at 3.75x2.5, and one at 2.5x3, along with two 3x4 cut-apart from the same background paper. After carefully arranging and gluing down the photos and journaling cards, Megan added three clusters of chipboard embellishments from the upgrade kit. She finished the layout by adding her journaling and completing the final touches.
SHINE SCRAPBOOKING LAYOUT
Emiley starts by choosing a bright and cheerful design to celebrate a special birthday. She places a joyful photo and a picture of the birthday cake side by side. To add fun and color, she uses vibrant patterned papers and festive embellishments like stars and banners. Emiley writes "HAPPY bday!" as the title, making it bold and eye-catching. She finishes the page with playful touches like a "hip hip hooray!" banner and colorful dots to create a lively, celebratory feel.
HAPPY BABY DAY SCRAPBOOKING LAYOUT
Emiley couldn’t help but smile as she captured her little one's first birthday cake moment. The layout bursts with vibrant colors and playful elements, perfectly matching the joy in those tiny hands savoring the sweet treat. "Happy Birthday to You" says it all, surrounded by stars, hearts, and confetti—it's a celebration of milestones, love, and the sweetest of memories.
FACEBOOK LIVE SESSION
Check link here to see the Facebook Live tutorial for August.
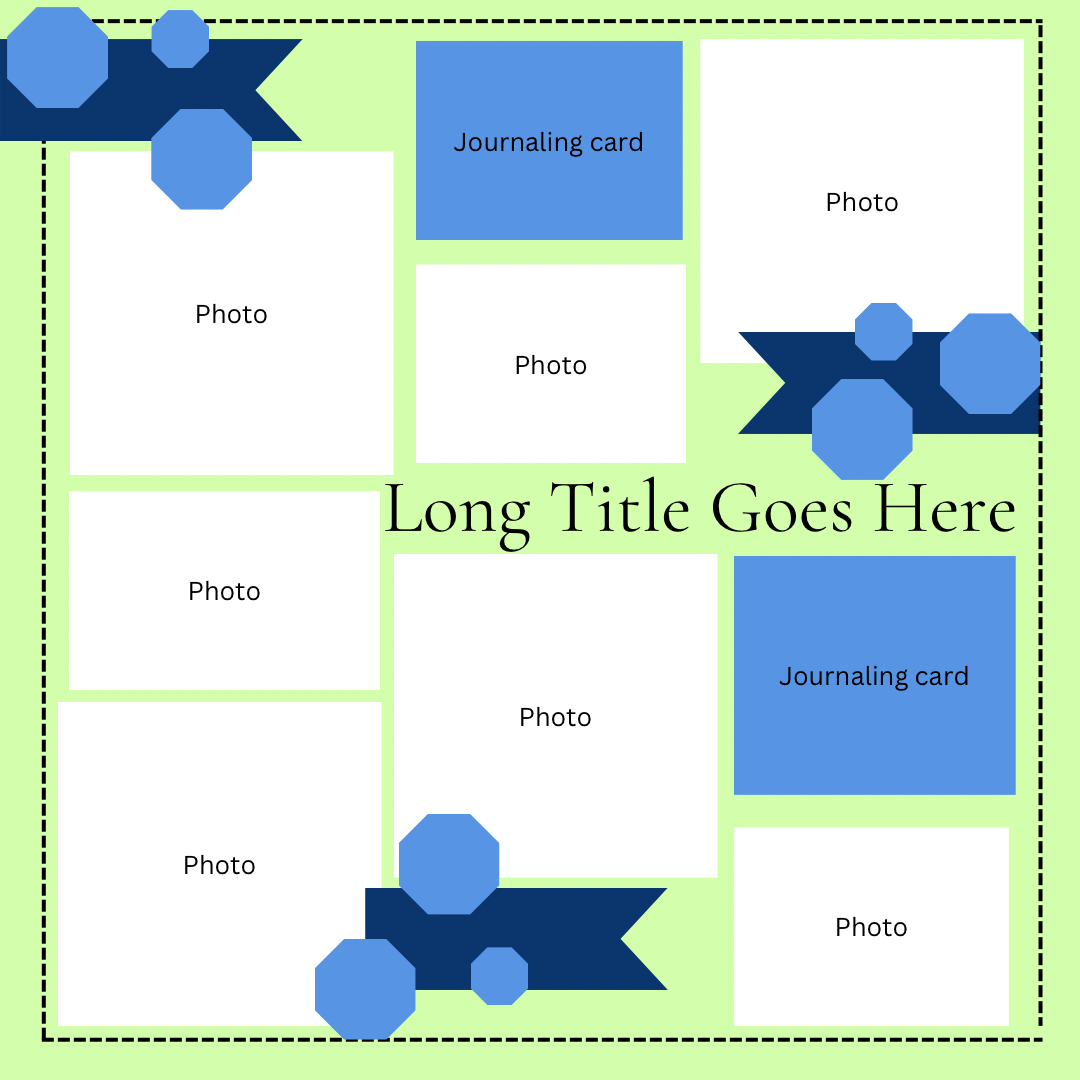
August sketch Challenge.
Join our monthly Sketch challenge on our exclusive Facebook member's page and win awesome prizes! Sketch created by our designer Megan Paulos.
ScrapbookingStore.com © 2024 All Rights Reserved | Terms & Conditions | Privacy Policy

