Embrace the New Day: A Scrapbooking Adventure
Welcome, fellow crafters and memory-keepers, to a delightful scrapbooking adventure of creativity and inspiration! Today, we invite you to "Embrace the New Day" as we embark on a heartwarming scrapbooking adventure, fueled with our beautiful and versatile May kit, Echo Park's "New Day" kit.
In a world bustling with technology and fast-paced living, scrapbooking offers us a timeless haven to slow down, savor the present, and cherish the moments that matter most.
Join us with our awesome design team as we delve into the art of storytelling through colorful papers, whimsical embellishments, and precious photographs.
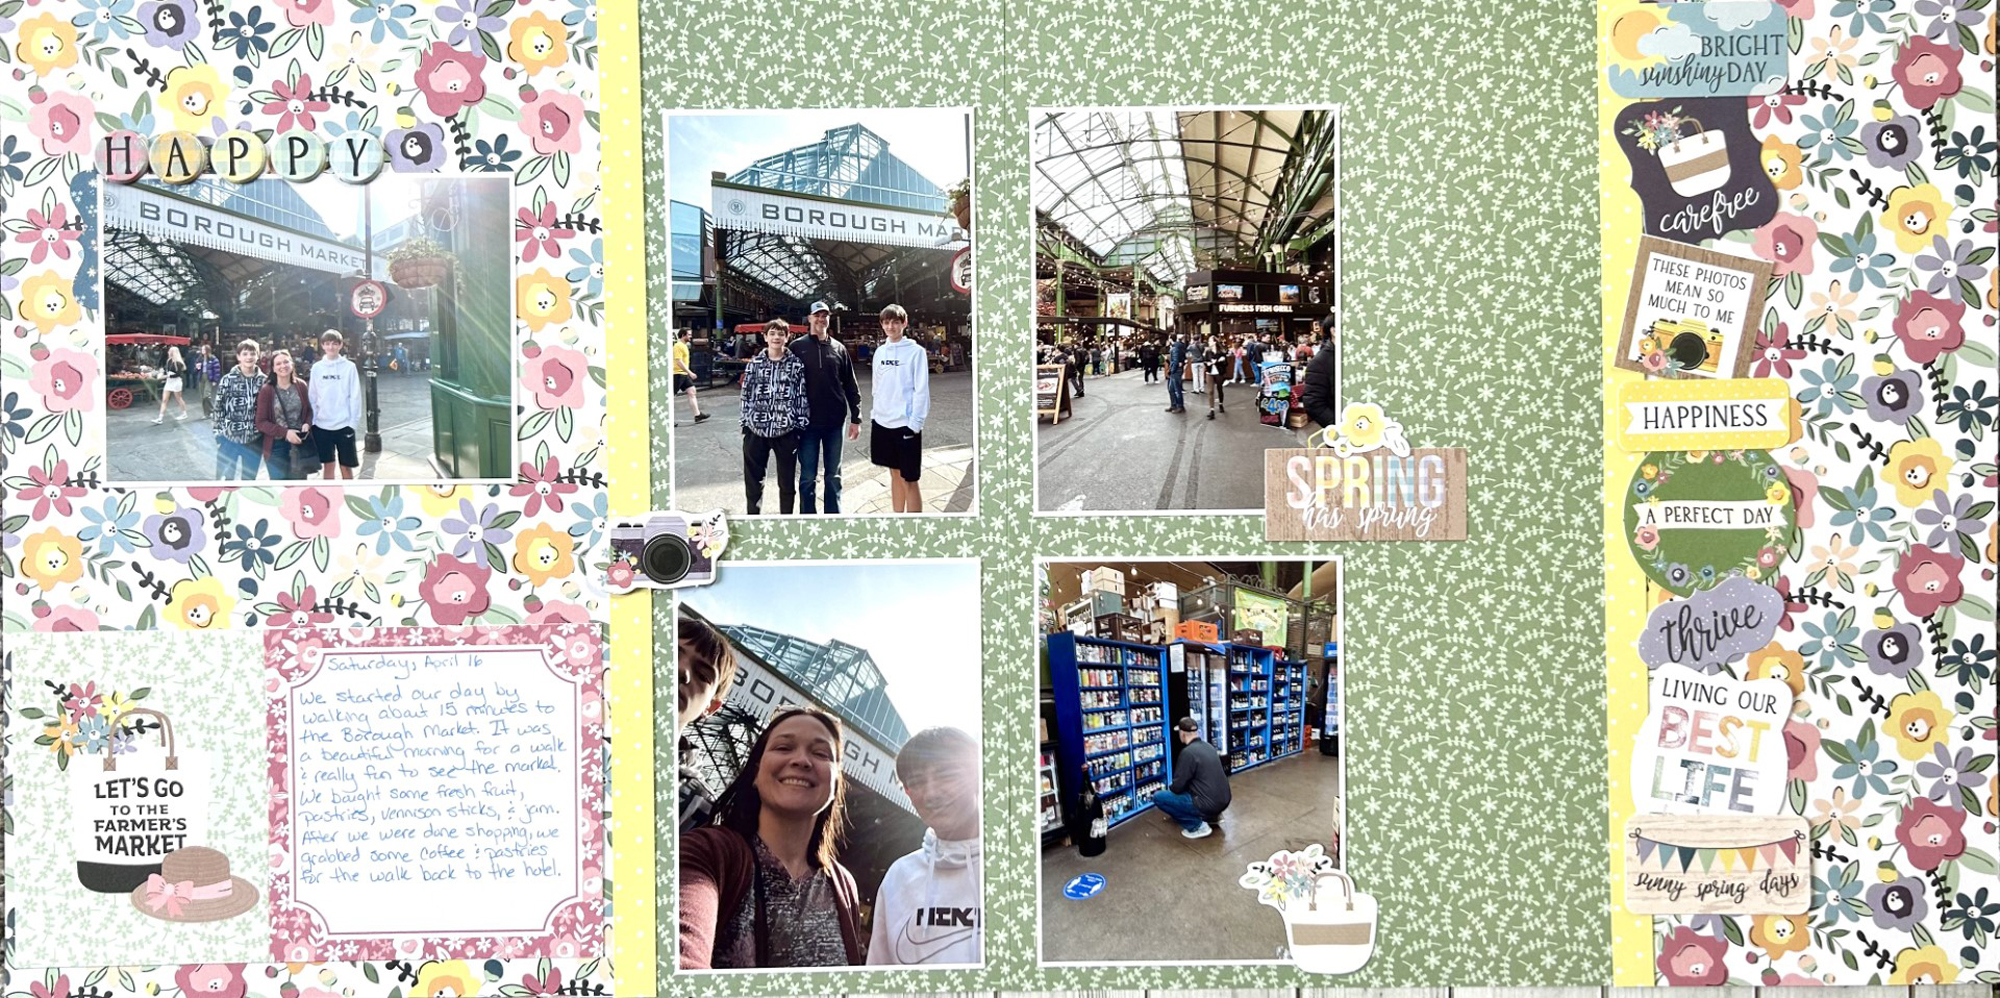
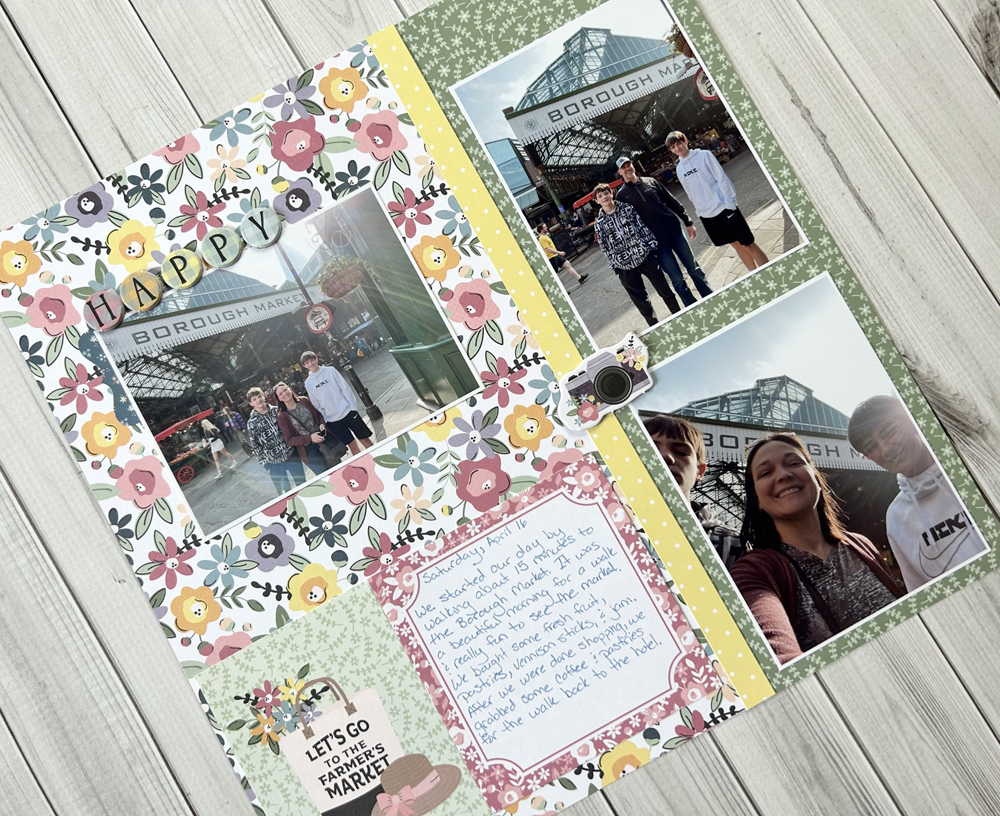
Farmer’s Market Scrapbooking Layout by Samantha Taylor
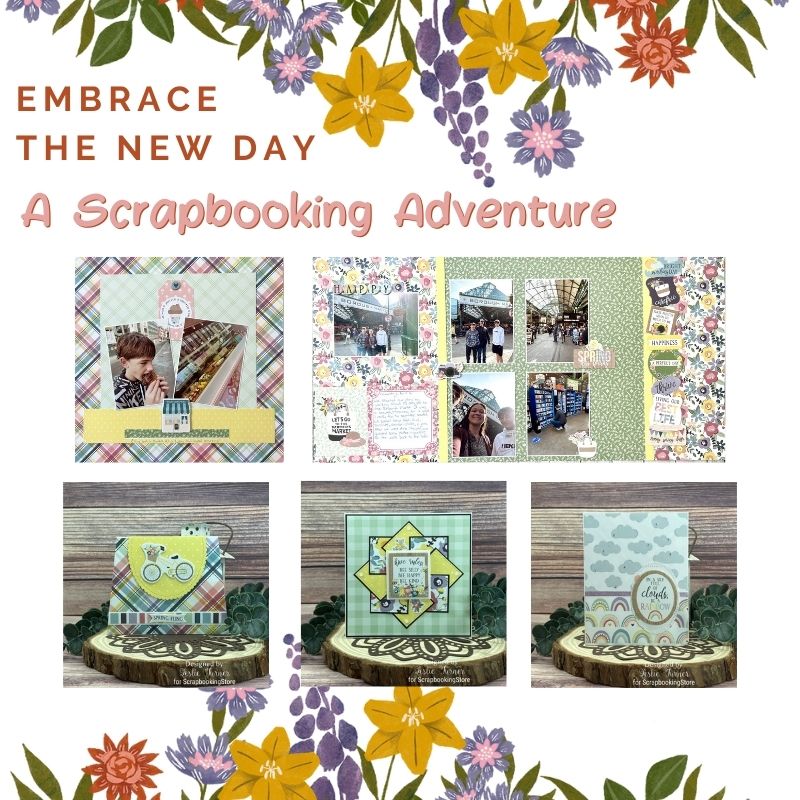
In the world of scrapbooking adventures, Samantha Taylor, embarked on a new project called the "Farmer's Market Scrapbooking Layout." It had been quite some time since she last shared a 2-page layout, and she was excited to explore her creativity once again.
With a limited supply of paper in the kit, Sam knew she had to think outside the box to create a cohesive 2-page layout. She carefully selected two sheets of paper as her base, each unique and complementing the overall theme of the project.
To begin, Sam skillfully cut both sheets at 12" x 4 1/2", keeping in mind the arrangement she envisioned for her layout. The beautiful floral pattern was given a place of prominence on the far left, while the soothing green paper found its spot beside it, forming a seamless 12" x 12" piece. Sam ingeniously used a 1/2" strip of cheerful yellow paper to connect the two pieces together, giving the layout a unified appearance.
Moving on to the next phase of her creative journey, Sam arranged the 7 1/2" strip of floral paper on the far right, contrasting it with the 4 1/2" piece of green paper which she placed on the inside or left side of the floral sheet. These carefully positioned elements combined to form the second 12" x 12" piece of paper. As before, Sam used a 1/2" strip of the sunny yellow paper to join the sections seamlessly.
With the sturdy and artistic bases in place, it was time to add the heart of the layout—the photos. Sam lovingly placed her cherished photos onto the carefully prepared canvas, ensuring each one had a perfect spot on the page.
Not forgetting the essence of storytelling in scrapbooking, Sam incorporated two journaling tags in the far bottom left corner. These tags would become the spaces where she could add heartfelt anecdotes, capturing the essence of the memories she wanted to preserve.
Finally, the time came to add the finishing touches—the embellishments. Delving into the included sticker sheet and reaching for the delightful die cuts and chipboard pieces from the embellishment kit, Sam infused her layout with a burst of creativity. Each element added its own charm, accentuating the story behind the photographs.
As the last chipboard piece found its place, Sam stepped back to admire her Farmer's Market Scrapbooking Layout. It was a masterpiece, a testament to her passion for scrapbooking and the joy she found in preserving memories through art. With a content smile, she knew she had captured the essence of the adventure in the most beautiful way possible.
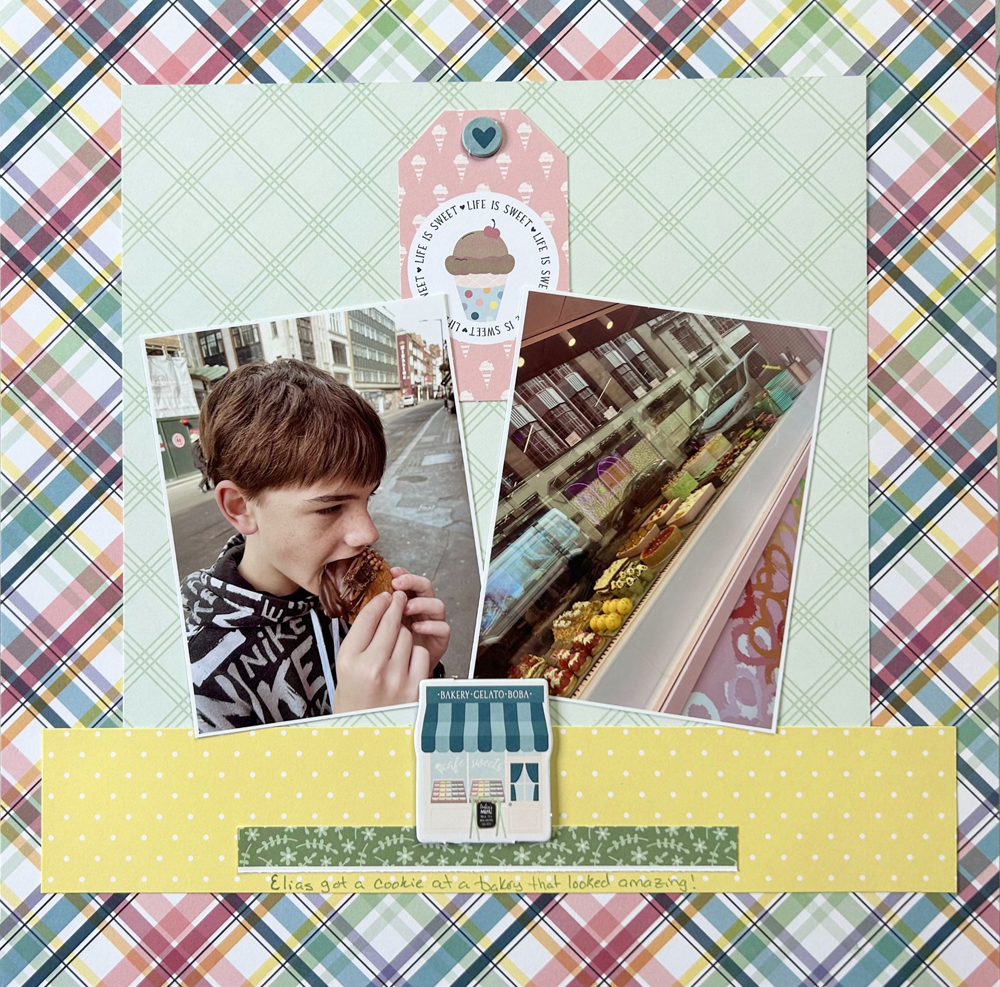
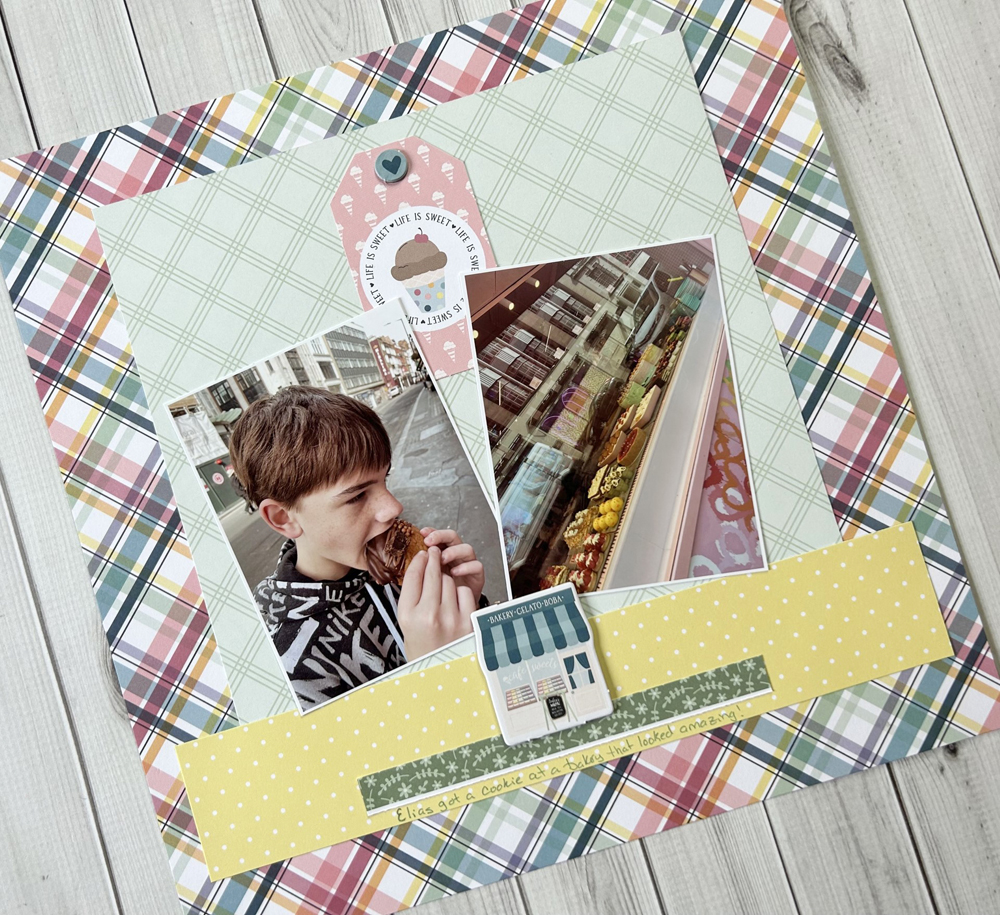
Life Is Sweet Scrapbooking Layout by Samantha Taylor
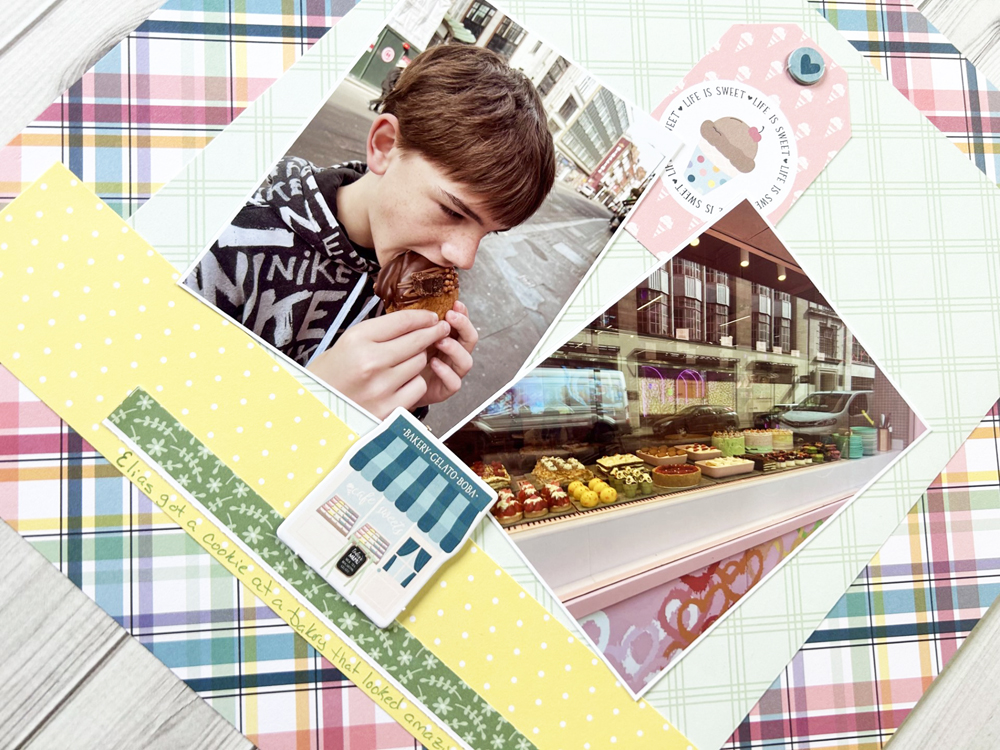
Sam delved into a delightful project called the "Life Is Sweet Scrapbooking Layout." Not one to typically use a lot of pinks in her scrapbooking endeavors, Sam found herself captivated by the charming pinks in the kit, which happened to perfectly complement the photos she had from a bakery-themed adventure.
Among the eye-catching elements in the kit, Sam was particularly drawn to the multicolor plaid paper, which she chose as the vibrant and lively base for her layout. Its playful patterns set the tone for the entire composition, and she couldn't wait to bring her artistic vision to life.
With the base securely in place, Sam proceeded to add a square of mint colored plaid paper. This mint square served as a beautiful contrast to the multicolor plaid, creating a balanced and visually appealing arrangement. To anchor the mint square and enhance the overall design, she strategically placed a strip of sunny yellow paper beneath it.
As the stage was set, she lovingly arranged her cherished photos on the layout. Each image held a special memory from her bakery adventure, and she wanted to preserve those moments in the most enchanting way possible. Between the photos, she artfully added a cute matching tag, adding a touch of charm and personalization to the layout.
To infuse the layout with more character and depth, she reached for some delightful chipboard embellishments from her collection. These whimsical pieces added texture and visual interest to the project, perfectly accentuating the theme of the bakery adventure.
In the spirit of storytelling, Sam made sure to include some heartfelt journaling. With carefully chosen words, she captured the essence of the memories she was preserving, infusing the layout with warmth and emotion.
Sam Taylor invites us to explore more of her scrapbooking adventure layouts on her blog. There, fellow scrapbooking enthusiasts could discover the magic of her artistic journey and perhaps find inspiration for their own scrapbooking adventures.
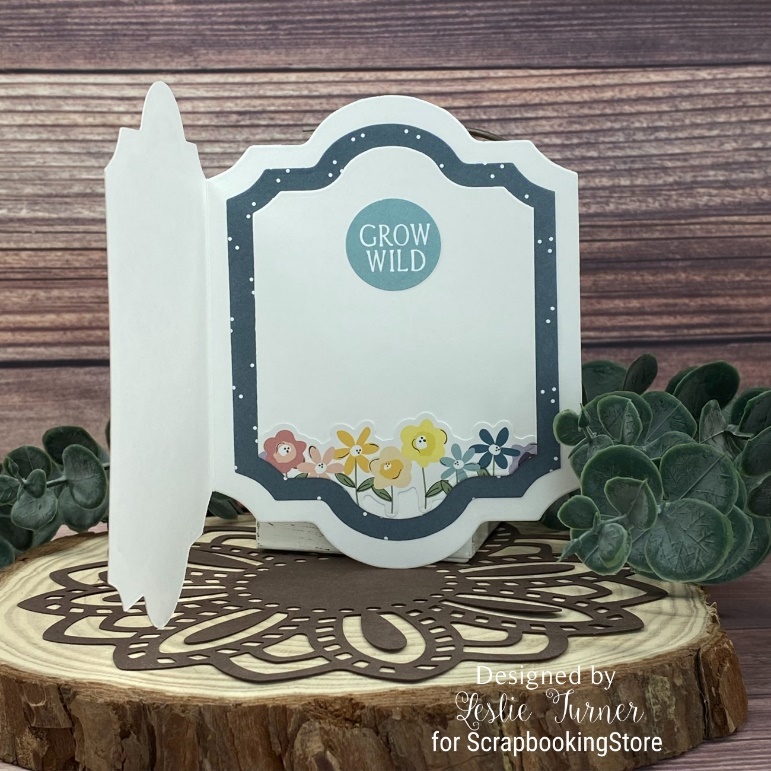
Oh Happy Day Shaped Card by Leslie Turner
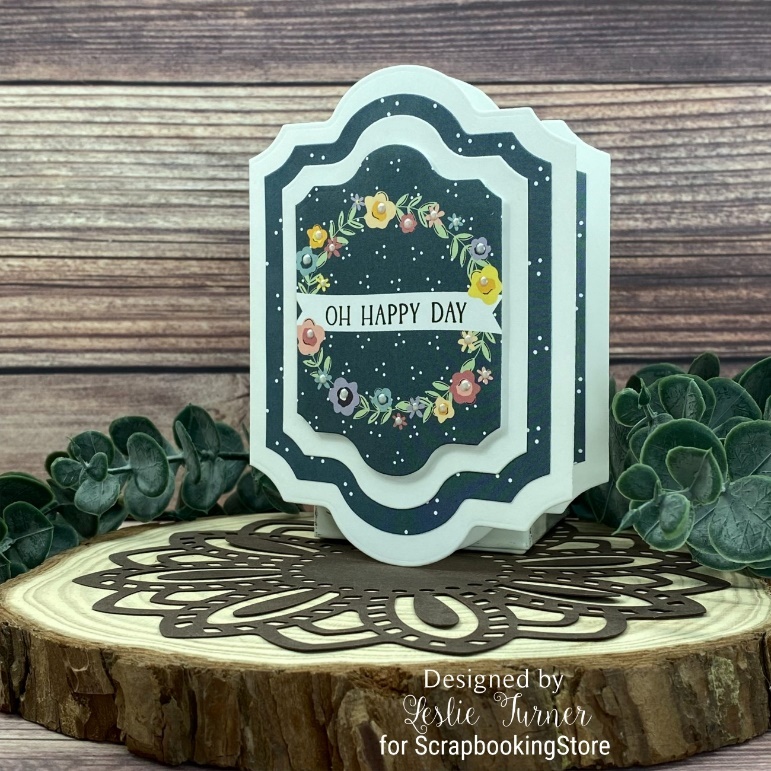
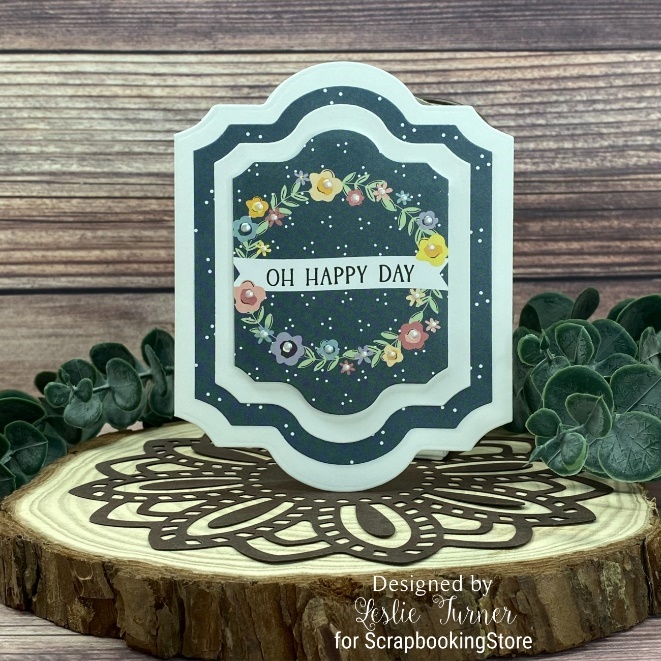
Leslie says this collection is amazing with all the coordinating papers and stickers, not to mention the chipboard, ephemera, frames and tags in the upgrades! She’s a huge fan of shaped cards and created a pretty friendship card.
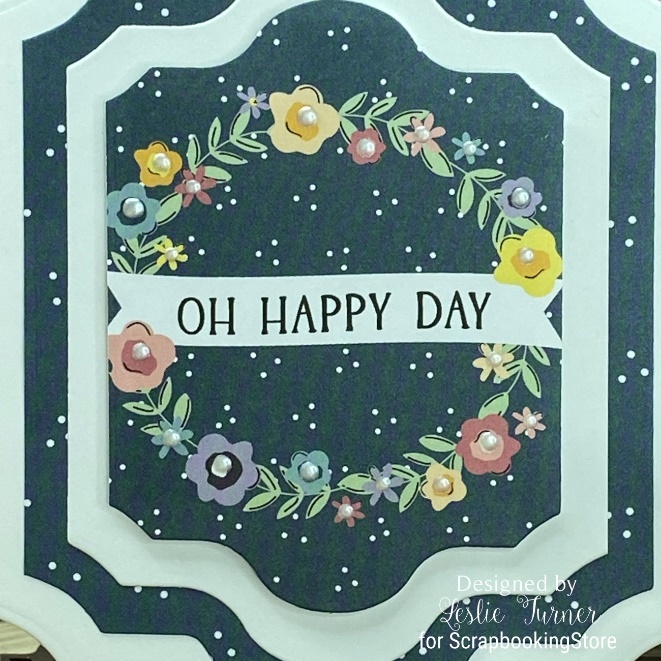
She cut the shaped card base from white cardstock using a die set in her stash. She cut the layering panels for the front from patterned paper and a 3x4 journaling card in the collection alternating with a panel cut from white cardstock. She popped the focal panel up on 1" double-sided foam strips and added dimensional drops to the flower centers.
She die cut the inside panels from the patterned paper in the kit used on the front along with white cardstock embellished with a floral sticker from the kit prior to cutting. She added a die cut sentiment from the upgrades which completed the card.
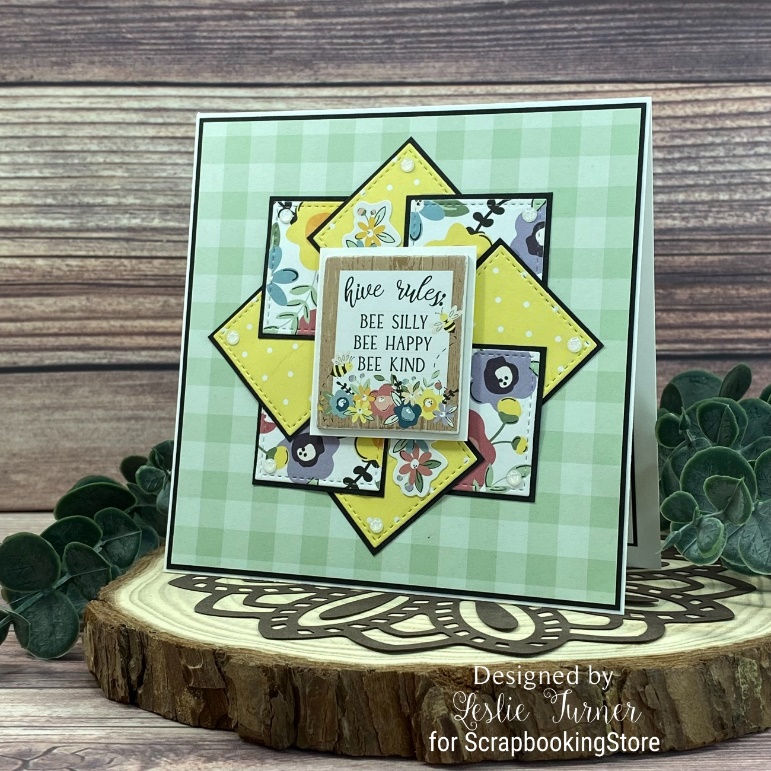
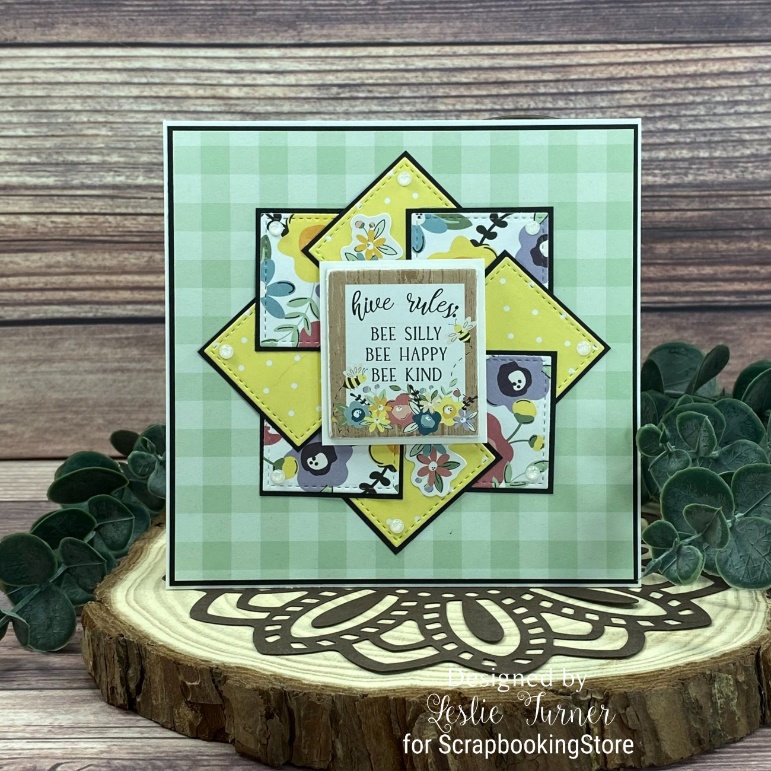
Hive Rules Pinwheel Card by Leslie Turner
Leslie loves all the different patterned papers in this month's kit and picked out three coordinating prints to make a pinwheel card. She used a chipboard accent from the upgrades as the focal element.
She cut a square card base from white cardstock along with layering panels from black cardstock and a gingham pattern from this month's kit. She cut eight squares for the pinwheel from two patterns in the collection along with layers cut from black cardstock. Leslie added a chipboard accent from the upgrades which she layered on a scrap piece of white cardstock.
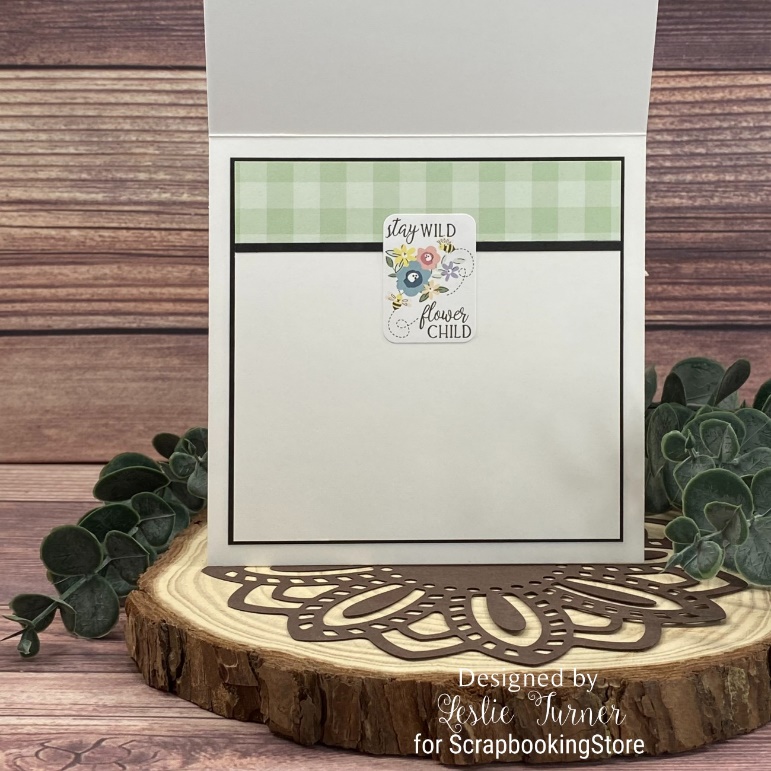
She cut the inside panel from white cardstock and embellished it with a scrap piece of the gingham print from the kit and a narrow strip of black cardstock used on the front. The finishing touch was adding a sentiment piece from the Frames & Tags in the upgrades.
See more of Leslie’s projects on her blog!
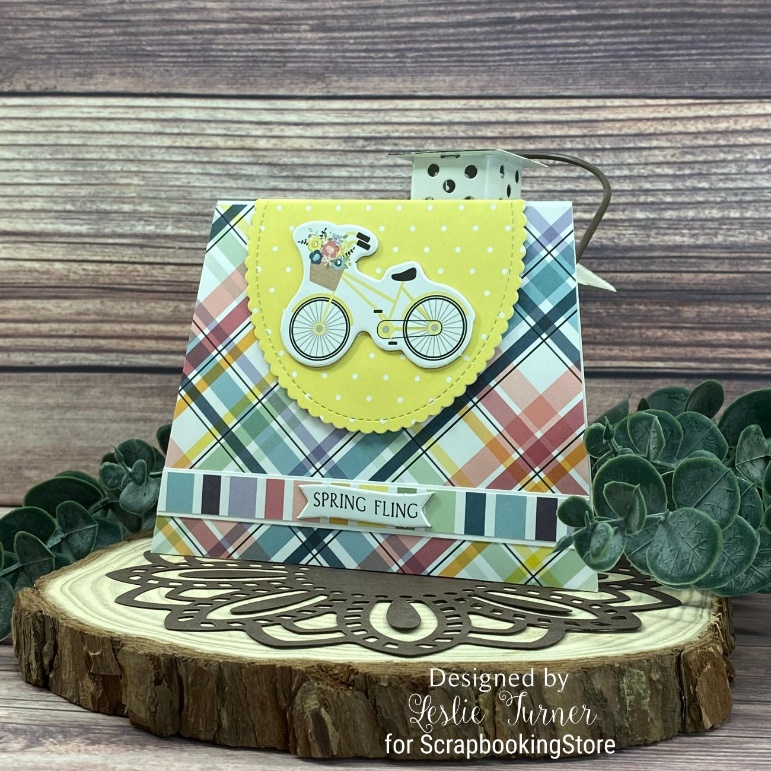
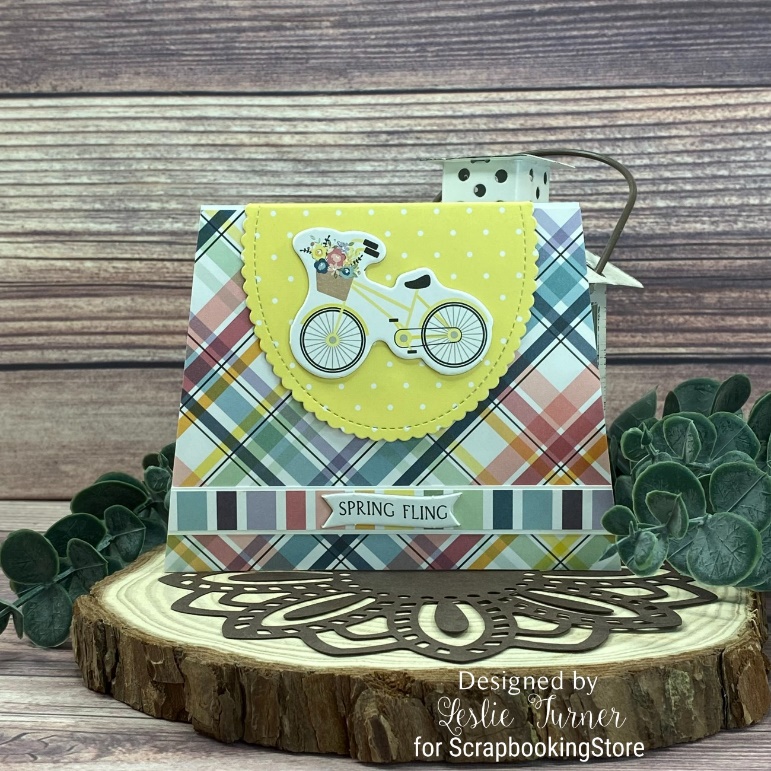
Spring Fling Clutch Purse by Leslie Turner
Leslie has always loved using chipboard accents on her projects, and the package included in the upgrades this month is pretty amazing! She’s used two of them on the front of this cute little clutch purse!
She cut the clutch purse card base and flap closure from white cardstock and covered them with patterned papers from the collection. She added a layered strip embellishment across the bottom and adhered the chipboard accents from the upgrades. The final step was adhering a small disc magnet to keep the purse closed.
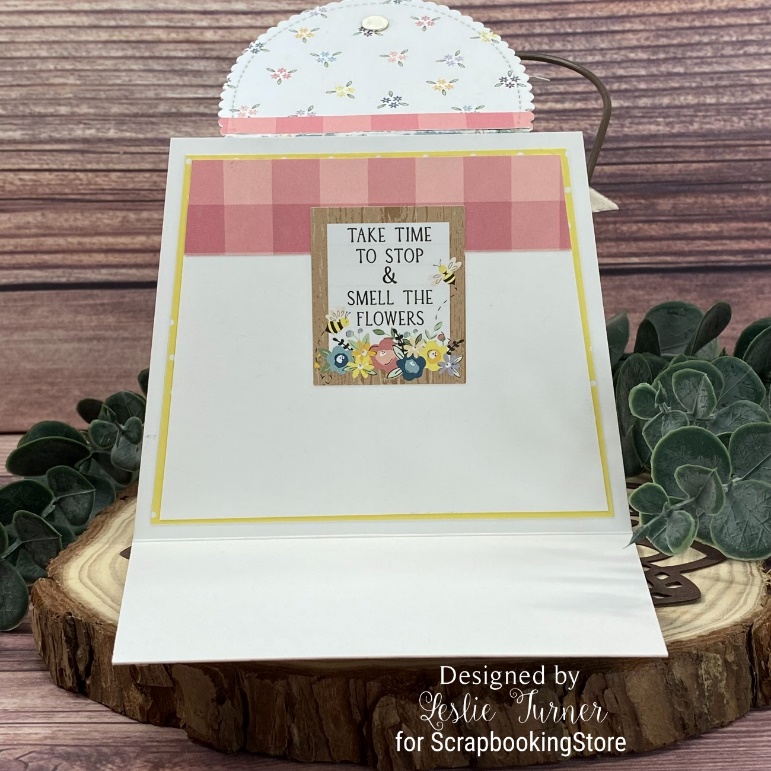
Leslie cut the inside panel from white cardstock and embellished it with a print from the kit. She added a sentiment sticker from the sticker sheet and layered the panel on another print from the collection.
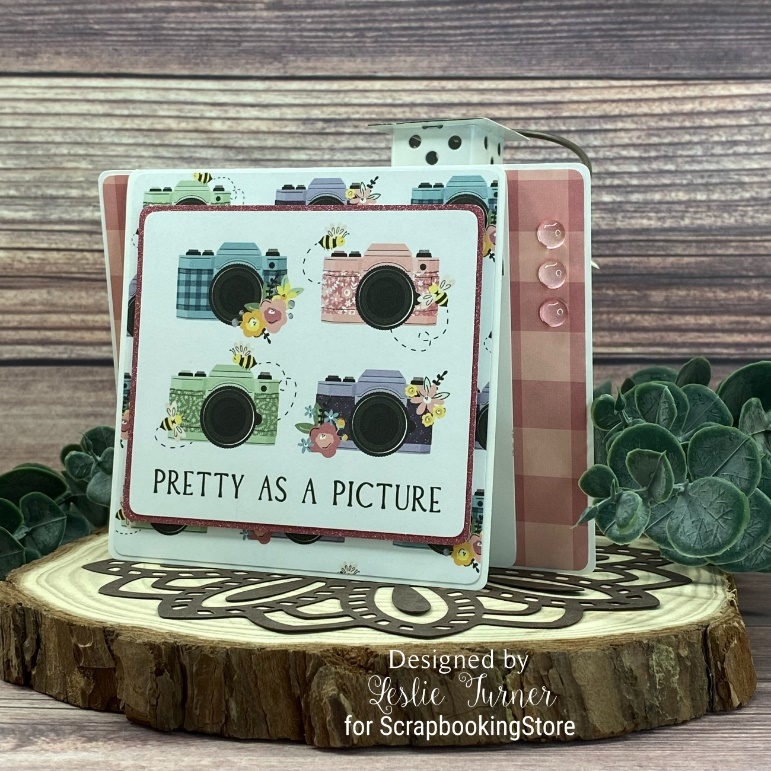
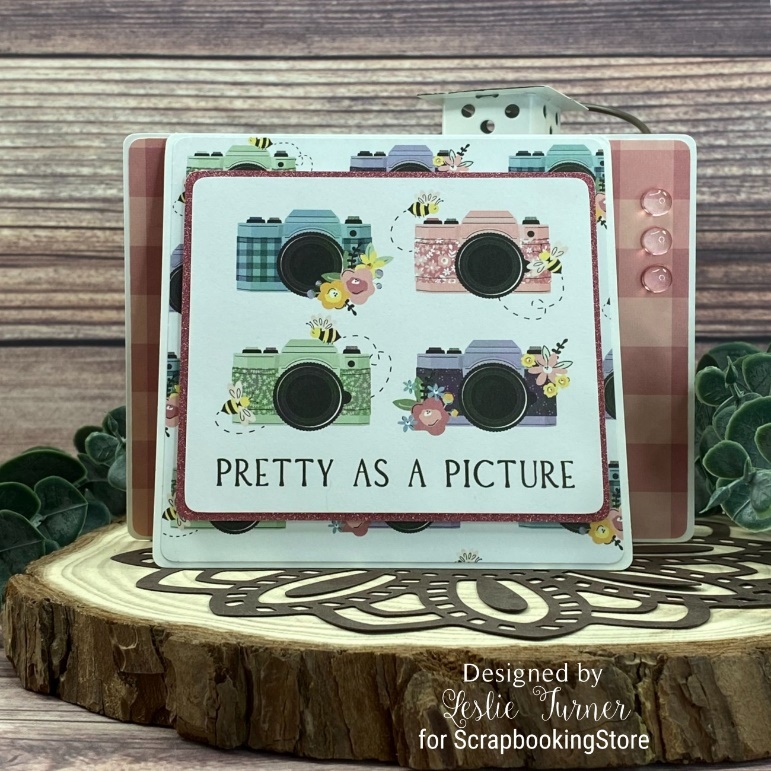
Pretty As A Picture fun fold by Leslie Turner
Leslie totally loves all the different sized journaling cards included in this month's collection as they make excellent focal images for projects. She created this pretty front flap card featuring one of the 4x4 journaling cards with coordinating paper.
She cut the card base from white cardstock along with layering panels from two prints in the collection and pink glitter paper from her stash. She trimmed a 4x4 journaling card and rounded all four corners on all the pieces. She popped the focal panel up on double-sided foam strips and added three pink embellishments.
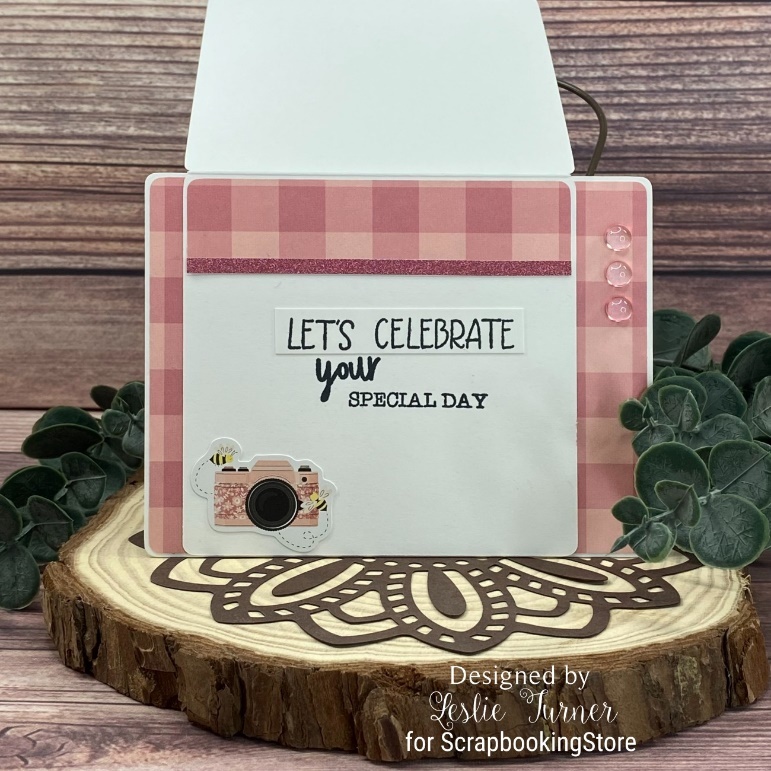
She embellished the inside of the front flap with a plaid print from the collection and a narrow strip of the glitter paper used on the front and added a stamped sentiment and sticker from the sticker sheet.
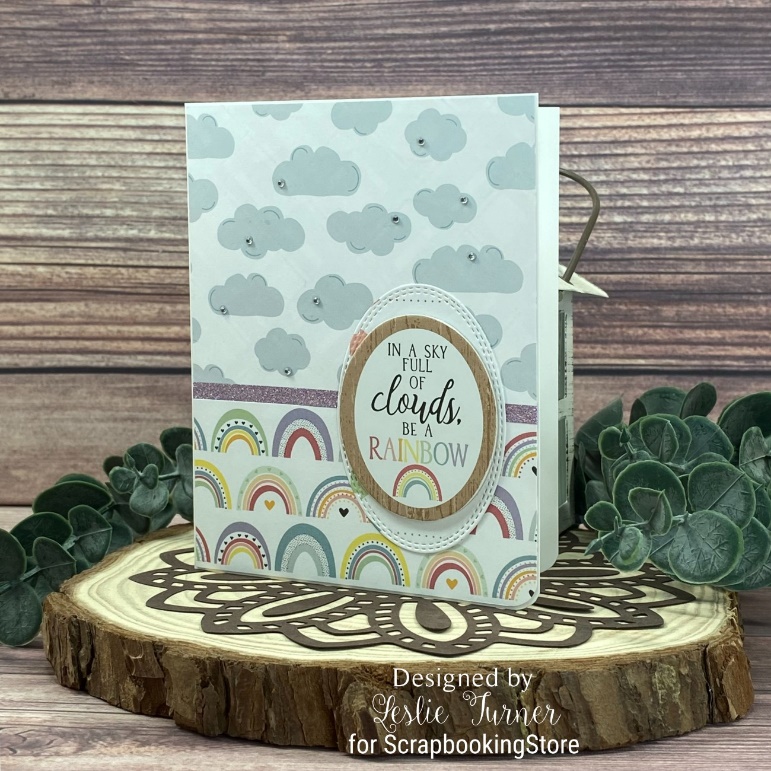
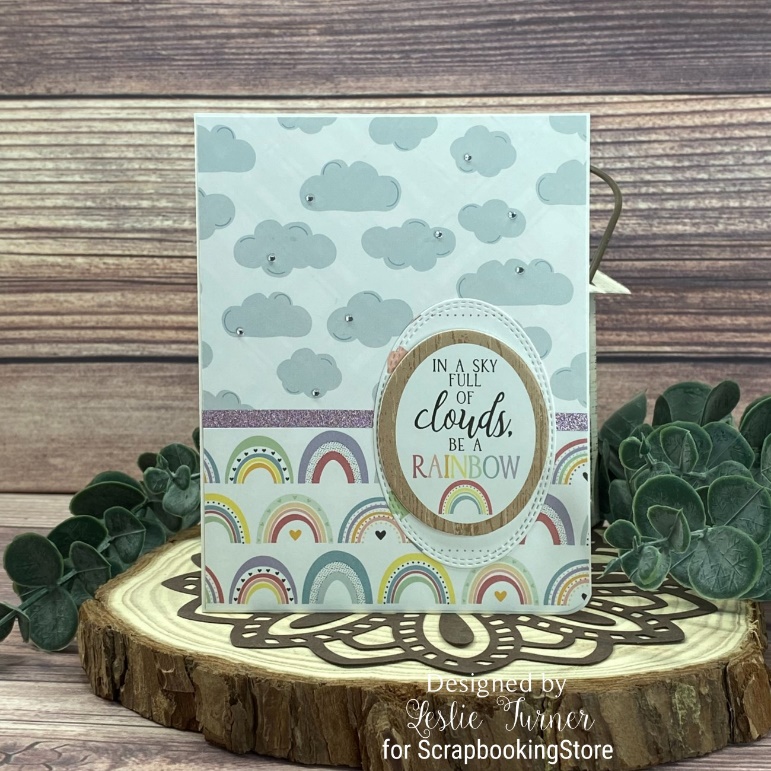
Be A Rainbow Card by Leslie Turner
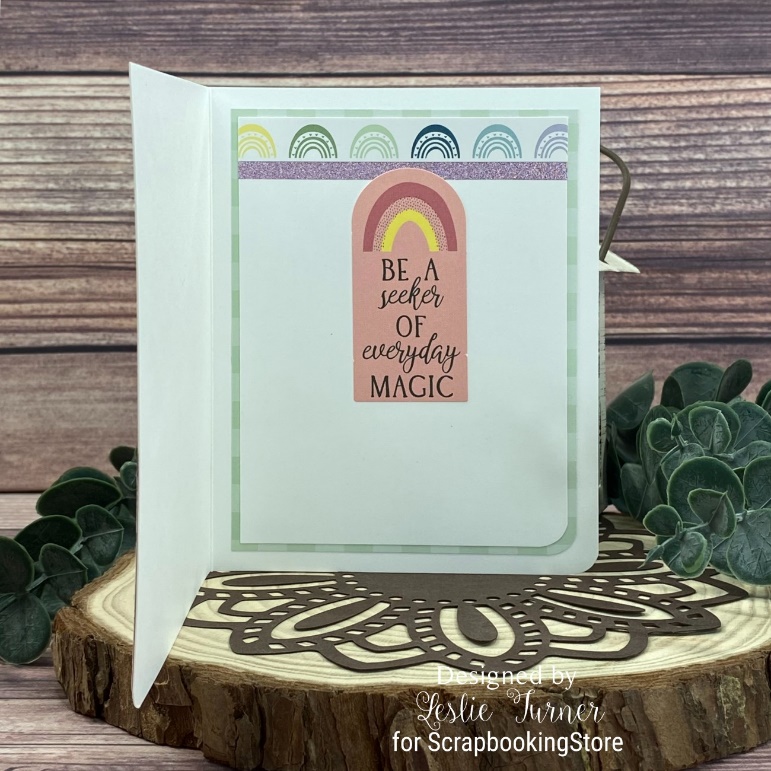
Leslie cut a standard A2 size side-folding card base from white cardstock along with layering panels from two prints in the collection and rounded the right bottom corner. She added some pink skinny glitter washi tape from her stash prior to adhering a die cut oval and chipboard accent. The finishing touch was adding tiny clear gemstones to several of the clouds.
She cut the inside panel from white cardstock and embellished it with a sticker strip of clouds from the sticker sheet and a strip of pink skinny glitter washi tape. She added a sentiment die cut from the upgrades which completed the card. See more of Leslie’s scrapbook embellishing projects on her blog!
Visit our blog for more scrapbooking adventure layouts and crafts using our monthly kits!
Join our exclusive Facebook Community for Club Members. It will grant you access to amazing layouts and content made by our design team, fun monthly contests and tutorials to meet other crafters!
Haven't subscribed yet? Now's your chance, be sure to sign up today!
GET OUR MONTHLY KITS DELIVERED TO YOUR DOOR!
