What's inside this
July Scrapbooking kit
Unleash those summer vibes! Dive into the Scrapbooking Store Summer Exclusive by Photoplay and fill your layouts with sunshine, adventure, and a carefree spirit. This collection perfectly captures the essence of summer and “Fun in the Sun!”. Feel the warm breezes, enjoy firefly-filled evenings, and embark on adventures under the bright, sunny sky.
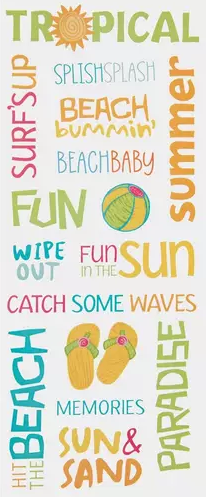
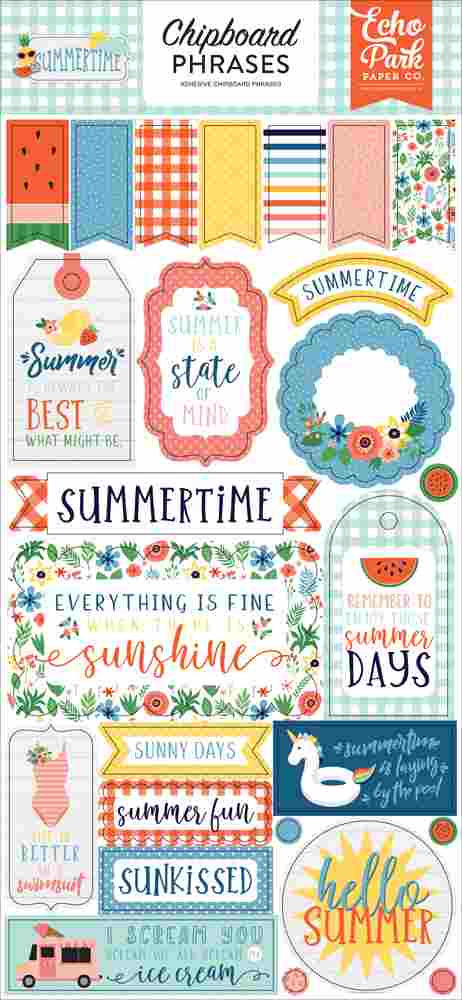
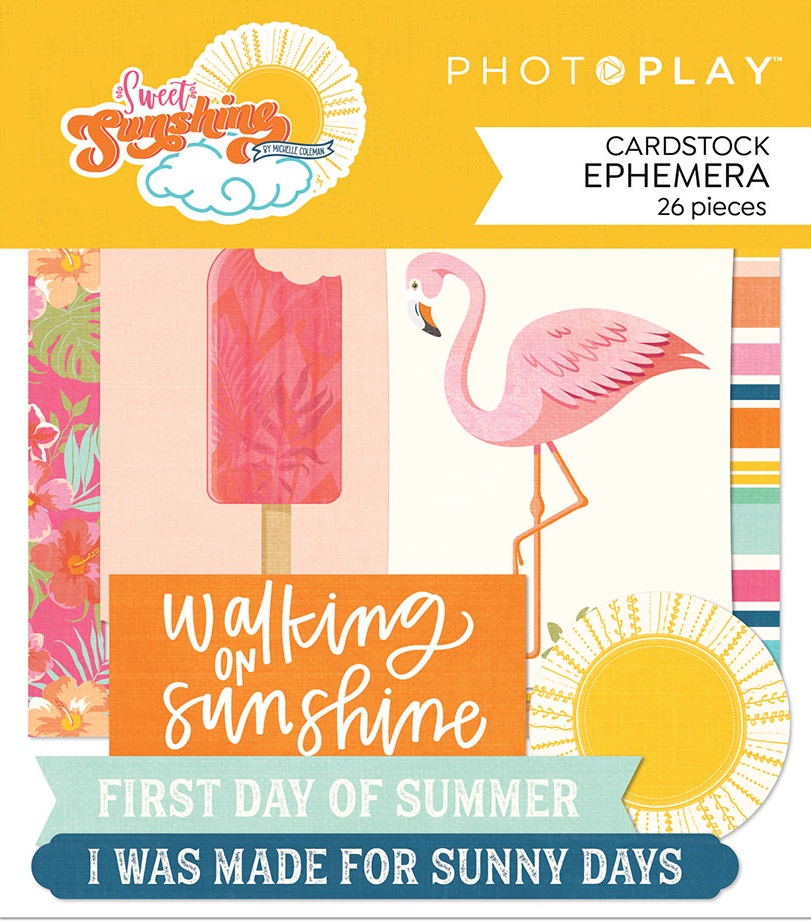
It includes 12 gorgeous double-sided papers and a 12x12 matching sticker sheet. Whether you're crafting cards, scrapbook layouts, tags, journaling pages, or other paper projects, this collection will inspire you to capture the vibrant spirit of summer adventures!
Received this kit as a gift subscription? No problem, you can also contact us to upgrade!
New to our club? Join our Members Facebook Group so you gain access to all our inspiration, contests, and more: www.facebook.com/groups/ScrapbookingStoreClub/
Project Inspiration for July kit
We’re so excited to present our July layout and craft ideas created by our fabulous Design Team members using our collection Scrapbooking Store Summer Exclusive by Photoplay.
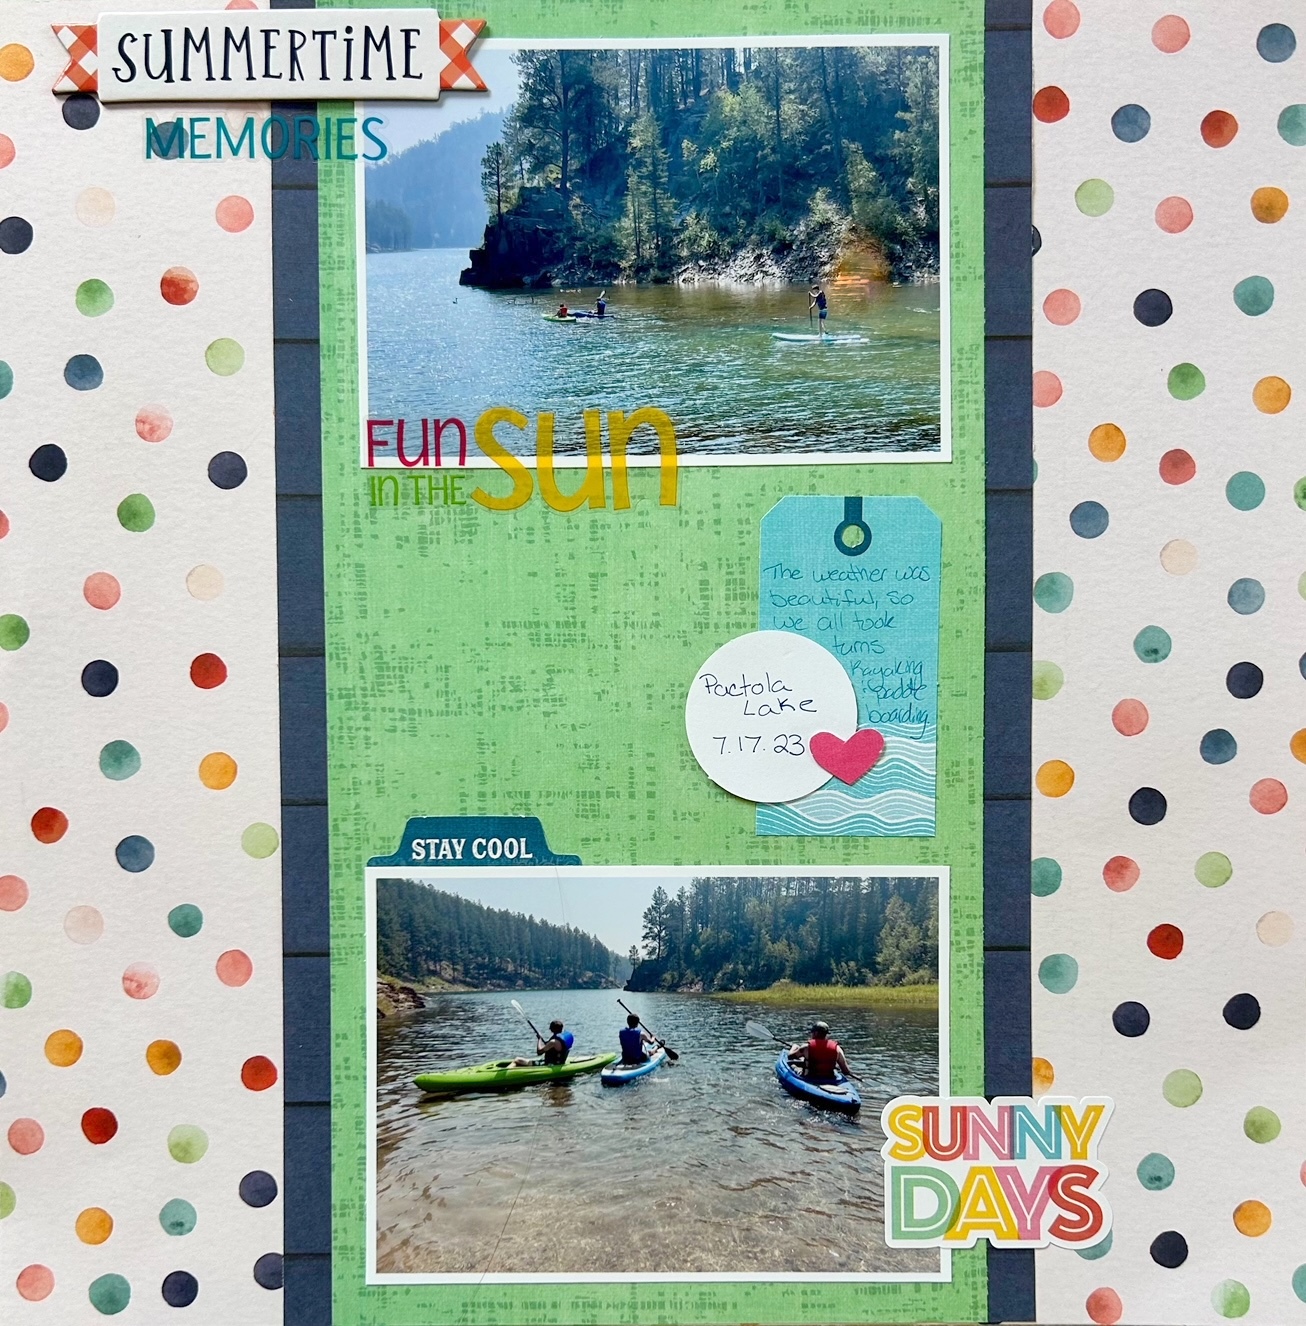
SUMMERTIME MEMORIES SCRAPBOOKING LAYOUT
The watercolor polka dot paper stood out as the clear favorite for the layout. It served as the base, complemented by a 6 1/2" x 12" piece of blue wood grain paper layered on top. Over this, a 6" x 12" green linen print paper was added, creating a textured backdrop. Photos were carefully placed next, followed by an array of embellishments. Utilizing stickers from the provided sheet and additional items from the upgrade kit, the layout gained depth and personality. For the journaling tag, a choice from the upgrade kit was made, though it initially featured a sailboat. To modify this, additional embellishments were layered strategically over the tag, effectively concealing the sailboat motif while enhancing the overall design.
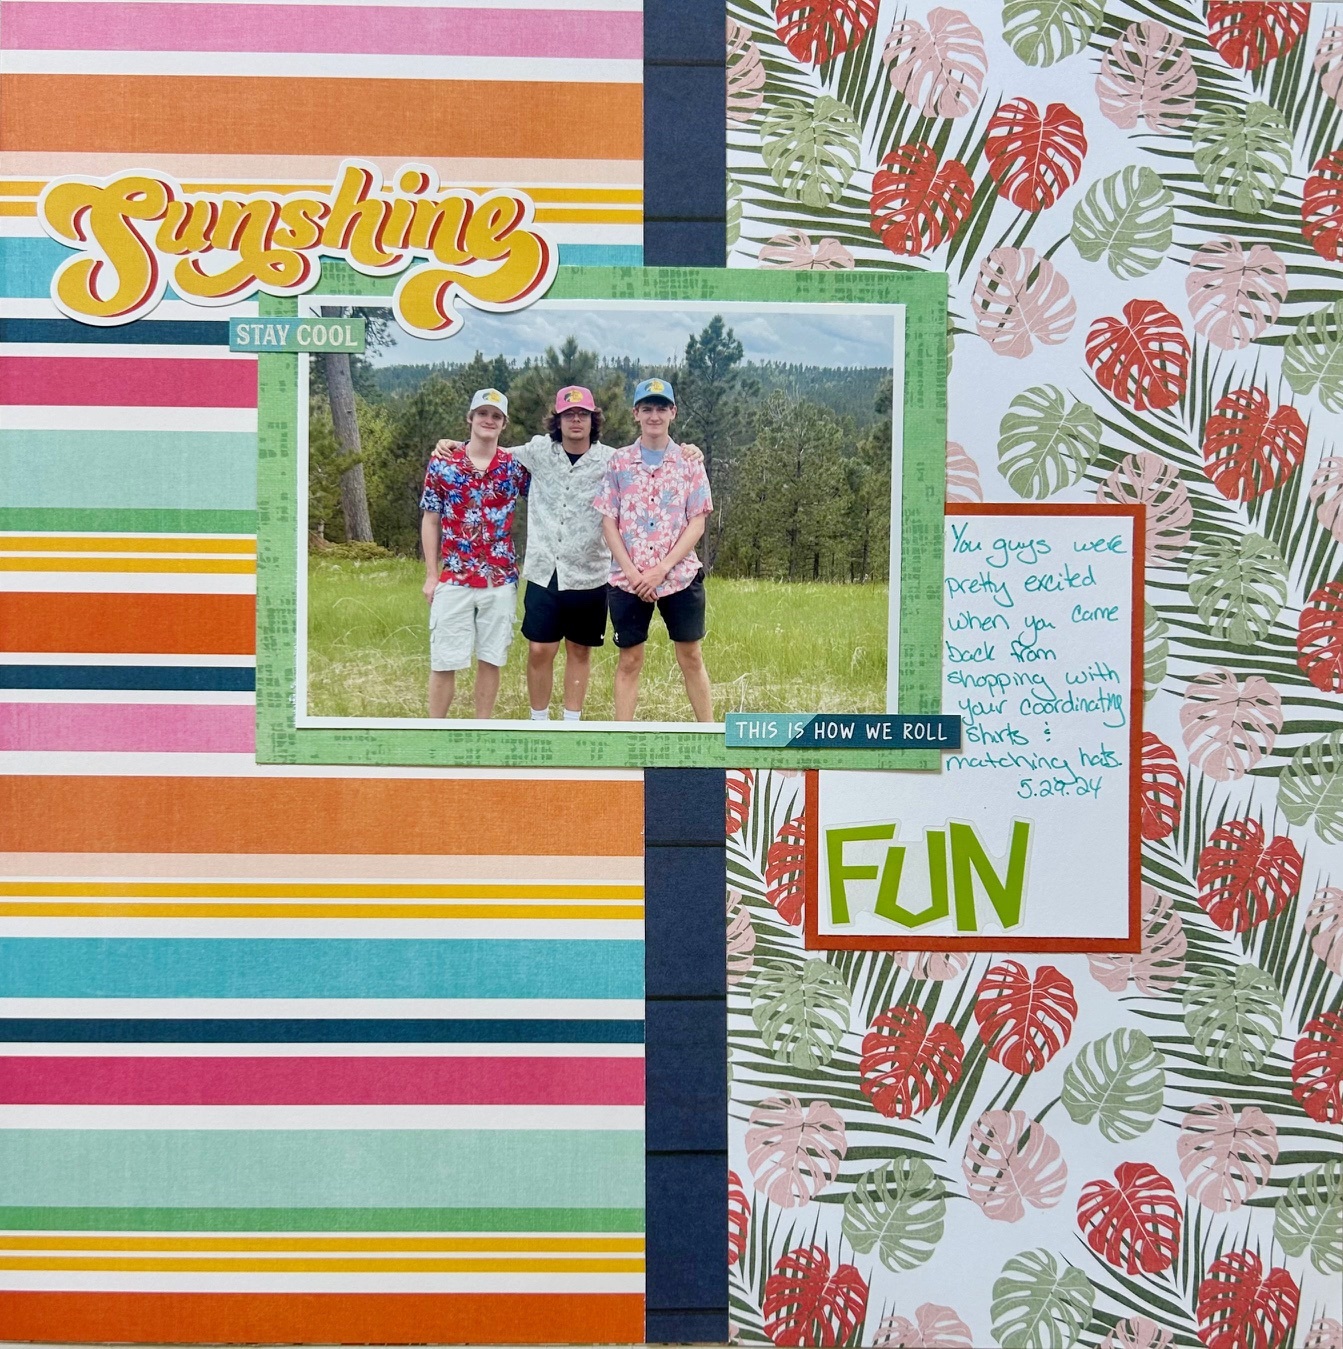
SUNSHINE SCRAPBOOKING LAYOUT
A photo was taken of a son and his friends, capturing a moment in their Hawaiian shirts. When the prints in this month's kit were seen, it was clear that this photo had to be scrapped using them. The palm leaf paper was an obvious choice for its thematic match with the photo, but the bold stripe paper also stood out as a fun, vibrant option. Struggling to make them work together, the decision was made to embrace their differences by splitting them right down the middle. To create a cohesive transition, a 3/4" strip of blue wood grain paper was added in the center. A neutral green paper, coordinating with both patterns, was used to mat the photo, and coordinating stickers from the included sheet were selected to tie everything together seamlessly.
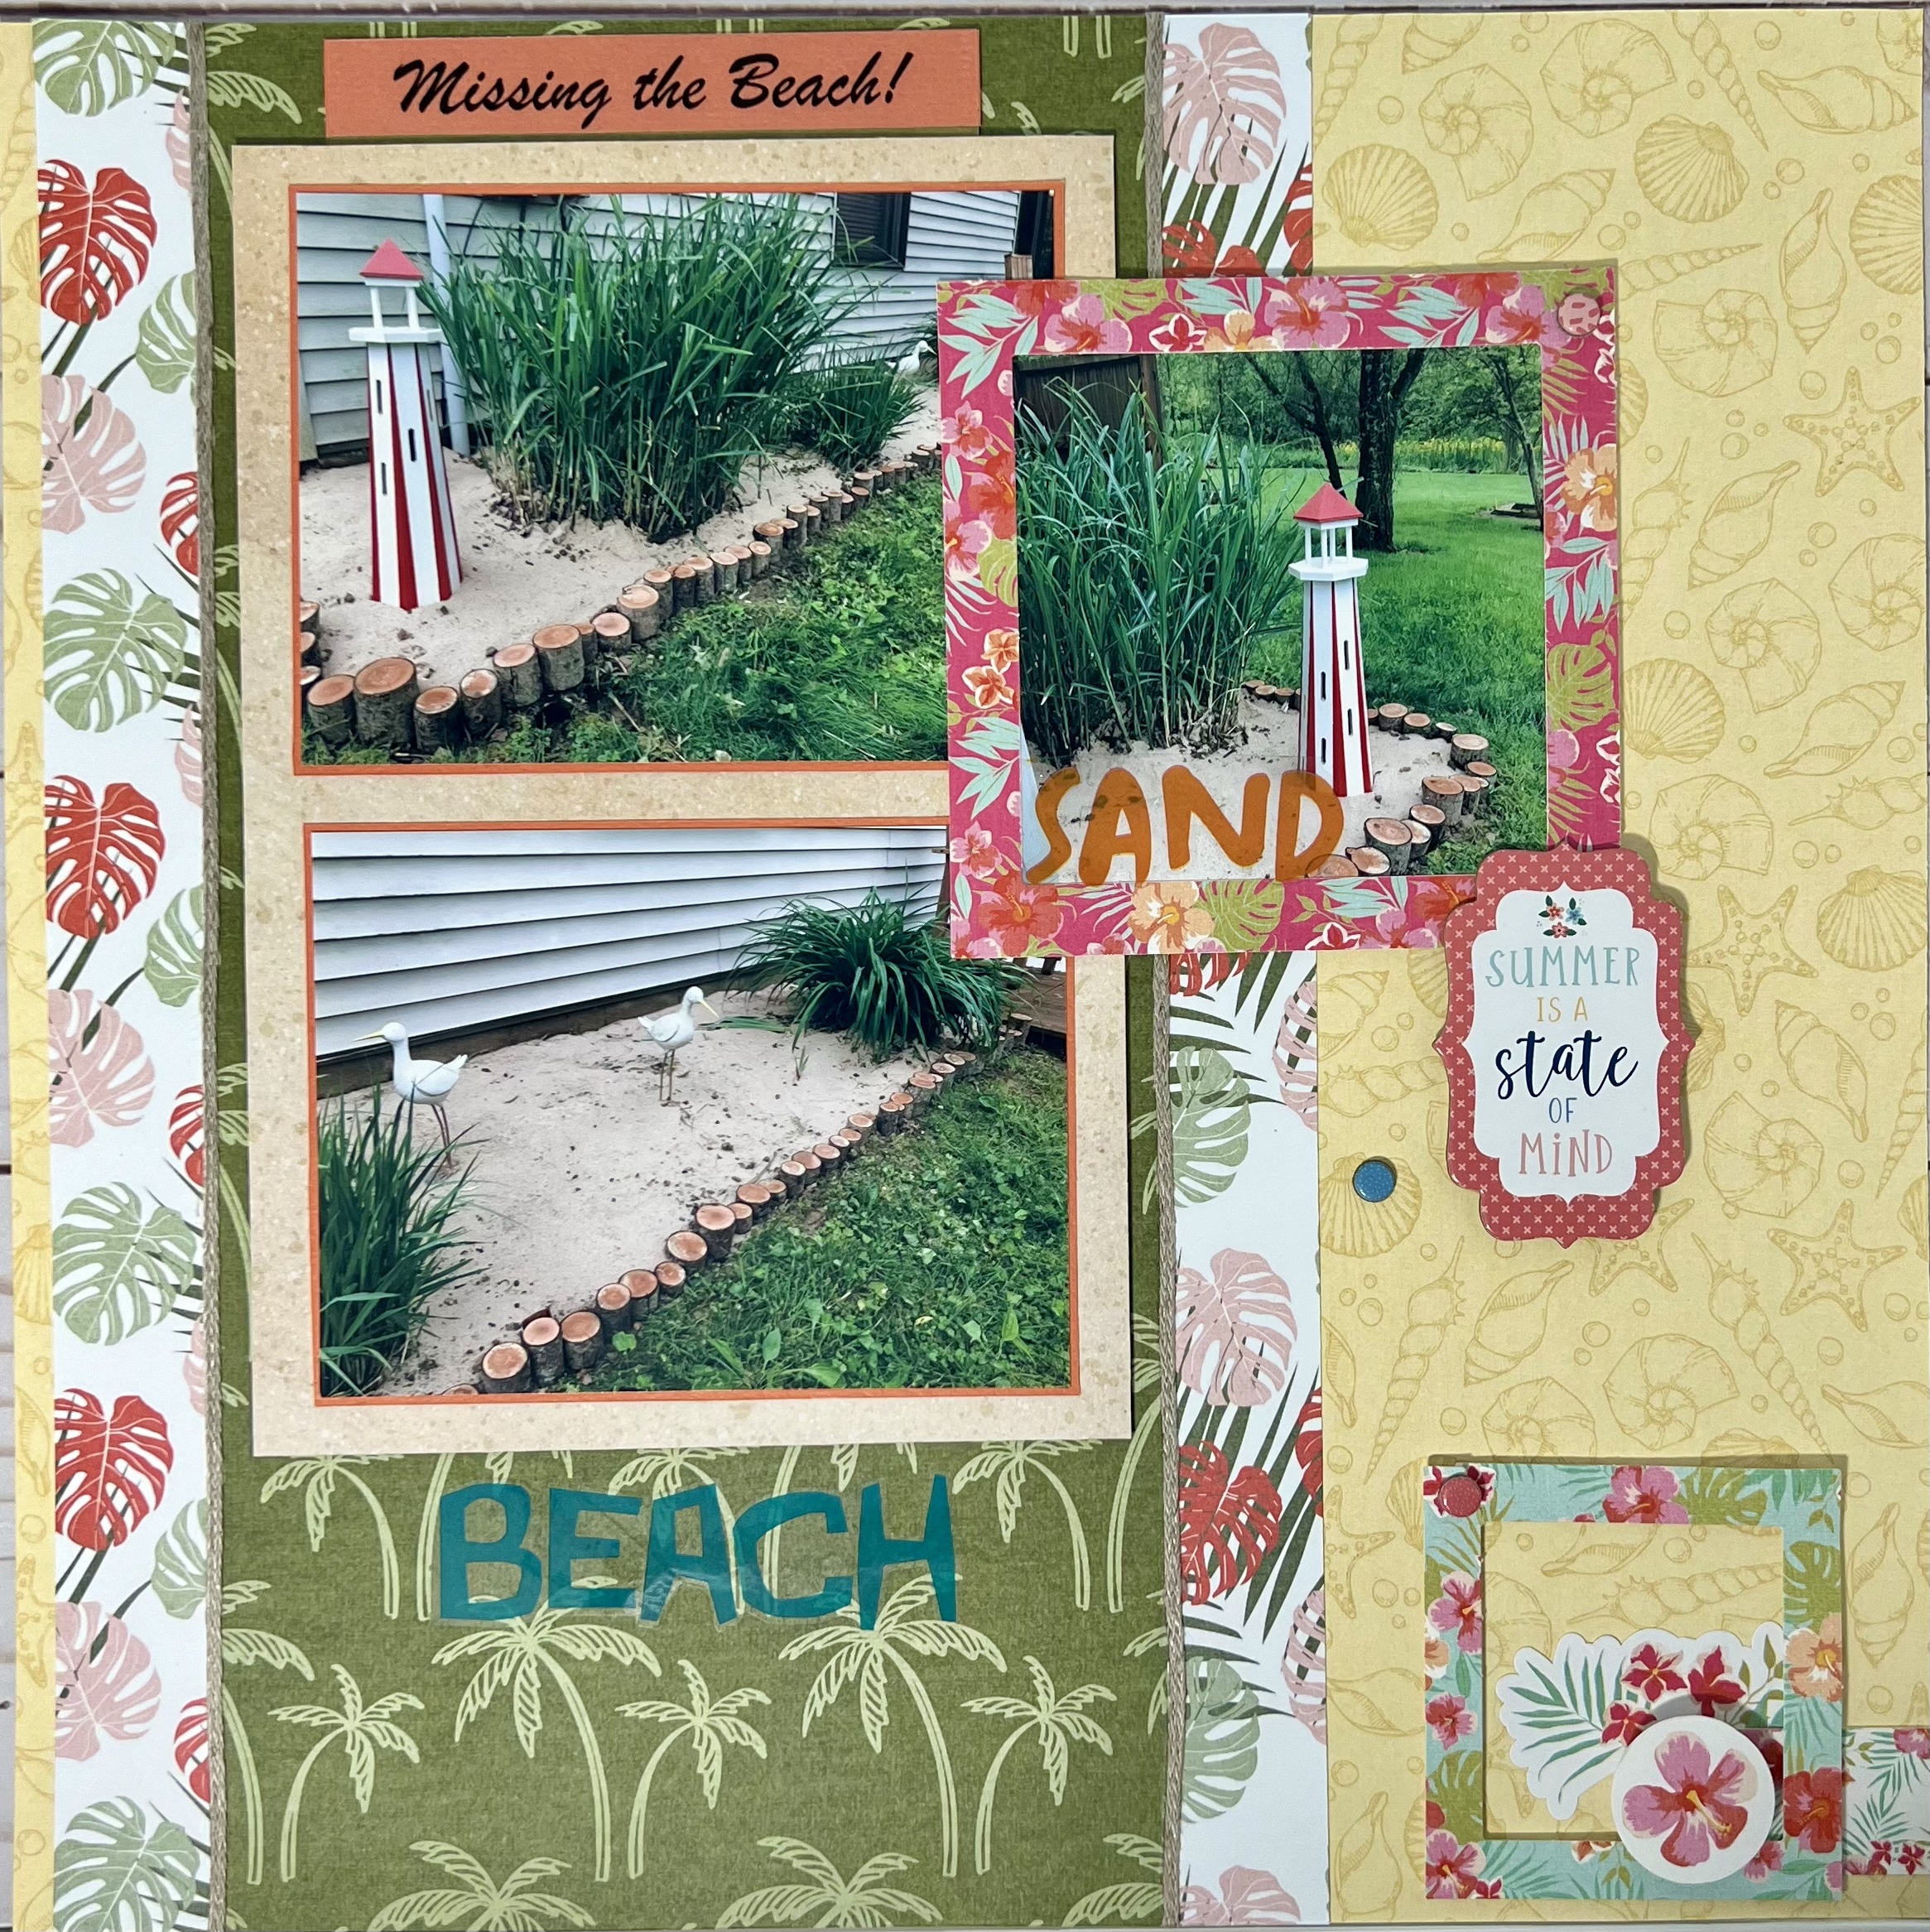
MISSING THE BEACH SCRAPBOOKING LAYOUT
For the base layer, a 12X12" yellow patterned paper with shells was used, layered with a 6"X12" green patterned paper adorned with palm trees. Two 1"X12" strips of leaf paper were added to each side of the green patterned paper, with Stampin' UP! twine placed where the two papers meet to add dimension and separate the patterns. In the photo area, both photos were matted with cardstock from the stash to add color and distinction from the larger mat, which used the 'sand' patterned paper from the kit. The large mat of photos was mounted with foam tape on three sides, leaving the top open, and a photo frame from the upgrades was used to showcase the photo of the butterfly house. This photo was glued on the left and mounted with foam tape on the right for height consistency with the other photos. For hidden journaling, the 'Missing the Beach' title above the top photo pulls out to reveal the journaling. Embellishments from all three upgrades were added throughout the layout.
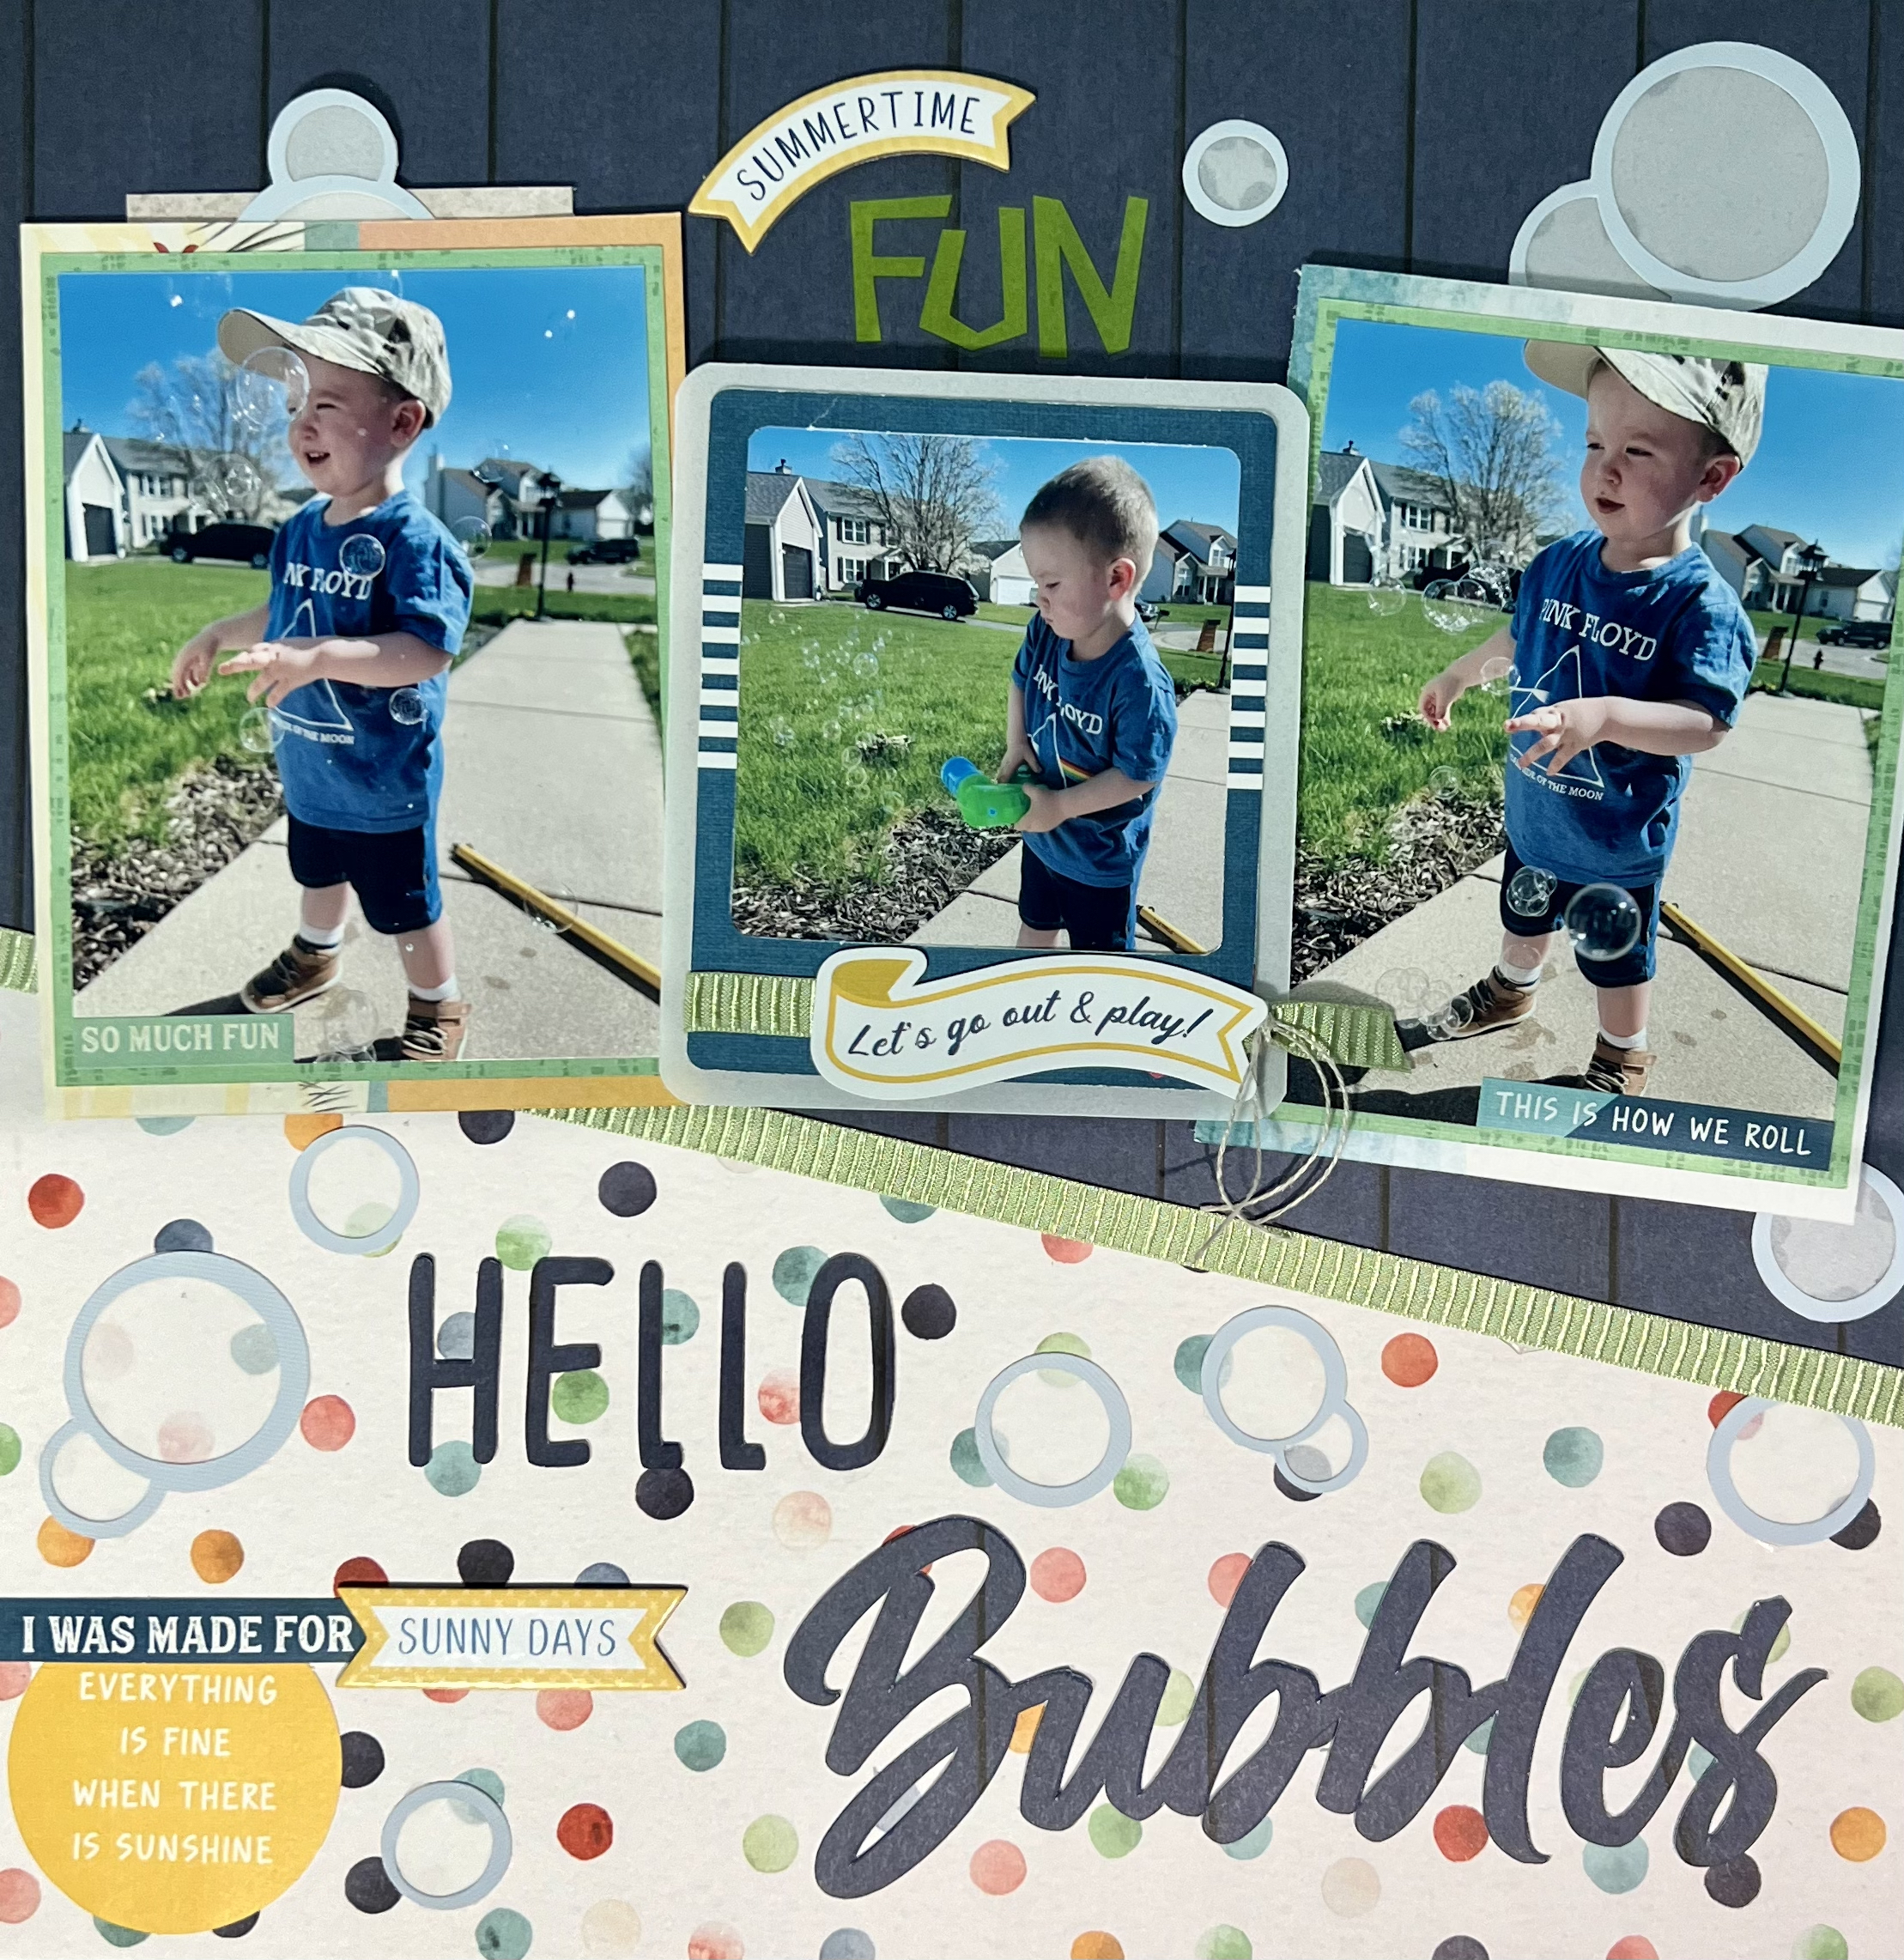
HELLO BUBBLES SCRAPBOOKING LAYOUT
A white 12X12" cardstock was used, layered with a 7X12" cream paper with dots. A navy patterned paper, cut at an angle, was layered on top, with a green ribbed ribbon from the stash to add dimension. The "HELLO Bubbles" title was cut three times using Cricut Design Space and layered for a 3D effect. In the photo area, Photo 1 (left) was mounted on green patterned paper and a beach scene, with foam tape on three sides and a bubble for hidden journaling. Photo 2 (right) was similarly mounted and raised with double foam tape. Photo 3 (middle) used a photo frame from the die-cut pack, tied with ribbon and twine, and mounted with triple foam tape to be the focal point. Embellishments included Cricut-cut bubbles with vellum backing, a cluster of items from the die-cut and chipboard packs, a sticker and chipboard above the middle photo, and stickers from the 12X12" sheet on each photo. The kit was thoroughly enjoyed.
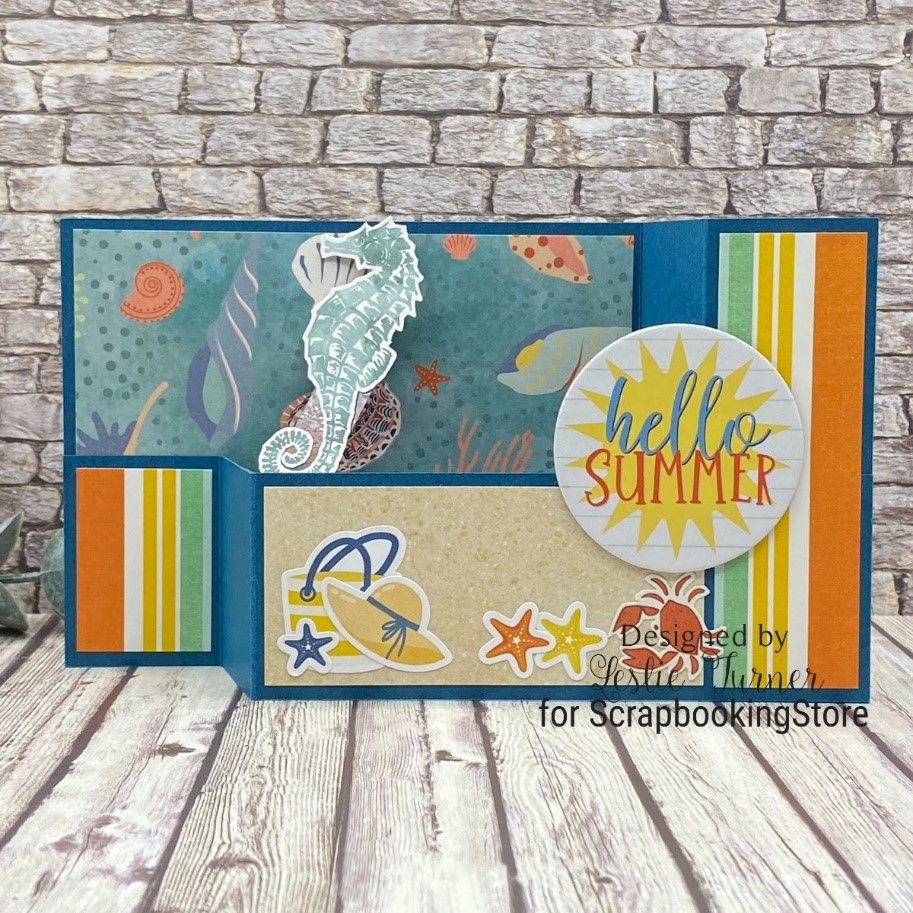
FAUX CENTER STEP CARD LAYOUT
Leslie cuts the card base at 4-1/4” x 11”, scores at 4-1/2”, 9”, and 10”, and folds it in a mountain-valley-mountain pattern. She cuts the center panel at 2-7/8” x 8”, scores at 2-1/2”, and folds. For the front layers, Leslie cuts patterned paper pieces: 2-5/8” x 5-1/4” for the center, two at 5/8” x 4-1/4” for the sides, and one at 5/8” x 4” for the bottom. Inside, she cuts a 4” x 4-1/4” colored panel and a 3-3/4” x 4” white panel. She adheres the patterned pieces to the card base and attaches the center panel, applying adhesive only to the bottom flaps. Leslie optionally hides the back flap with a colored panel and embellishes the front with a trimmed journaling card, sentiment, and seashell element.
PARADISE ENVELOPE MINI ALBUM LAYOUT
Leslie gathers her envelopes, opens all flaps, and lays one envelope on the left with the flap open to the right. She stacks the remaining envelopes on the right, flaps to the left and gummed sides down. She slides the top envelope flap into the left envelope opening, folds it over, and repeats for all envelopes. With all pages now on the left and only the original envelope's flap on the right, Leslie scores the flap, folds it, and adheres it to the last envelope to secure the album. After evening the edges, she adds wet glue to the page openings to hold them in place. Finally, she decorates the album with patterned paper, stickers, tags, journaling cards, chipboard pieces, and ephemera, leaving space for photos and journaling.
SHIRT SHAPED CARD LAYOUT
Leslie cuts the card base from cardstock at 5-1/2” x 8-1/2” and scores it at 4-1/4”. She then cuts a front layering panel from patterned paper at 4-1/8” x 5-3/8”, trims it with two 1” cuts, and folds the top corners to form a collar. She adds a 3/4" x 2-1/2” strip to the collar, and a 1/2" x 4-5/8” strip for the placket, adding enamel dots or brads for buttons. Leslie adheres the panel to the card base, optionally cutting across the shoulders and up the sides of the collar. Inside, she adds a 4” x 4-3/8” white cardstock panel with a leftover strip of patterned paper and a sentiment to complete the card.
WIPER CARD LAYOUT
Leslie cuts two pieces of cardstock for the card base: piece #1 at 4-1/4” x 8-1/2” scored at 1-1/2” and 3” on the right, and piece #2 at 2” x 8-1/2” scored at 1-1/2” and 3” on the left. She prepares a 1” x 1-7/8” wiper mechanism and a 1/2” x 2” acetate strip. She cuts patterned paper for the background at 4” x 5-1/4” and for the vertical layering panels at 1-1/4” x 1-3/4” and 1-1/4” x 4”. Leslie adheres the background to piece #1, folds the wiper mechanism into a triangle, and glues it to piece #2. She attaches the acetate strip to the wiper mechanism and adds the focal image. After assembling the card base and testing the wiper effect, she adds the layering panels and a sentiment with foam squares.
PALM TREES AND 80 DEGREES SCRAPBOOKING LAYOUT
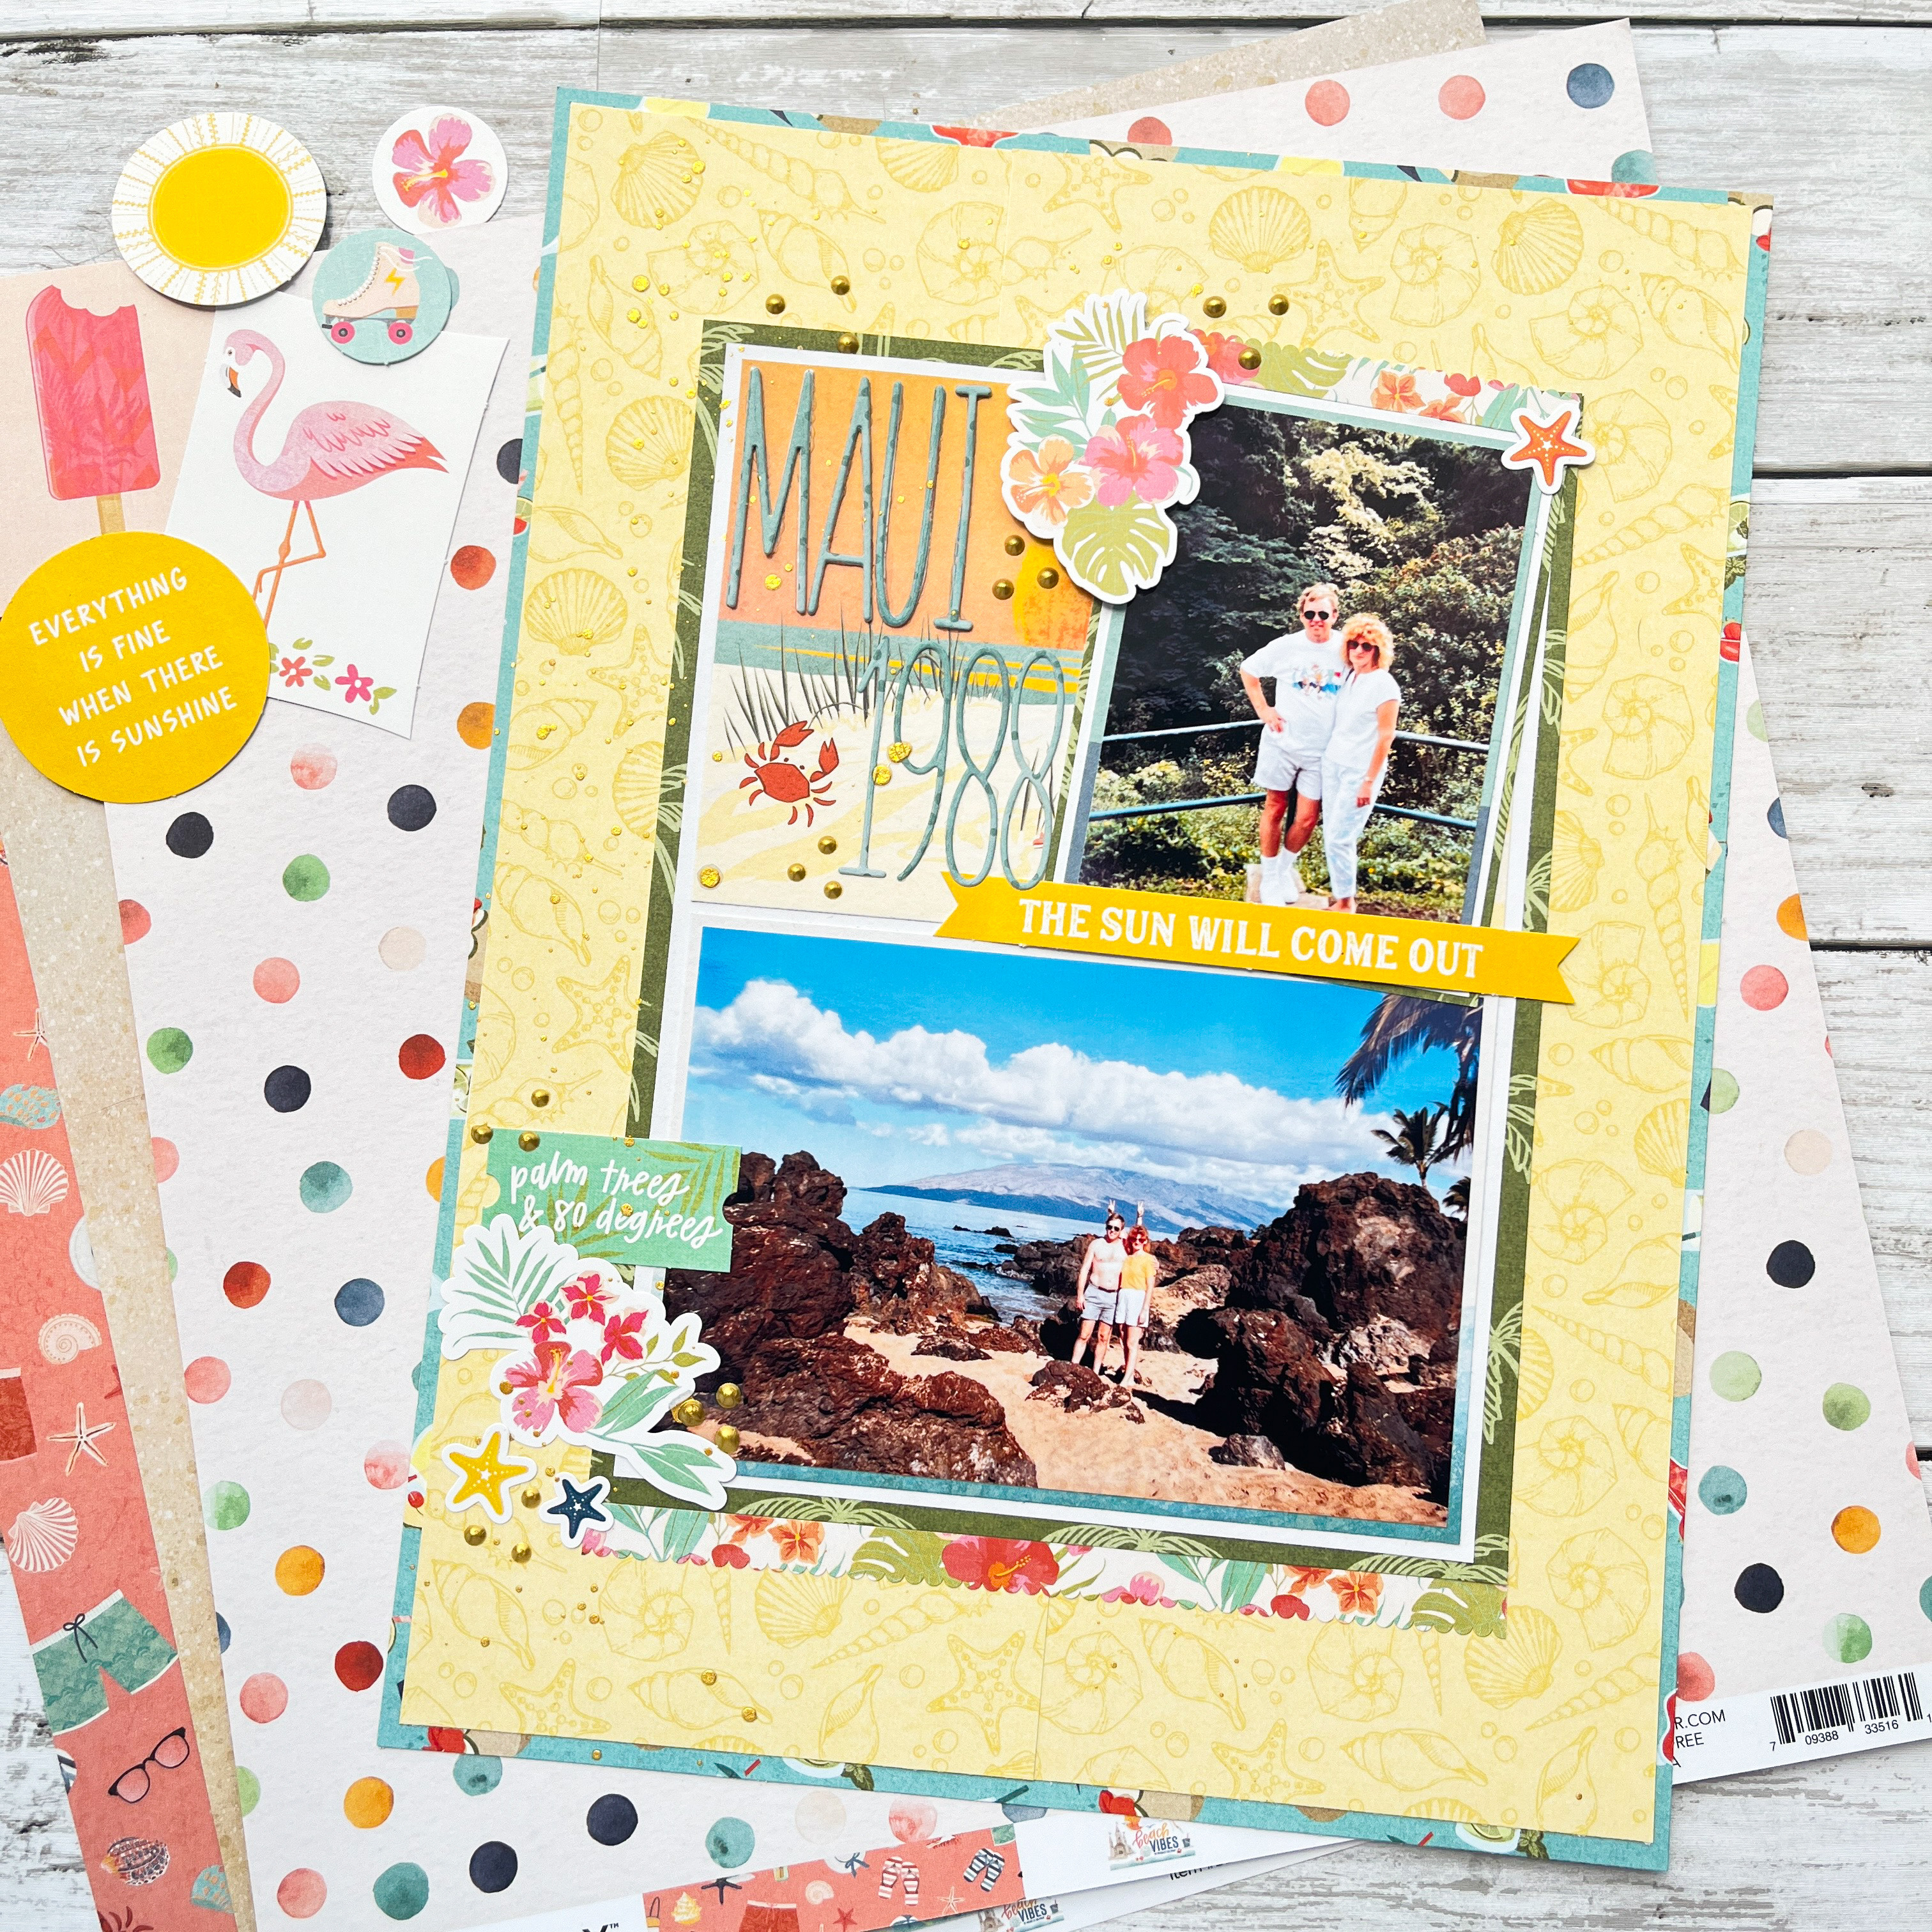
Emiley starts by selecting her favorite photos and some colorful patterned papers. She layers the papers to create a fun background and carefully places the photos in the center to make them the focus. Emiley then adds some cute stickers and decorations that match the theme. To finish, she writes a simple title like "Maui 1988" and a short caption to capture the memory. Finally, she adds small personal touches, like a date or a little note, to make the page special.
SUN KISSED SCRAPBOOKING LAYOUT
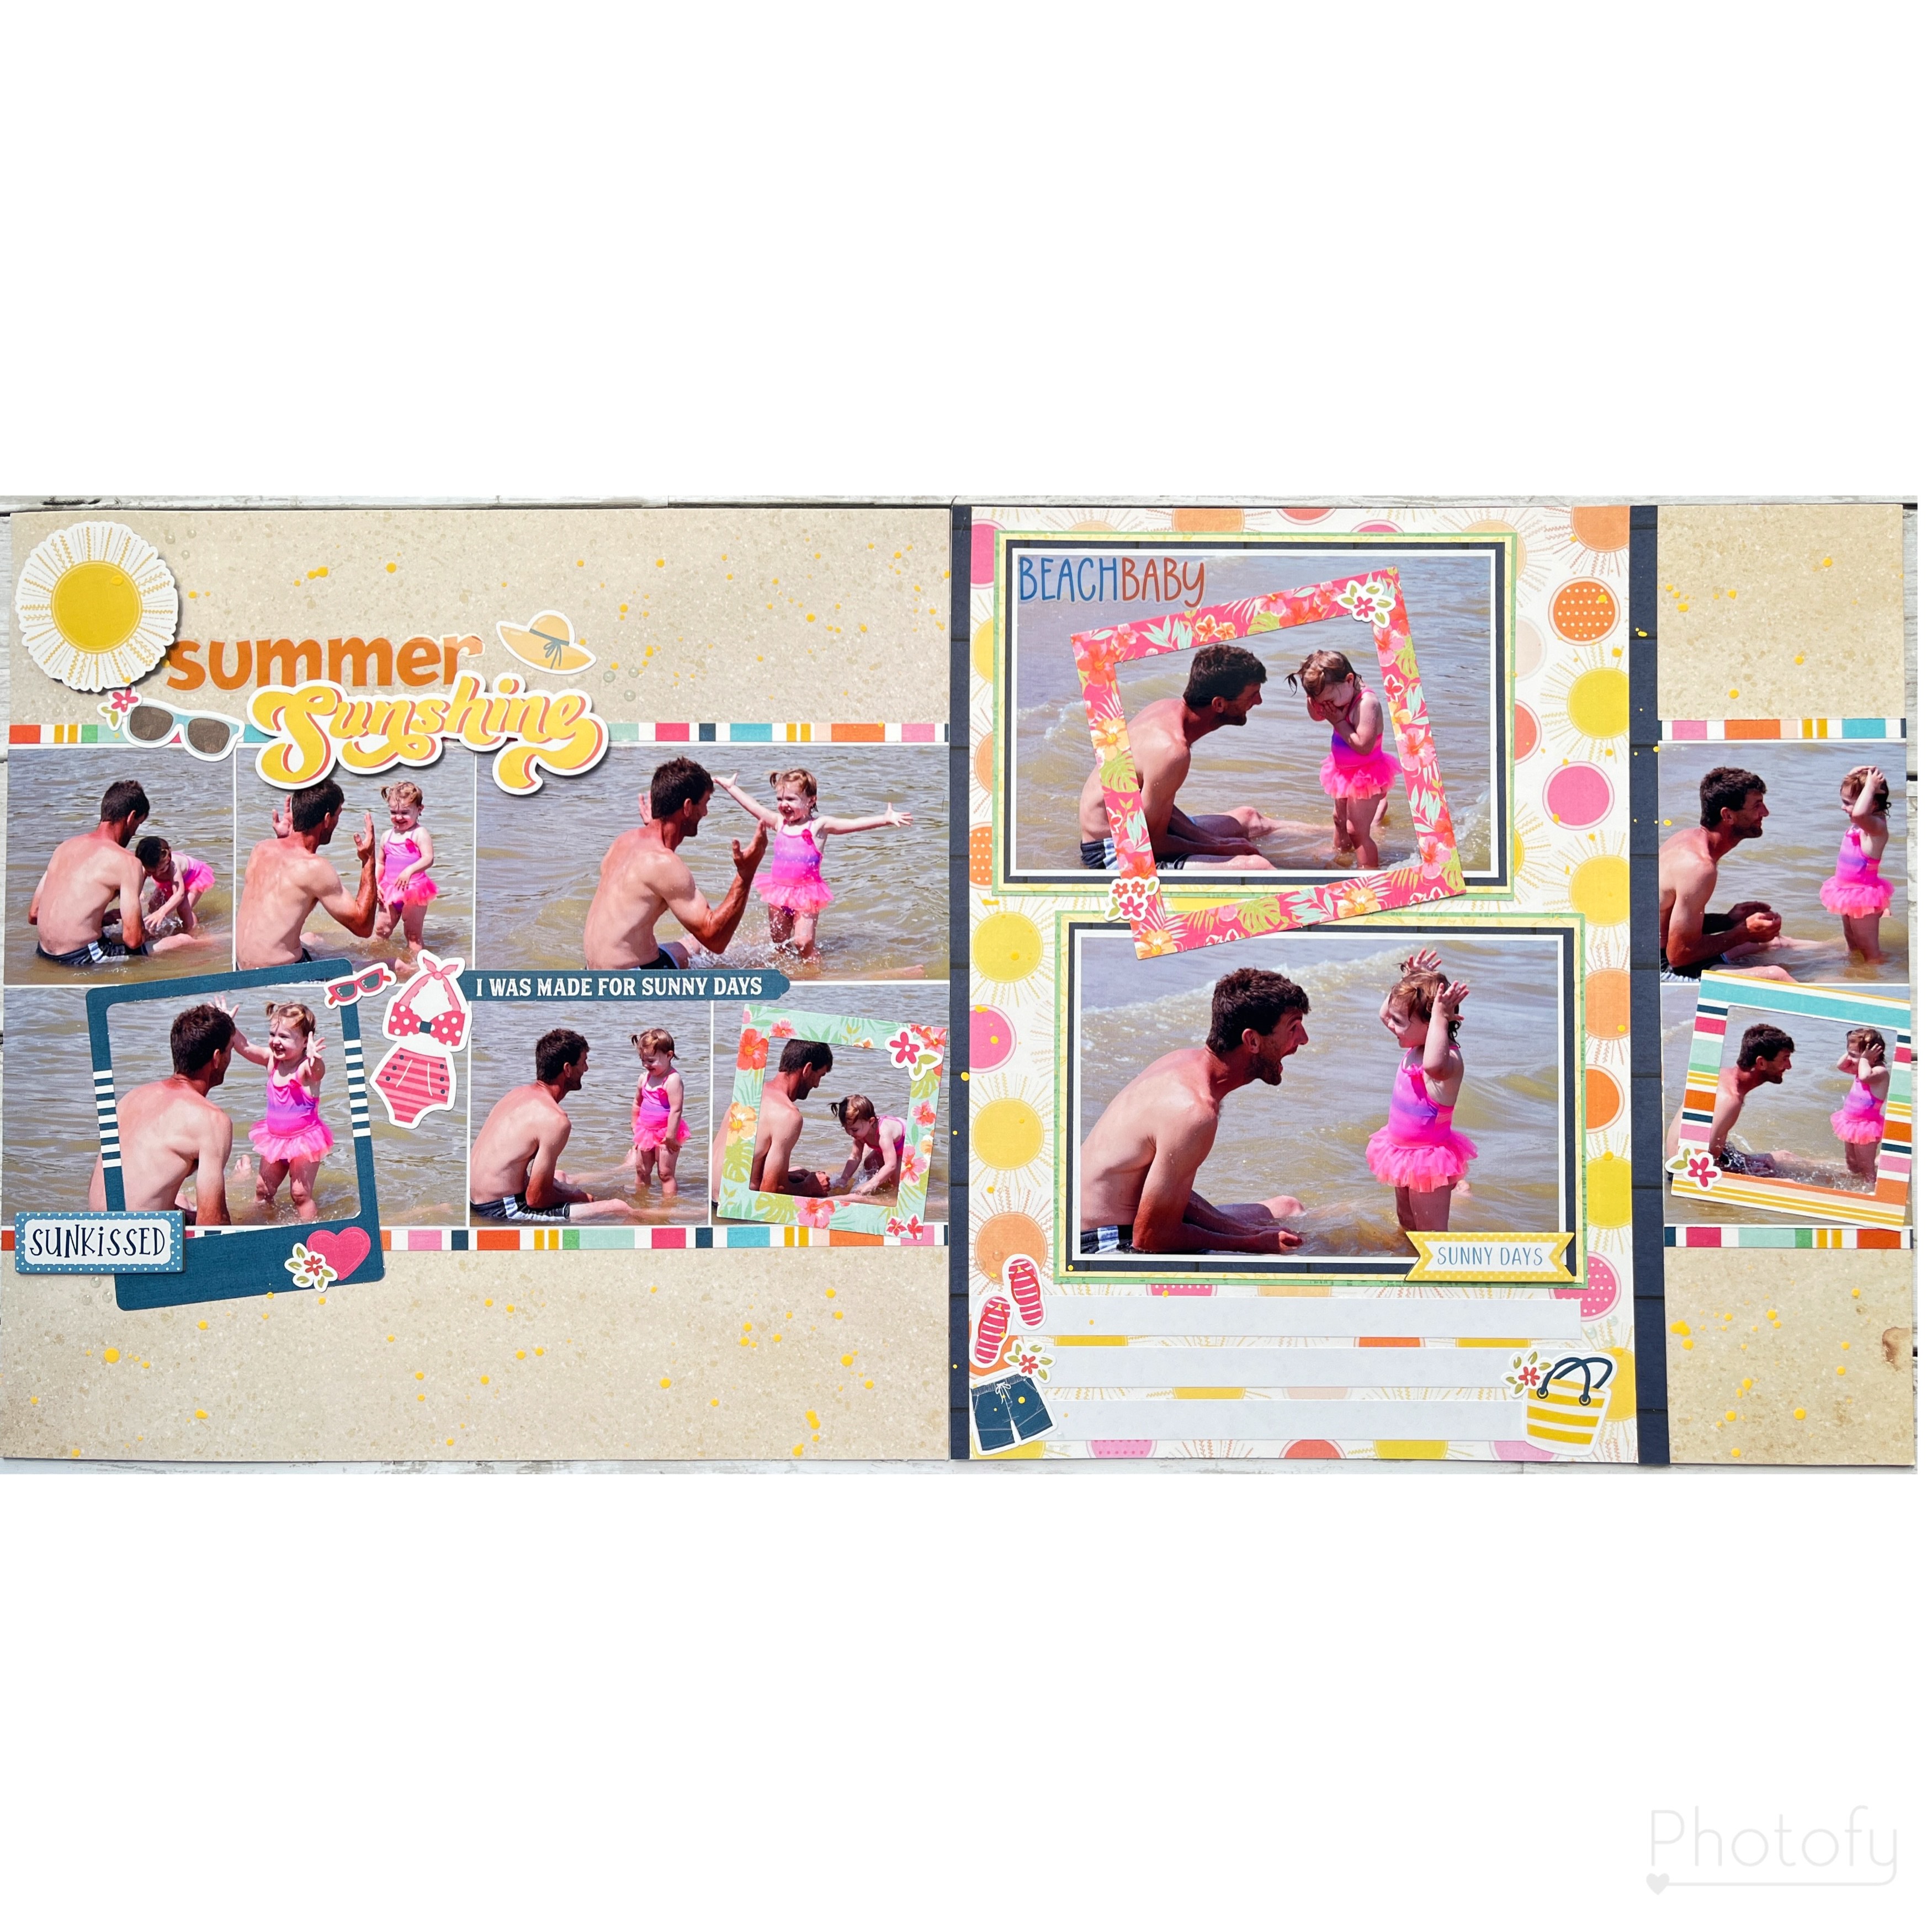
Emiley begins by picking out a series of fun beach photos and bright, colorful papers that match the summer theme. She arranges the photos in a neat layout across the page, making sure to highlight the joyful moments. Emiley then adds cheerful stickers and captions like "Summer Sunshine" and "Beach Baby" to capture the vibe. She finishes by adding small details, like flip-flops and sun images, to complete the sunny, happy feel of the scrapbook page.
FACEBOOK LIVE SESSION
Check link here to see the Facebook Live tutorial for July.
July sketch Challenge.
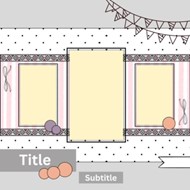
Join our monthly Sketch challenge on our exclusive Facebook member's page and win awesome prizes! Sketch created by our designer Melissa Bierlein.
ScrapbookingStore.com © 2024 All Rights Reserved | Terms & Conditions | Privacy Policy

