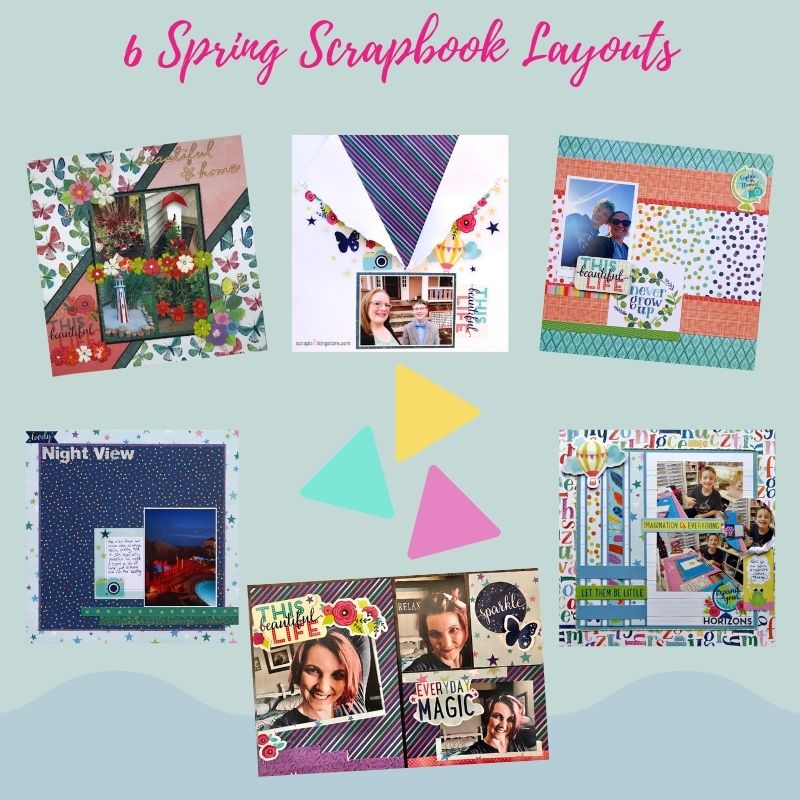
6 Spring Scrapbook Layouts
Spring has arrived, and we couldn't be happier. So why not share your happiness with someone you care about? Our Design team made these AMAZING Spring scrapbook layouts from our April 2021 kit, the Never Grow Up by Shimelle.
1. It's A Kid Thing by Marci Bensing
Marci always starts her layout by spreading out her current kit supplies. She chose the photos strictly from the cut-a-part that said "It's a kid thing"! There is sun glare in the photos but she just doesn't feel that it mattered! She double-matted her photos with cardstock that she's pretty sure everyone has on their stash!
Marci even matted the star patterned paper and preliminarily laid everything out on her background paper. She moved a bit and adhered her photos and is now ready to embellish! The "never grow up" is adhered with pop dots overlapping the 2 photos as well as the "It's a kid thing" which she also matted with card stock from her stash.

Continuing to embellish and balance this layout to her liking, she added at the lower left a popped light bulb sticker which she first placed on white cardstock and then cut it out to show it off more. On the upper left, Marci added the camera sticker and popped up the circle "I can" embellishment.


On the lower right side, Marci added "let's do this" which she adhered with pop dots and "fussy cut" out one butterfly from that patterned paper and bent it and adhered it just in the center to give it a realistic flying appearance. Then, she typed some journaling on her computer, cut it into strips, green inked the edges to make it stand out, and adhered to the page.
Don't forget to check out more of Marci's spring scrapbook layout in her blog now.
2. Everyday Magic by Megan Blethen
Megan made a 6x8 double page. The first side is a full 6x8 and then the second side is 2-3x4's and 1-4x6. This year Meggy documented in the 6x8 format with pocket pages mostly and some full-page 6x8.
6x8 scrapbook page instructions: Meggy picked her background paper and cut it down to 6x8 She used the diagonal stripe paper as background and matted the 4x6 photo with the Dreams Come True patterned paper.
She tilted the photo diagonally on her background and glued it. She cut off the excess photo hanging off the paper. Also, matted the clear stickers on white cardstock from her stash and fussy cut them out. Next, she placed them around her photo on the bottom left and all along the top. She added her title above the photo and used the clear sticker 'This beautiful Life'. Then, she cut a border strip and placed it at varying ripped lengths at the bottom of the page.

Pocket page instructions: She cut 1 photo to 3x4 and another photo to 4x3 and cut the same background paper used for the 6x8 to a 4x6. Meggy used the border sticker from the clear sticker sheet as a border on the bottom. Tip: If you want to see it better put it on white cardstock and cut it to size.
Meggy used scrap pieces of patterned papers to layer behind her photo and down the photo. She fussy cut out the phrase 'Everyday Magic' from the patterned paper 'Dreams Come True'.


She hopes you enjoyed this different type of layout and you'll be inspired to do something different today. Make sure to watch Meggy on her Youtube channel and get to watch more spring scrapbook layouts.
3. Beautiful Home Layout by Melissa Bierlein
Melissa's April layout is the "Beautiful Home" showcasing flower gardens around their house!
Title: Beautiful Home is from a Thickers pack that is not included with the kit. She absolutely loves rose gold and these worked perfectly for the title of this page.
Background: The cardstock is from a Watercolor pack by Recollections sold at Michael’s.
Melissa started her layout by cutting the butterfly paper from the kit at an angle for the top and bottom triangle. She used strips of patterned paper from the kit to use as a border between the butterfly paper and the watercolor background. Then, she backed the strips with black cardstock from her stash.

Photo cluster: She used paper from the kit and backed it with black cardstock from her stash to showcase the four photos. She adhered this to the background with foam tape for dimension.


The strip of flowers in the middle of the photos is from her stash that she has for several years. The clusters in the upper left and the bottom right of the photos are from three places: upgrades from last month's kit rose gold pieces from the same Thickers pack as the title and cut apart some flowers from the strip used in the middle of the photos. The strip was originally 12” long.

Cluster in bottom left corner: Melissa used stickers from the sticker sheet in the main kit along with more flowers from her stash. The rose gold heart is from the Thickers pack used for the title. Don't forget to check Melissa's blog to get more spring scrapbook layouts.
4. Never Grow Up by Samantha Taylor
Sam loves the versatility of this month’s collection. Her first layout uses only papers and embellishments from the base kit. Sam started by using a piece of blue diamond paper as her base. On top of that, she layered the peach plaid paper and then the rainbow dot paper. Next, she trimmed out the edges of the rainbow dot paper with a border strip from another piece of paper.
Tip: Each piece of patterned paper has a border strip to be cut off that has the sky on one side and a full patterned strip on the backside. Save those pieces and use them for accents on your layout. Also, she added her photo and a journaling tag that says "Never grow up". She finished the layout with some coordinating stickers.

5. Night View Scrapbook Layout
Samantha felt like a number of the papers in this kit would be great for scrapping nighttime photos.
For this layout, she started with the piece of star paper as her base. She wanted to use the navy blue polka dot paper as her main piece but she decided to matt it with the purple patterned paper first. Next, she added her photo and a journaling tag.

Finally, she used some border strips and stickers for embellishments. The alphabet stickers came from the January kit upgrades. Get to see more amazing scrapbook ideas on Sam's blog now!
6. This Beautiful Life by Sara Mishler - Sara Scraps
Sara started with a sheet of white cardstock. She tore it down the middle but not completely in half and fold both sides back. Then, she cut a 9X9 inch square of the patterned paper of her choosing - Sara chose the Fly Free pattern paper and placed it behind the torn white cardstock. She secured the torn edges with a staple.

Next. she matted her photo with the dark green side of the Forever Young paper and placed the photo at the bottom of the torn edge. Finally, she used the Starshine clear stickers to layer around the edge of the torn edge. Watch more of Sara's beautiful spring scrapbook layouts on her YouTube channel!
Visit our blog for more spring scrapbook layouts using our monthly kits!
Join our exclusive Facebook Community for Club Members. It will grant you access to amazing layouts and content made by our design team, fun monthly contests, and FREE Facebook Live tutorials (Apr. 21st) to meet other crafters!
Haven't subscribed yet? Now's your chance, be sure to sign up today!
GET OUR MONTHLY KITS DELIVERED TO YOUR DOOR!
