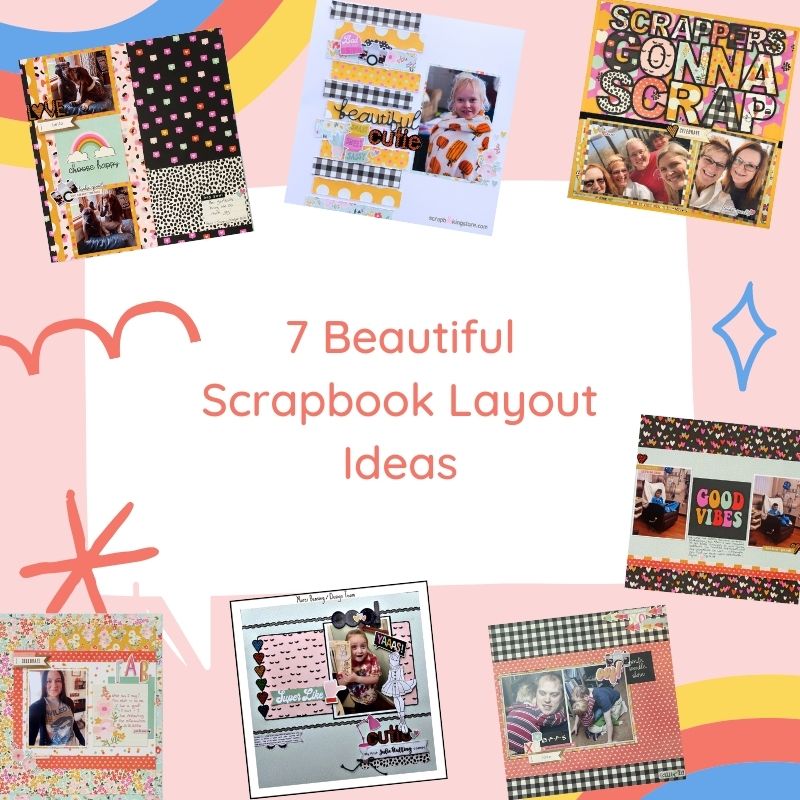
7 Beautiful Scrapbook Layout Ideas
Celebrate friends and family who are always there for you with our beautiful scrapbook layout from our Design Team members using our February kit, Kate and Ash by Simple Stories.
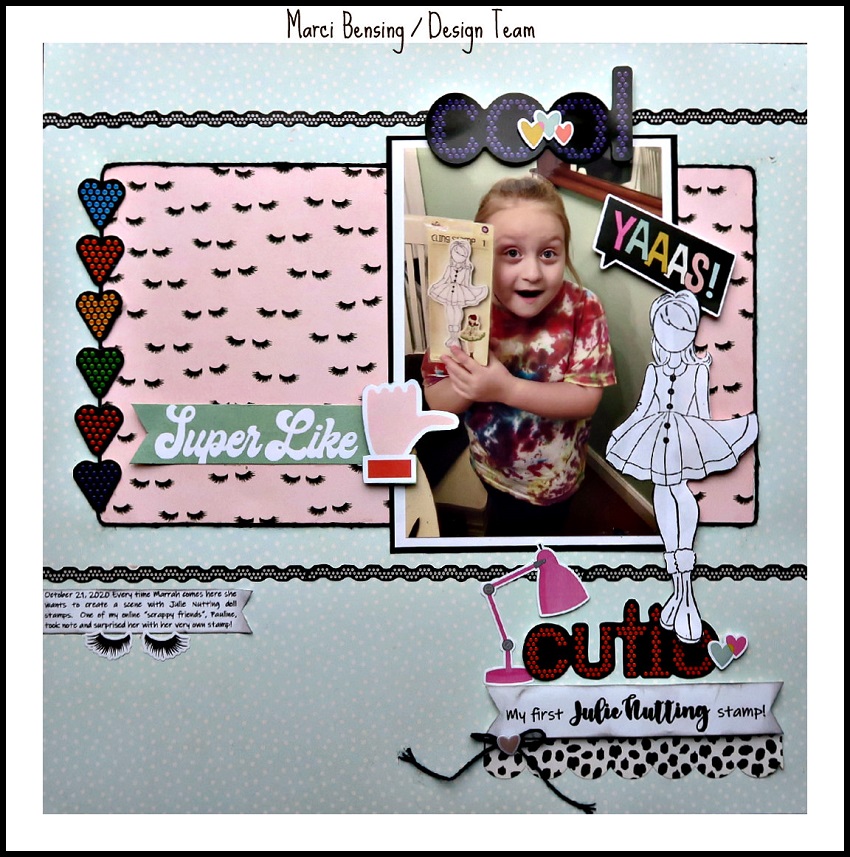
1. Super Like: Cutie by Marci Bensing
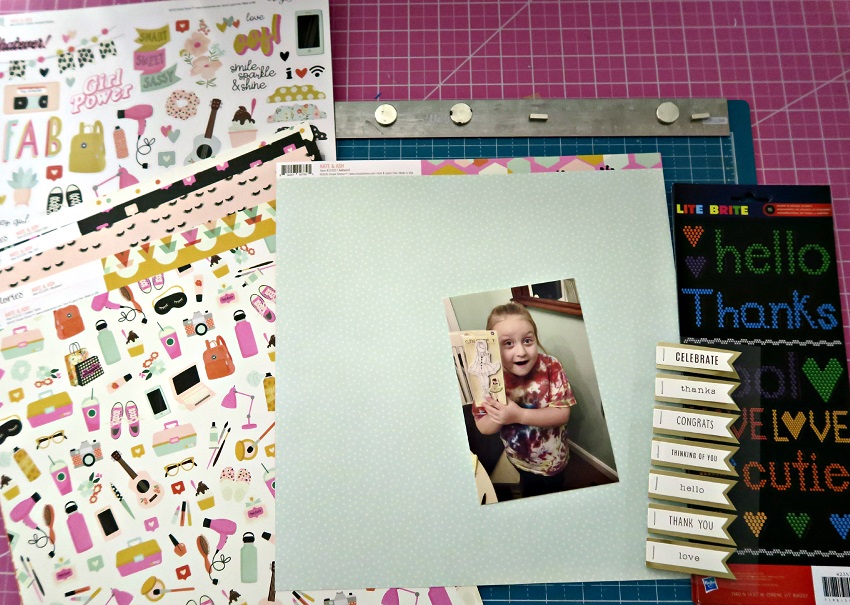
Marci started her layout by choosing a photo and background paper and laying out everything from the February kit. Next, she created the "base" of her layout. Marci loves the eyelash paper and she emphasized it by using twine around the cut piece under the photo.
On the left edge, she spaced out the heart stickers from the upgrade (Lite Brite). Then, she matted the photo with black and white cardstock, making it about an inch larger above and below the eyelash paper. Once her "base" was completed, she's now ready to go around the page adding a title and embellishments. This is the completed layout below.
Marci combined the black strips to create a border above and below the photo block. Inside the photo block, she added "super like" and cut out and popped up the thumbs up, overlapping the photo. Next, she popped up the perfect word bubble for this photo: "Yaaas!". She happened to have that same stamp so she stamped the doll and shrunk it on her copy machine to add emphasis of the photo itself. Also, she created a title cluster after adding the word sticker "cool" above the photo and adding a heart sticker to that word.
The title cluster started with the "Cutie" sticker. Marcie added the lamp and the hearts to either side of Cutie. Then, she typed on her computer and printed "My first Julie Nutting Stamp"and popped that up under the word Cutie with pop dots. Also, she used a portion of the zebra type scalloped sticker below that and added a twine bow. Finally, she typed some journaling, adhering the eyelashes underneath.
Don't forget to check out more of Marci's beautiful scrapbook layout ideas in her blog now.
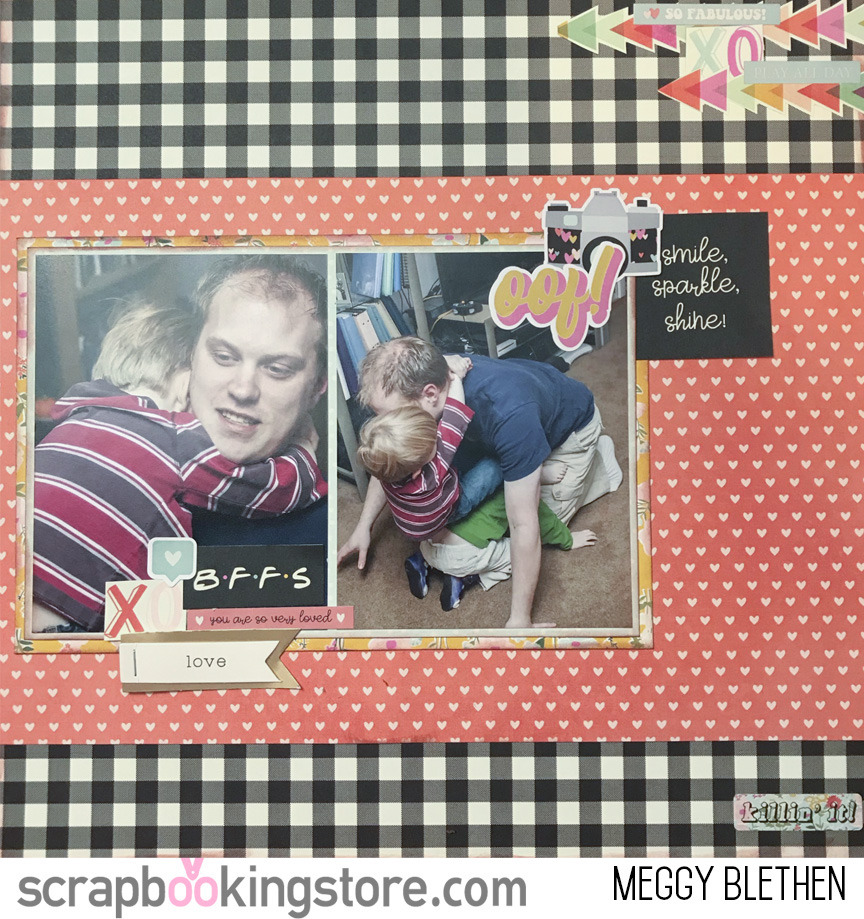
2. BFF's Layout by Meggy Blethen
Meggy has a simple layout to share with us today. She started by choosing the Girl Power paper as her background. Next, she cut the "Whatever!" patterned paper to 7.75in. x 12in and glue 2.5 in down from the top. She also cut her 2 photos to 3.75in x 5.25in and picked out 2 patterned papers for their mats.
Meggy cut the first mat to 8.25in x 5.25in glued the photos down and inked the edges of the patterned paper. Then, she cut the second mat to 8.5in x 5.5in, glued the photo mat down and inked the edges. She glued the photo mat on top of the background. Finally, she added the title to the top right of the photo corner with embellishments and added 2 more embellishment clusters in a diagonal across the layout. Make sure to watch Meggy on her Youtube channel and get to watch more delightful scrapbook ideas.
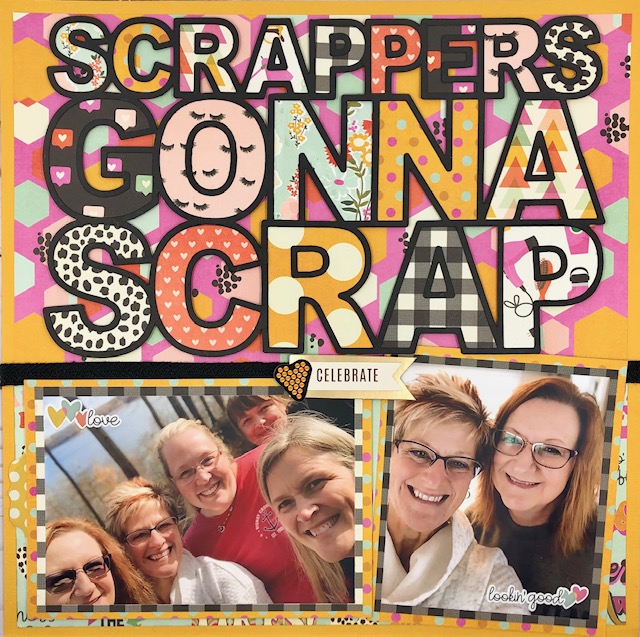
3. Scrappers Gonna Scrap by Melissa Bierlein
February’s layout is of her scrapbooking friends! They escaped three or four times a year to a lake where a friend of Melissa has an AirBnb. They cook, eat, catch up, gossip, scrapbook and even have some cocktails!!!
Base Page: Melissa used a cardstock from her stash. She layered on two different patterned papers from the kit separated by a black ribbon border from her stash. She used foam tape to pop up the title. As for the cut file, she used it as the title ’Scrappers Gonna Scrap’. It is a free one from Paige Evans. She cut this using black cardstock from her stash and backed the letters with various papers from the kit.
For the photo area, Melissa double matted the photos with papers from the kit. The larger photo is popped up with foam tape and she used a journaling block with stickers for pull out for a hidden journaling area behind larger photo. Finally, she added stickers on the photo’s and added a ‘Celebrate’ banner between the photos and a heart from the upgrades! Don't forget to check Melissa's blog to get more beautiful scrapbook layout ideas.
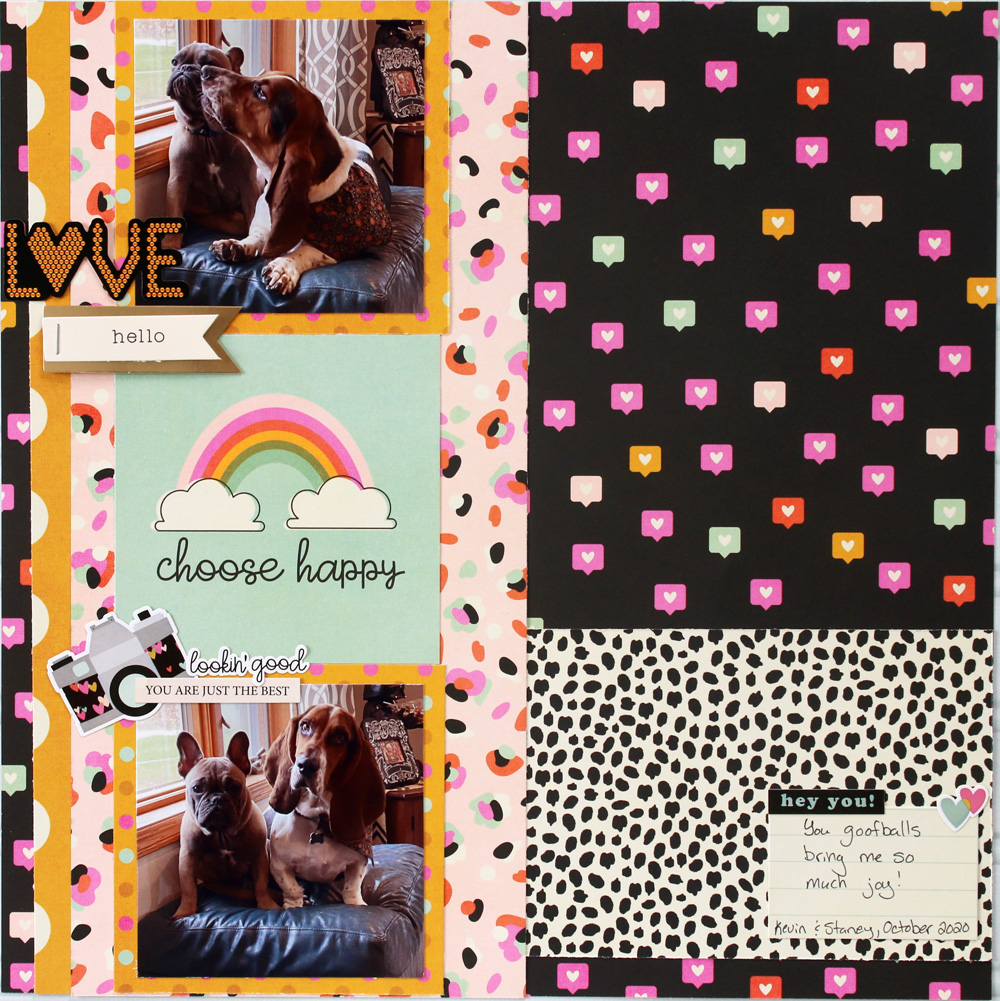
4. Choose Happy by Samantha Taylor
Sam saw the animal print paper plus the "choose happy" journaling tag in this kit. She thought it would be fun to scrap her two dogs with it. They're a couple of goofballs who make her so happy!
She started this layout with a base of black heart paper (perfect for a happy theme). Then she layered on some strips of vertical yellow polka dots and animal print paper. She added her photos and had the "choose happy" journaling tag take center stage. She finished up with another strip of animal print paper (horizontal this time to draw your eye towards the photos) and some sticker embellishments from the matching sticker sheet and the upgrade embellishments.
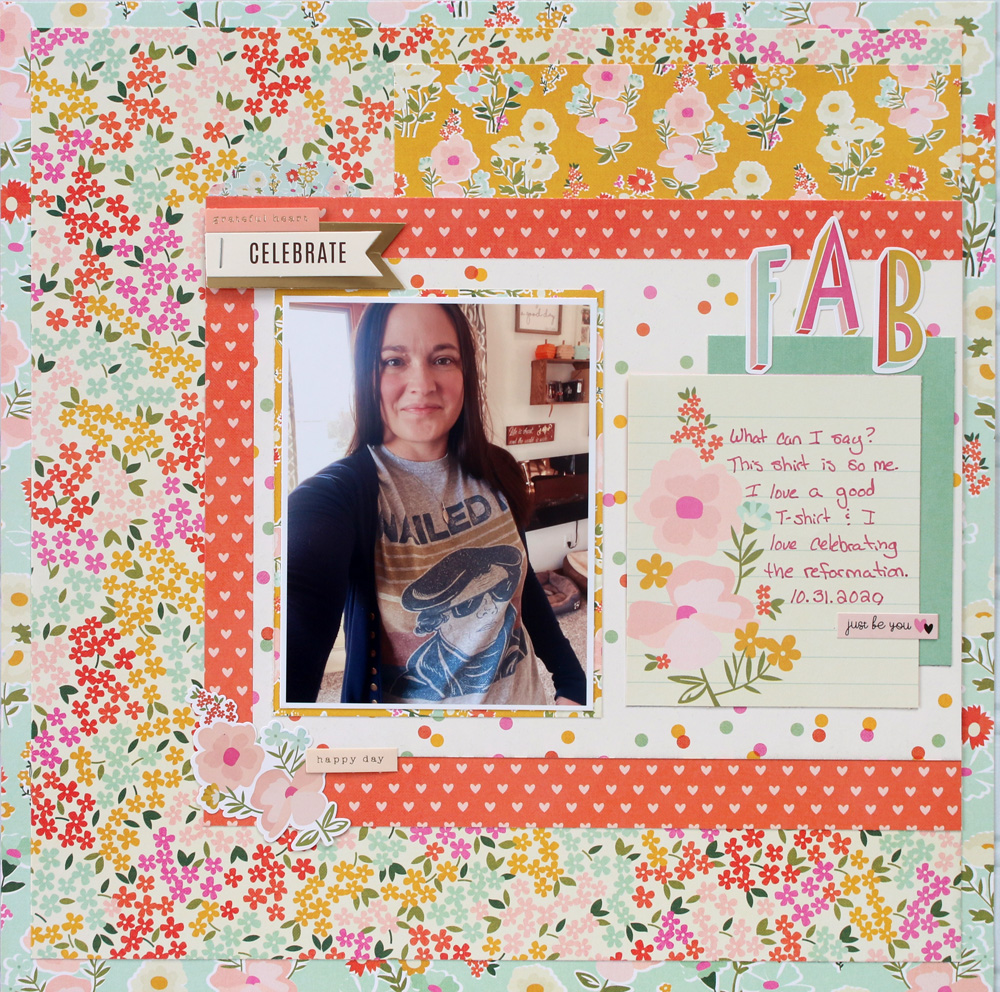
5. FAB Scrapbook Layout
Samantha doesn’t usually scrap photos of just herself...but this kit is perfect for a few selfie scrapbook pages! She took this photo to show some friends her awesome new t-shirt. While most of the colors in her photo don't match with the kit, the mustard yellow in my shirt matches the yellow of the paper in this kit and it all seems to work! She went all out “girly” and layered floral, on floral, on floral! It all worked without seeming too busy. A few embellishments completed the layout.
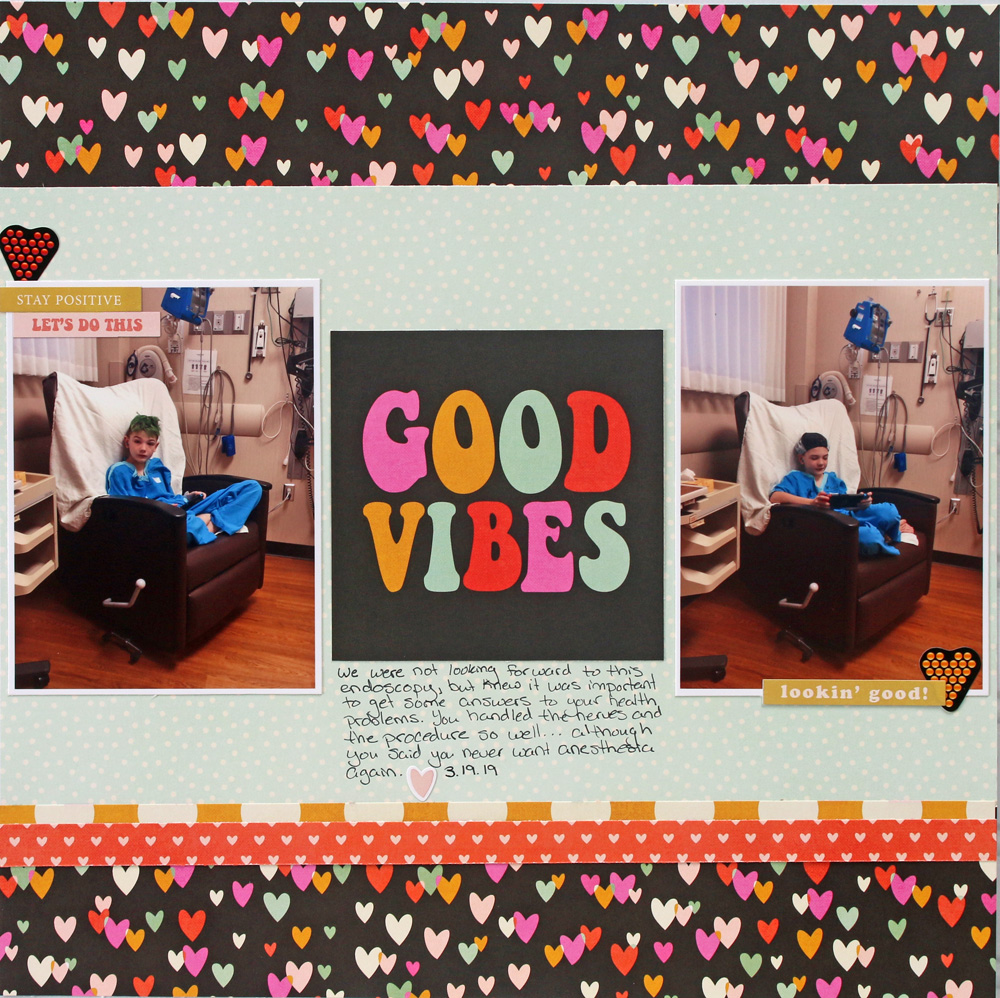
6. Good Vibes Beautiful Scrapbook Layout
While the themes found in this month's Kate and Ash kit are geared towards girls (especially tween and teen) scrapbook pages, with a little bit of creativity this kit can be very versatile.
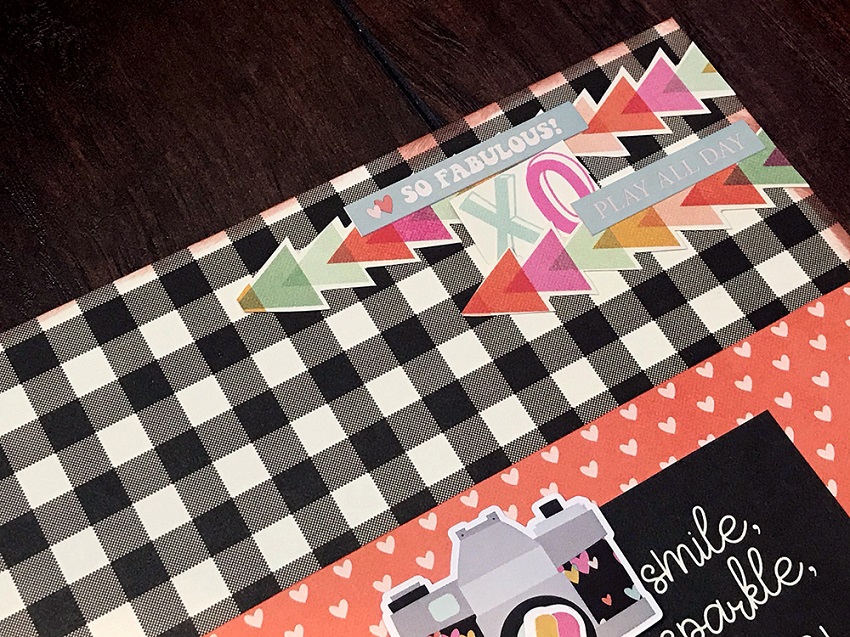
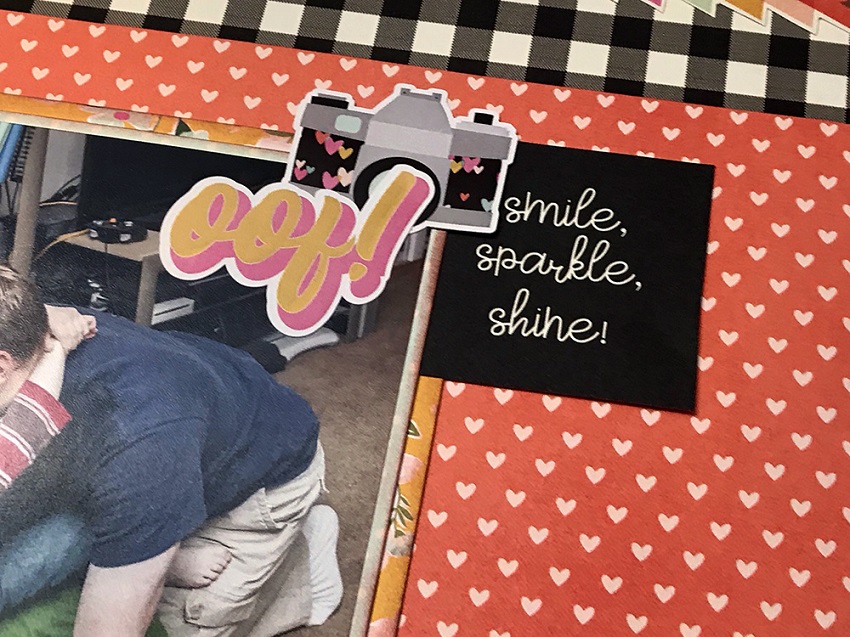
You'll find lots of hearts and positive affirmations in this kit. With those themes, Sam thought it might be time to scrap the photos from her son's endoscopy a few years ago. It wasn't a great time for his son, but the procedure went well and gave us some answers. She think the different heart papers and embellishments from the kit conveyed the feelings pretty well.
Sam really loves the saturated colors in this kit and the pops of black throughout. Get to see more amazing beautiful scrapbook layout ideas on Sam's blog now!
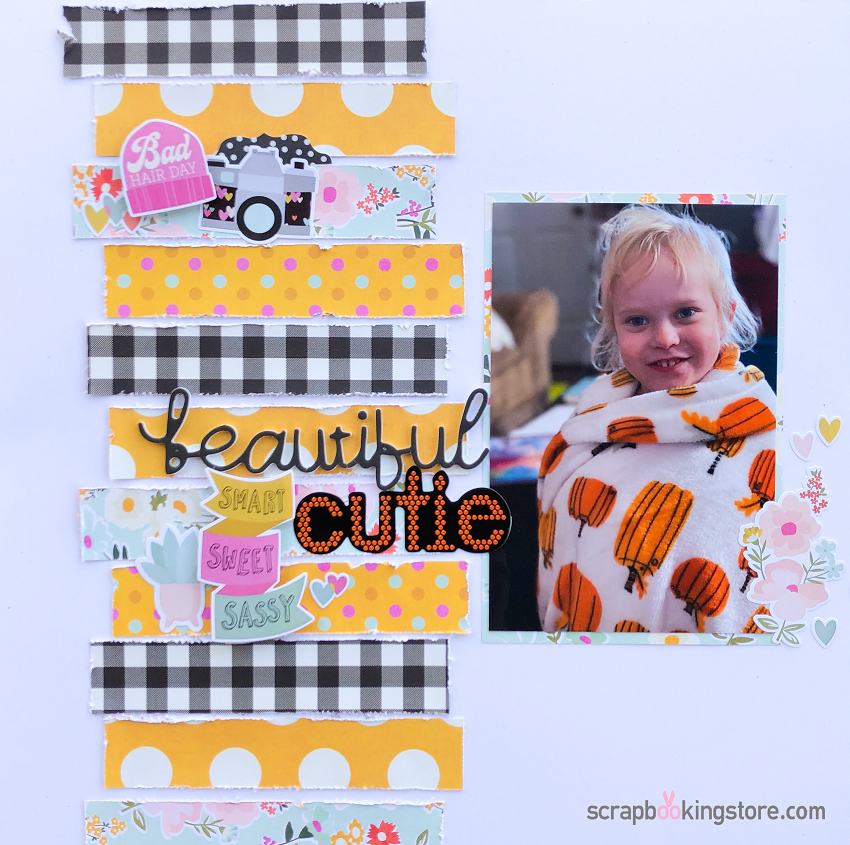
7. Beautiful Cutie by Sara Mishler - Sara Scraps
Sara used most of the papers and embellishments from this month's kit. First, she matted her 4X6 photo with the UR Beautiful paper. Then, placed it on the right side of her page or on the left...she placed her photo so people will be looking more into her page. She cut strips from the patterned paper measuring 1X 5 and distressed the edges.
Sara staggered the paper strips down the right side of the page, close to the photo. Next, she placed her title in the center of the strips beside the photo. She creates two clusters using the sticker sheet and popped some up for added dimensions with foam adhesive. Also, she creates a third cluster to the right of the photo.
Journaling can be added below the photo if you desire. Watch more of Sara's beautiful scrapbook layout ideas in her YouTube channel!
Visit our blog for more craft and beautiful scrapbook layout using our monthly kits.
Join our exclusive Facebook Community for Club Members. It will grant you access to amazing layouts and content made by our design team, fun monthly contests, and FREE Facebook Live tutorials (Feb. 17th) to meet other crafters!
Haven't subscribed yet? Now's your chance, be sure to sign up today!
GET OUR MONTHLY KITS DELIVERED TO YOUR DOOR!


This kit was so different from what I expected which is good. I grew to love it. My mind had to expand and grow for this kit. I have done two pages and am working on a third. Thank you all for the wonderful designs you have done to inspire me. This was my second kit. I am glad I joined.
Just joined today. With the blogs and everything else I have read about the Scrapbooking store, I’m so excited. Can’t wait to receive my first kit!
Do you sell premade layouts