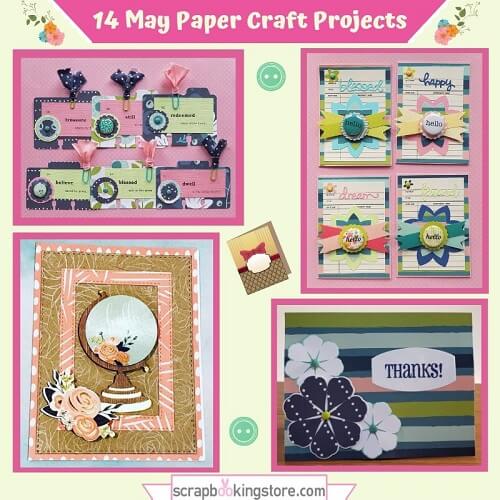
14 May Paper Craft Projects
We have yet another set of great craft ideas to share with you this month! Everything was made by our Design Team members using our amazing May 2019 monthly kit, the Happy Days collection by My Mind’s Eye. What a versatile kit we have this month!
First up are paper crafts from our Design Team member Lisa Riley along with instructions on how to make them.
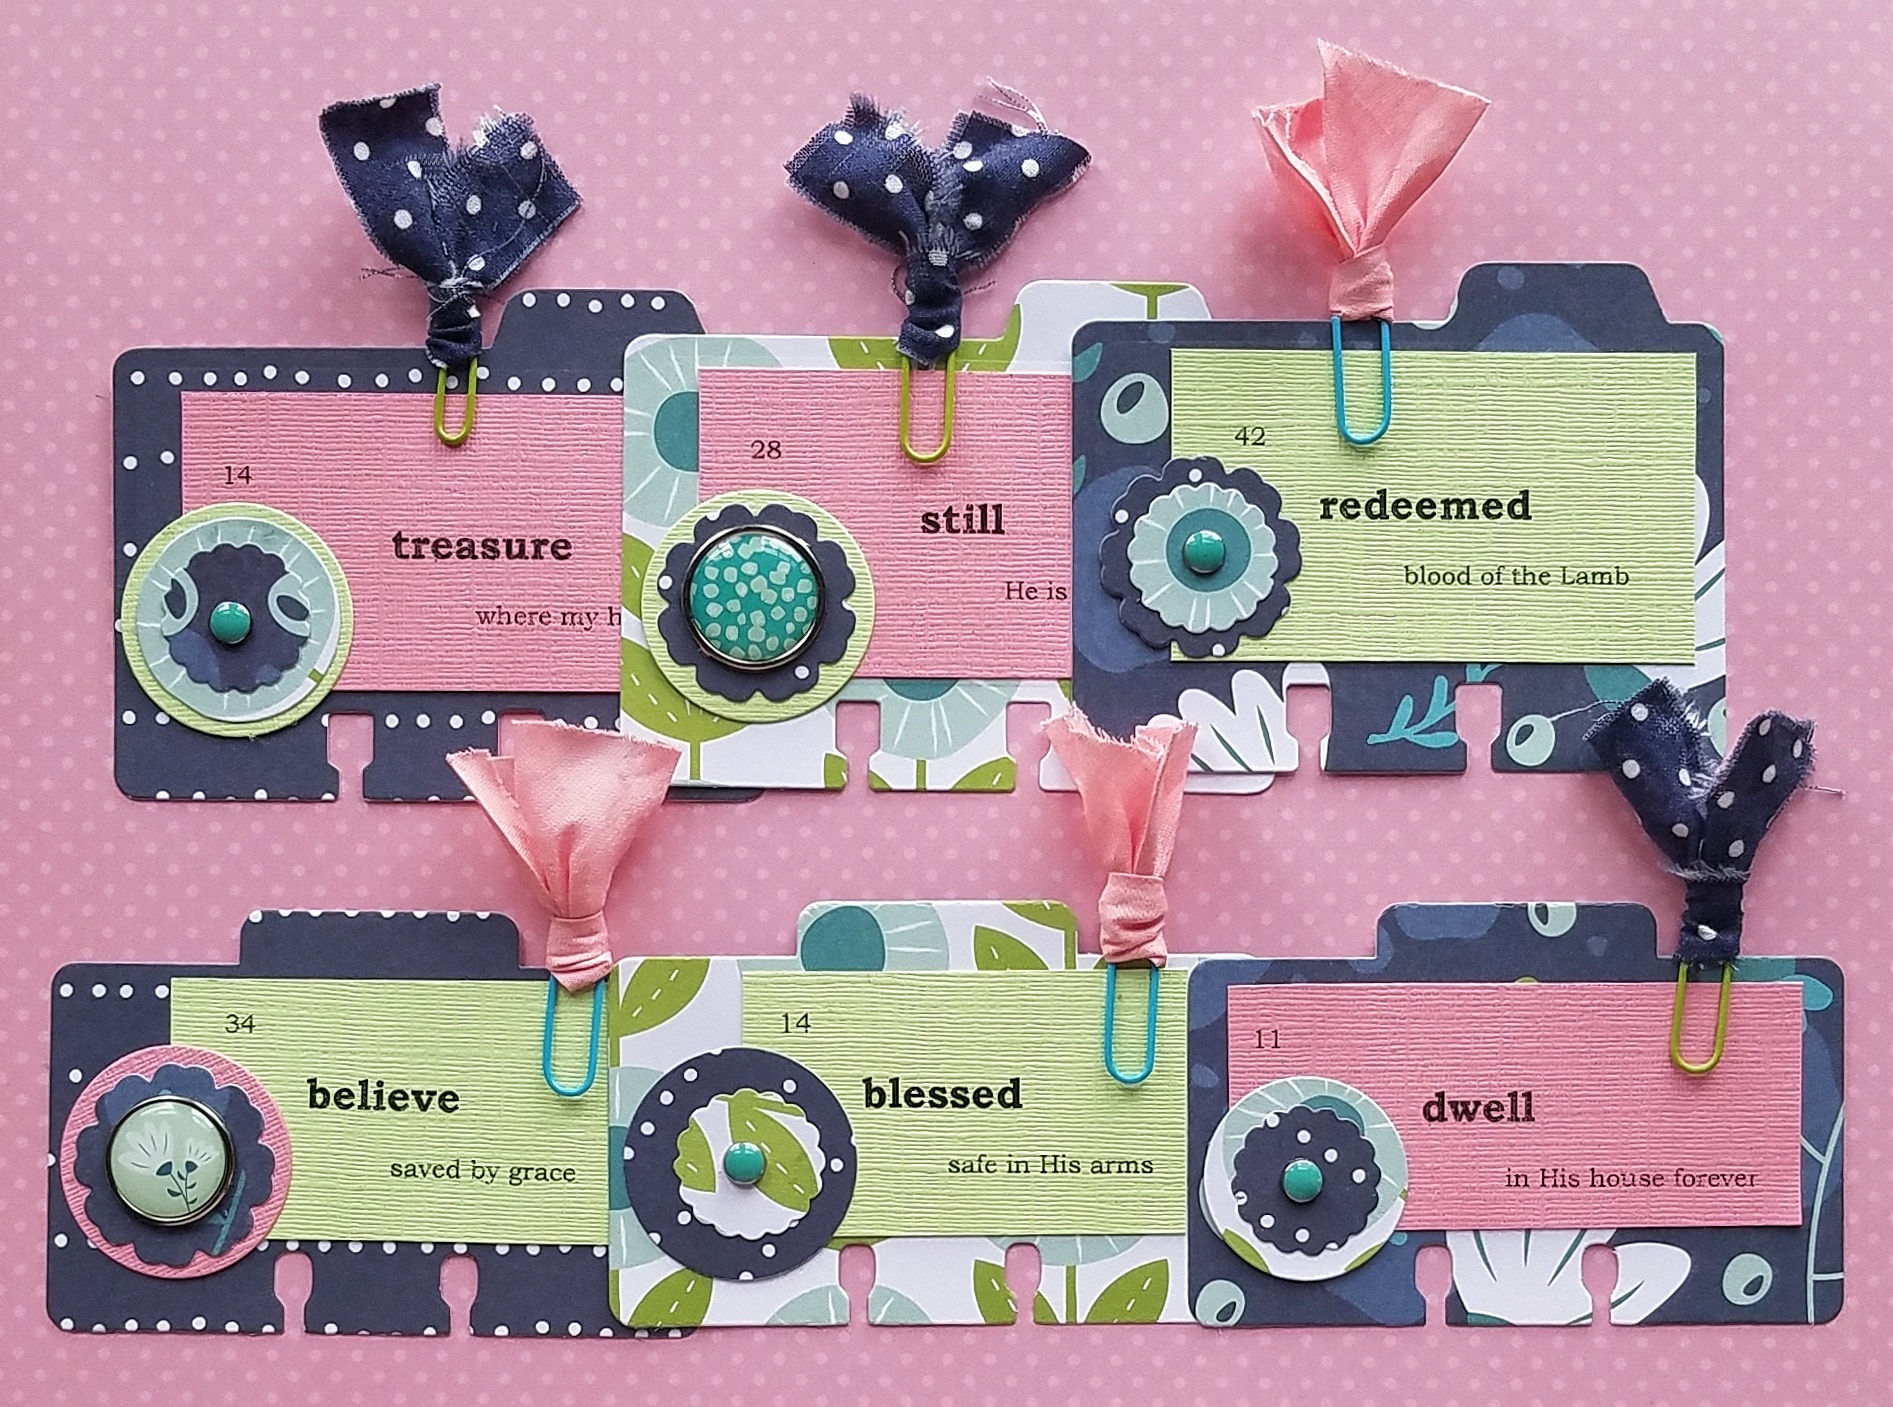
1. Adorable Cute Rolodex Cards
Lisa cut Rolodex cards from the Happy Days Collection paper using her Sizzix machine. She also cut flowers and circles from the patterned paper and coordinating cardstock to use for layered embellishments. Then, she printed flash cards on the coordinating solid cardstock and cut them out to fit the Rolodex cards. She adhered the flash cards and then created layers of flowers using the cardstock. Lisa decorated the embellishments with brads from the May kit. Lastly, she chose a colored paperclip to match each card and finished them with ribbons. Adorable!
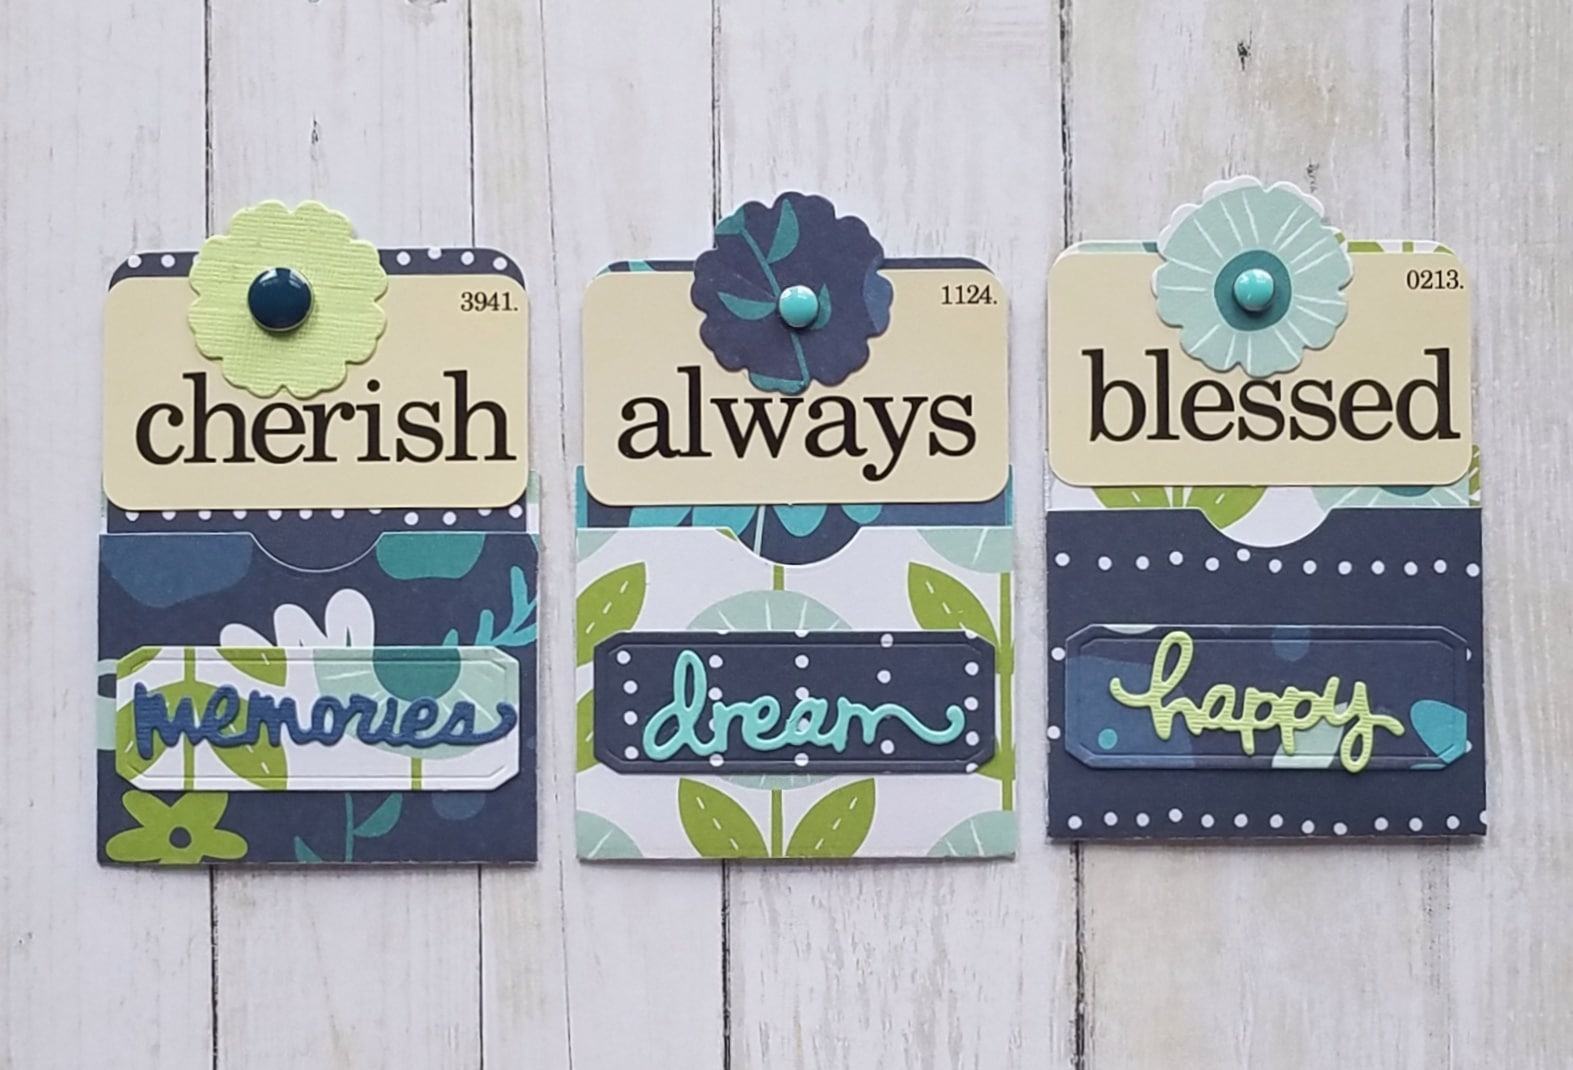
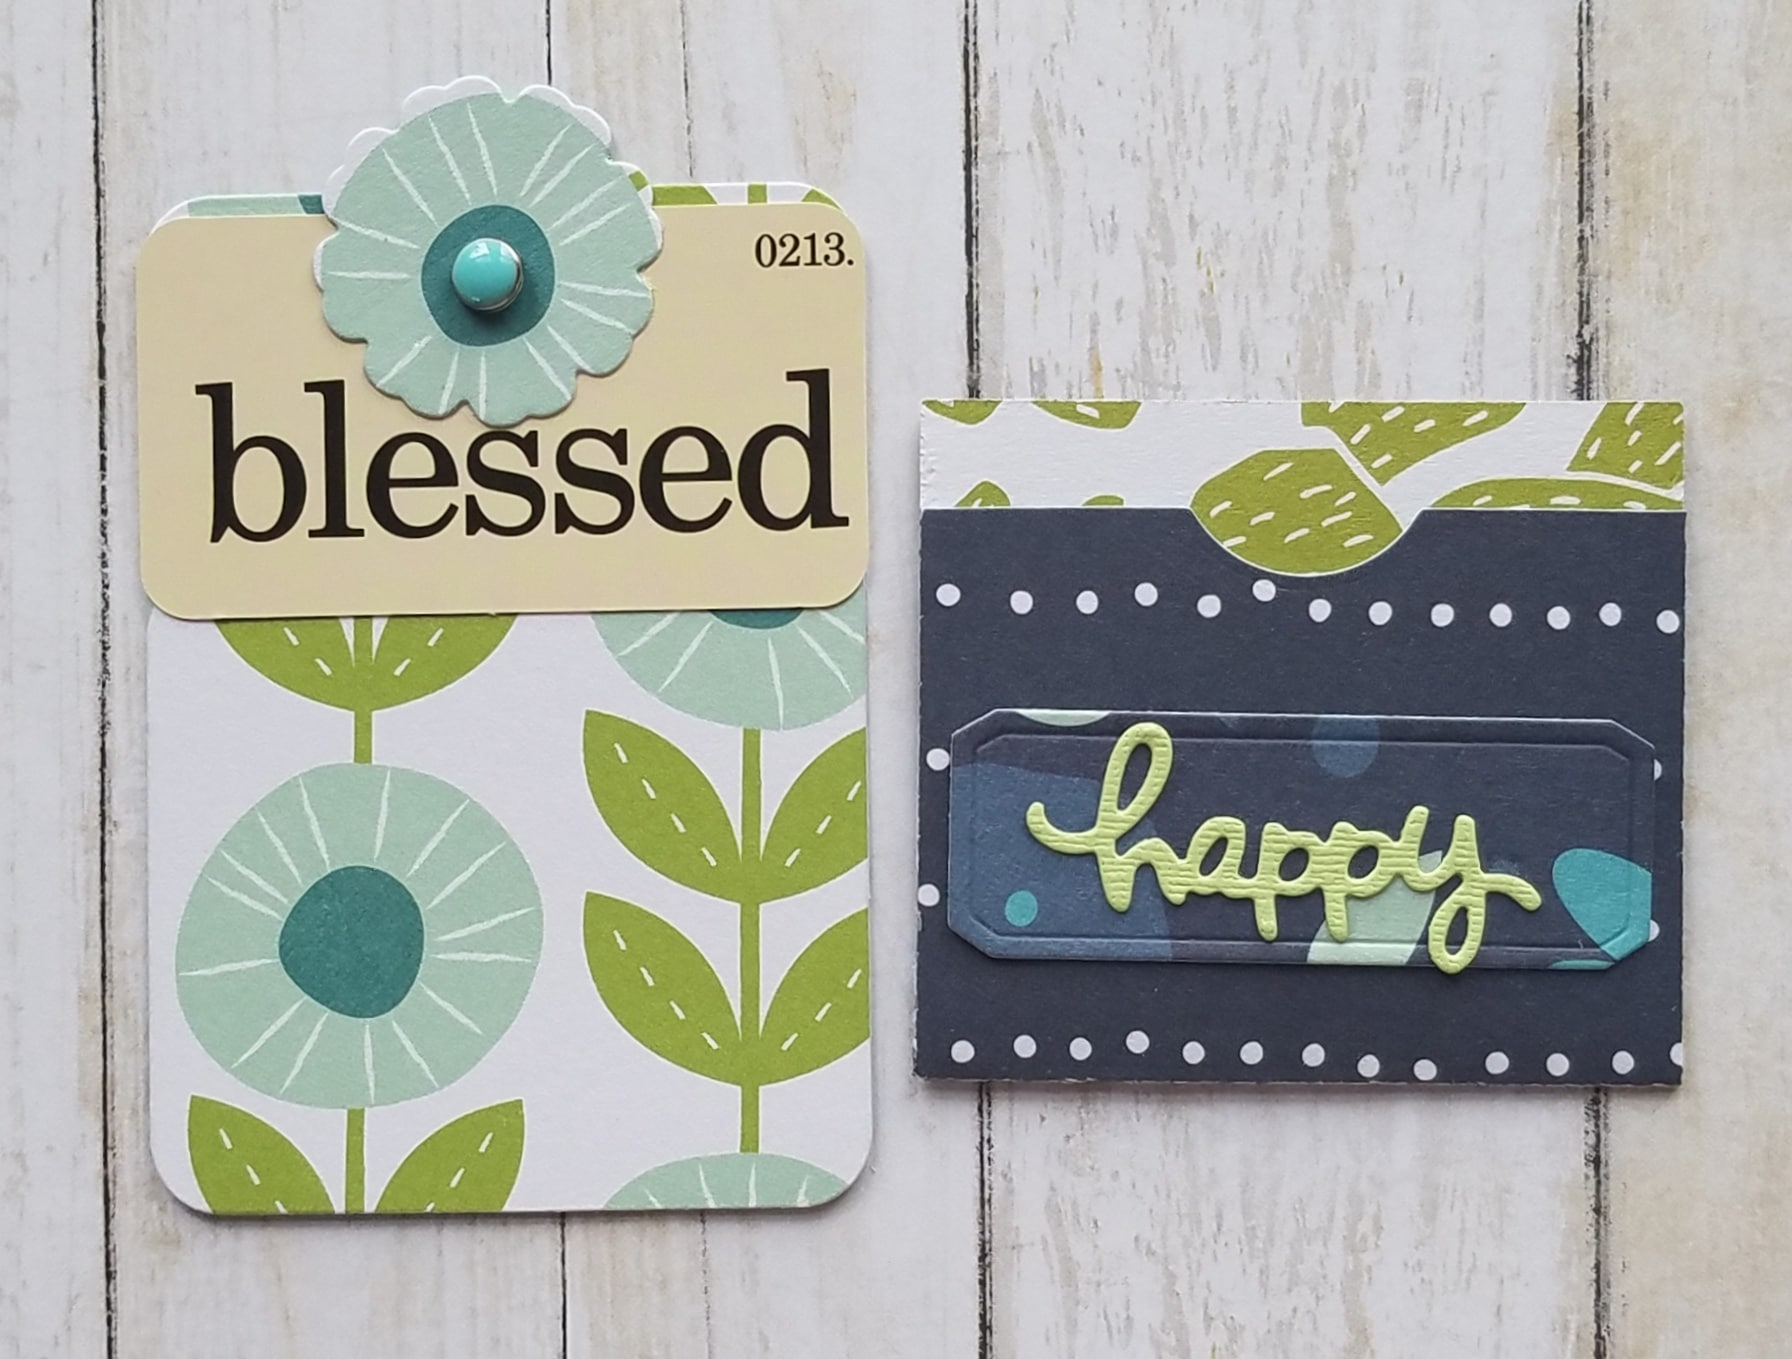
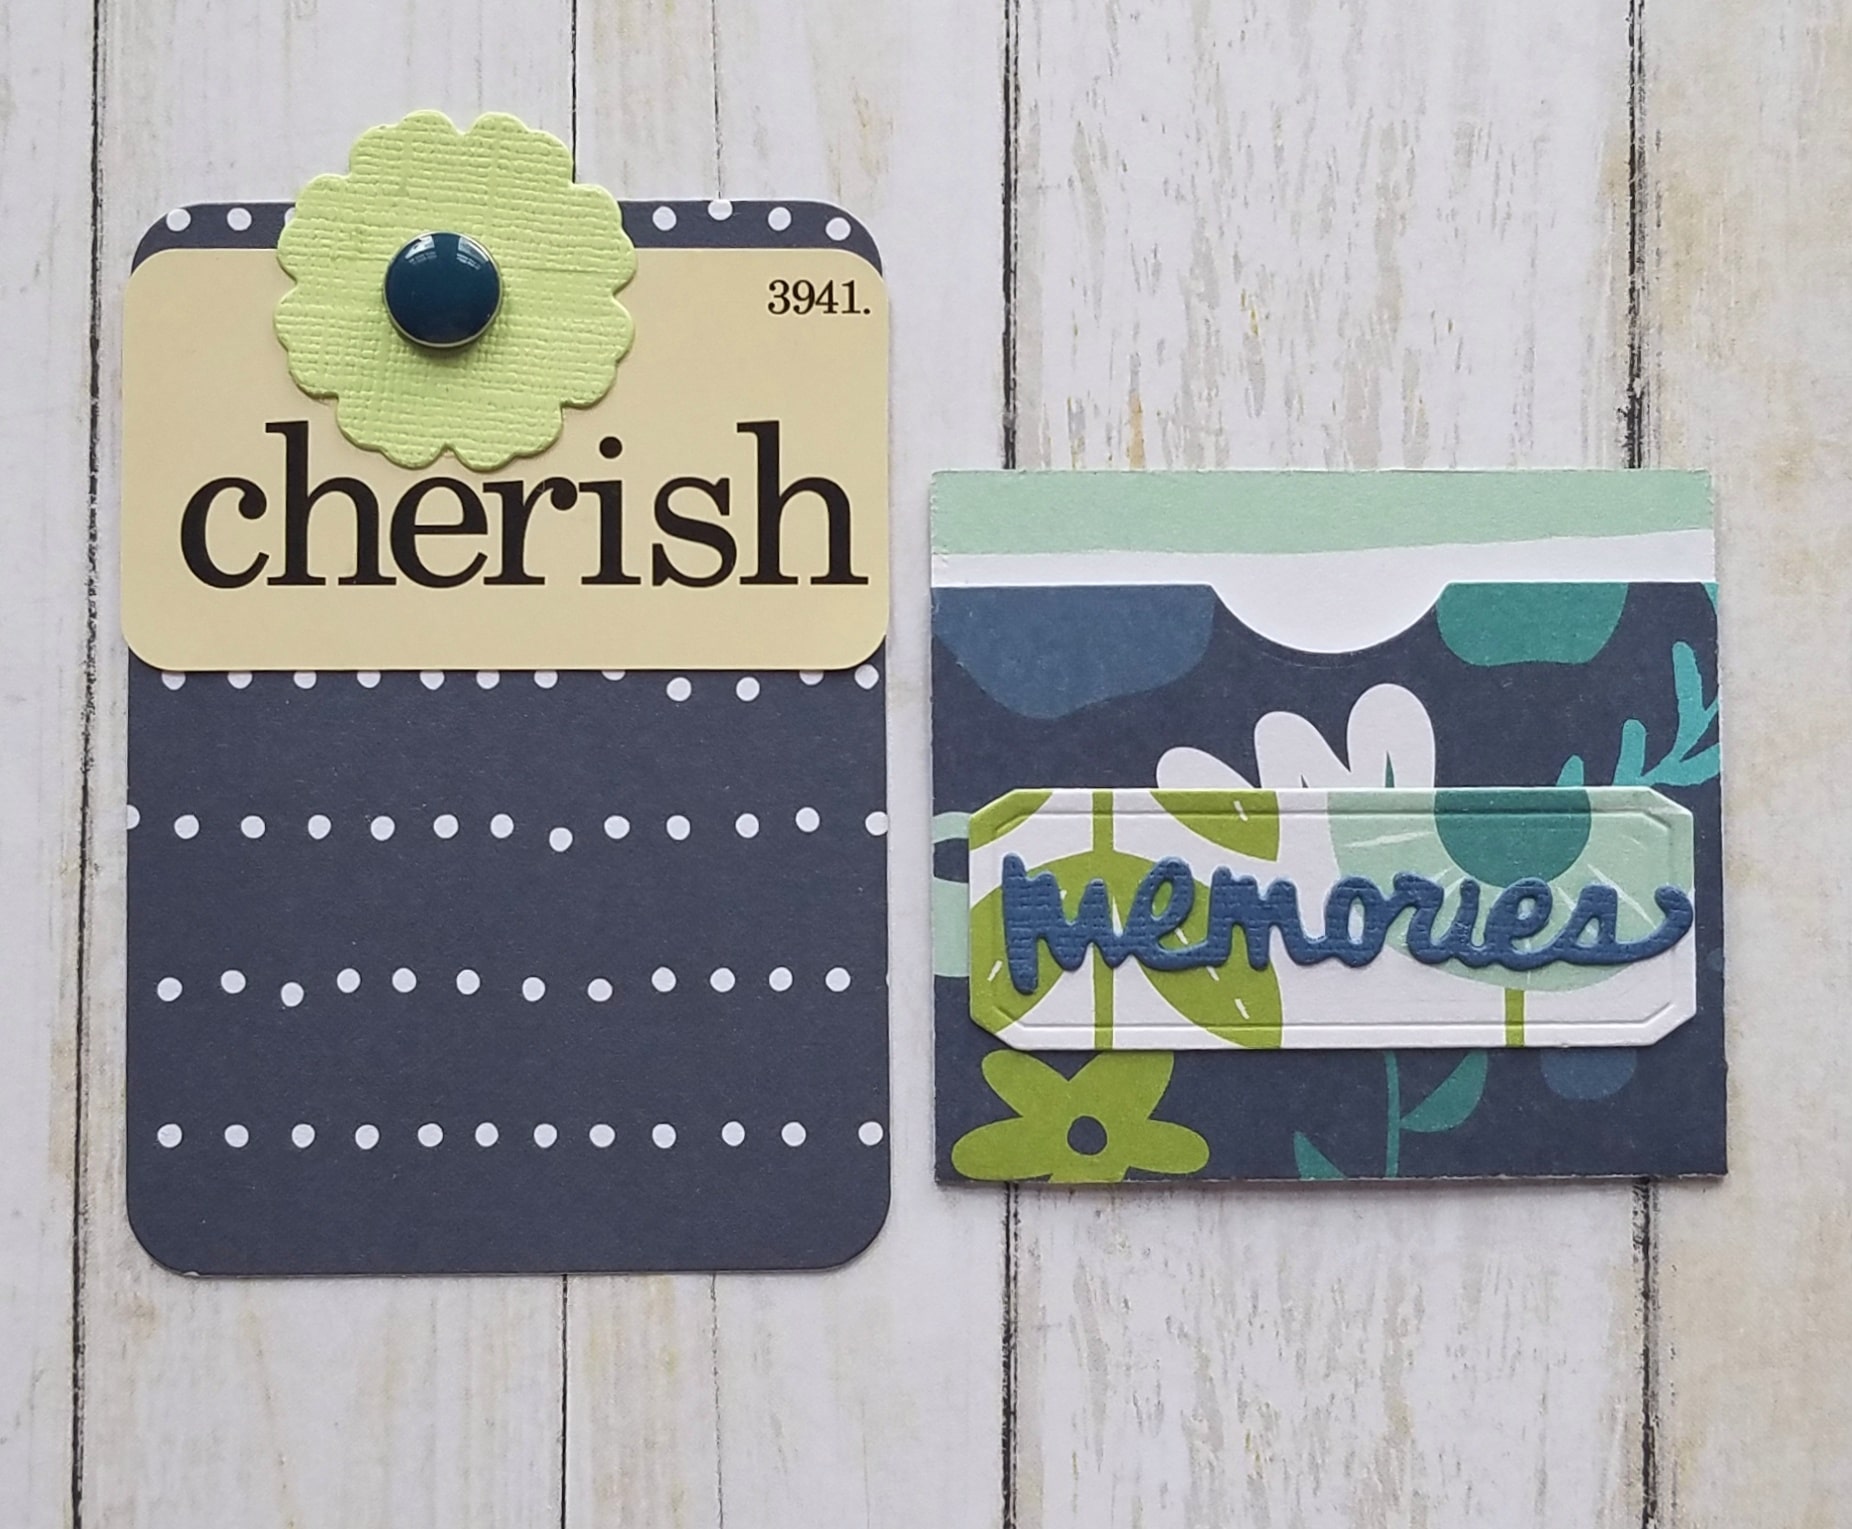
2. Pocket Card Inserts
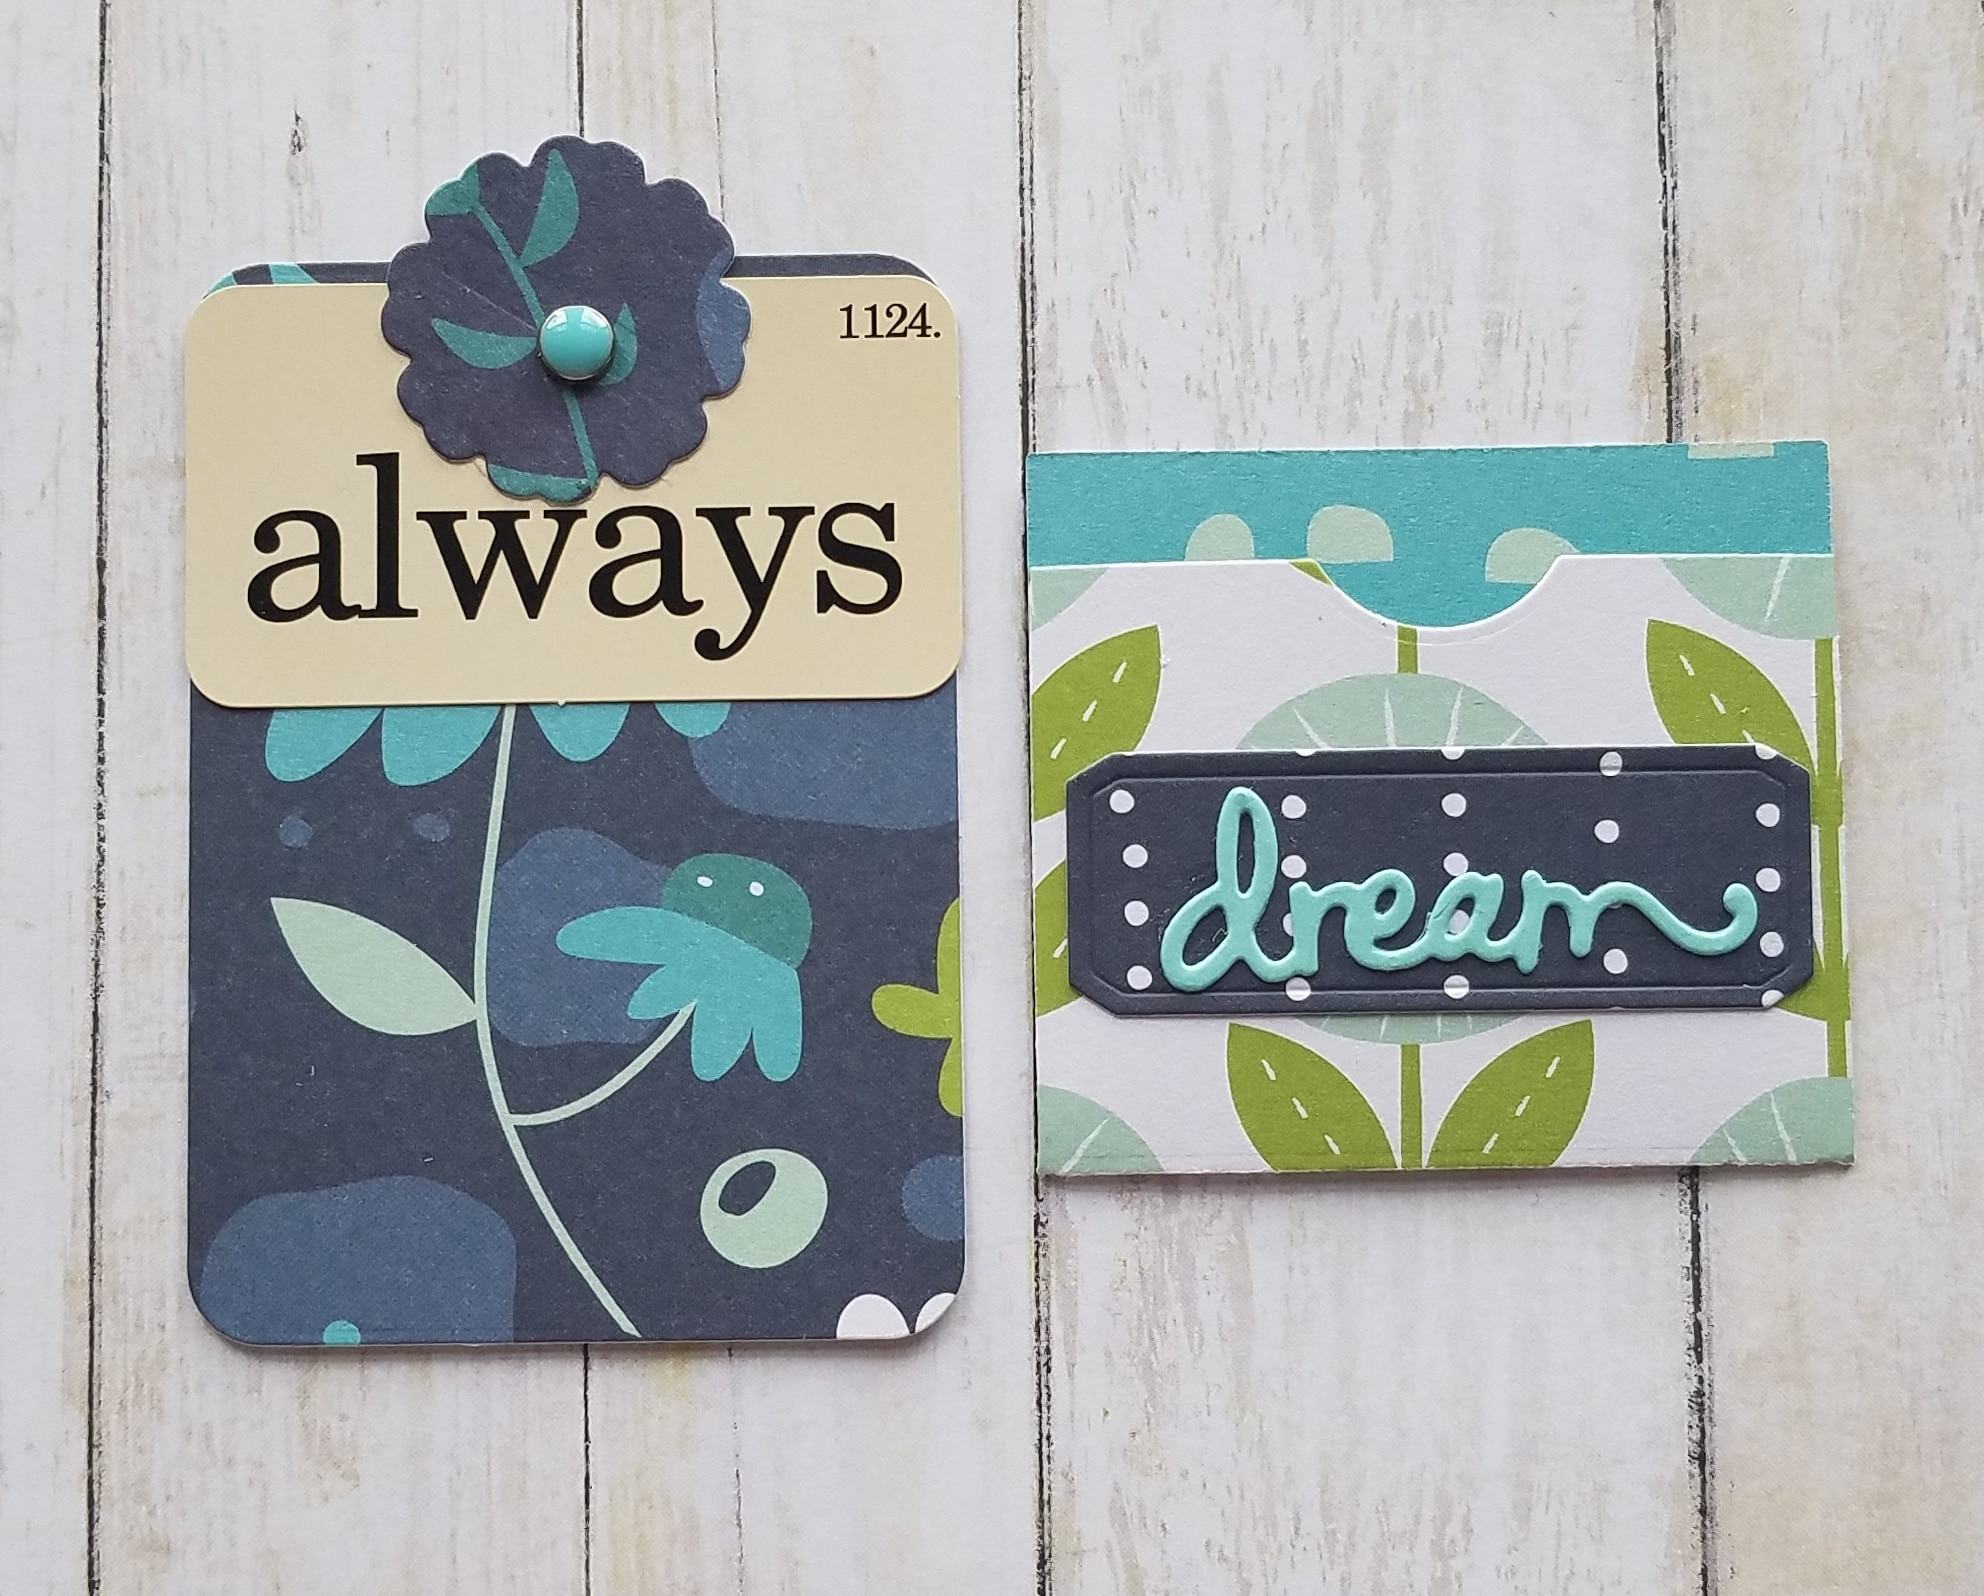
Lisa used a die cut machine to cut pockets, card inserts, and labels from the beautiful Happy Days paper in the May kit.
The word dies are available at Michael's and she stamped them on cardstock. Then, she used a Sizzix machine to make the pocket. Also, she cut the flowers from the Happy Days papers. Lastly, she attached a flash card to the pocket inserts and then adhered the flowers and finished with the matching brads in the kit.
3. Affirmation Cards
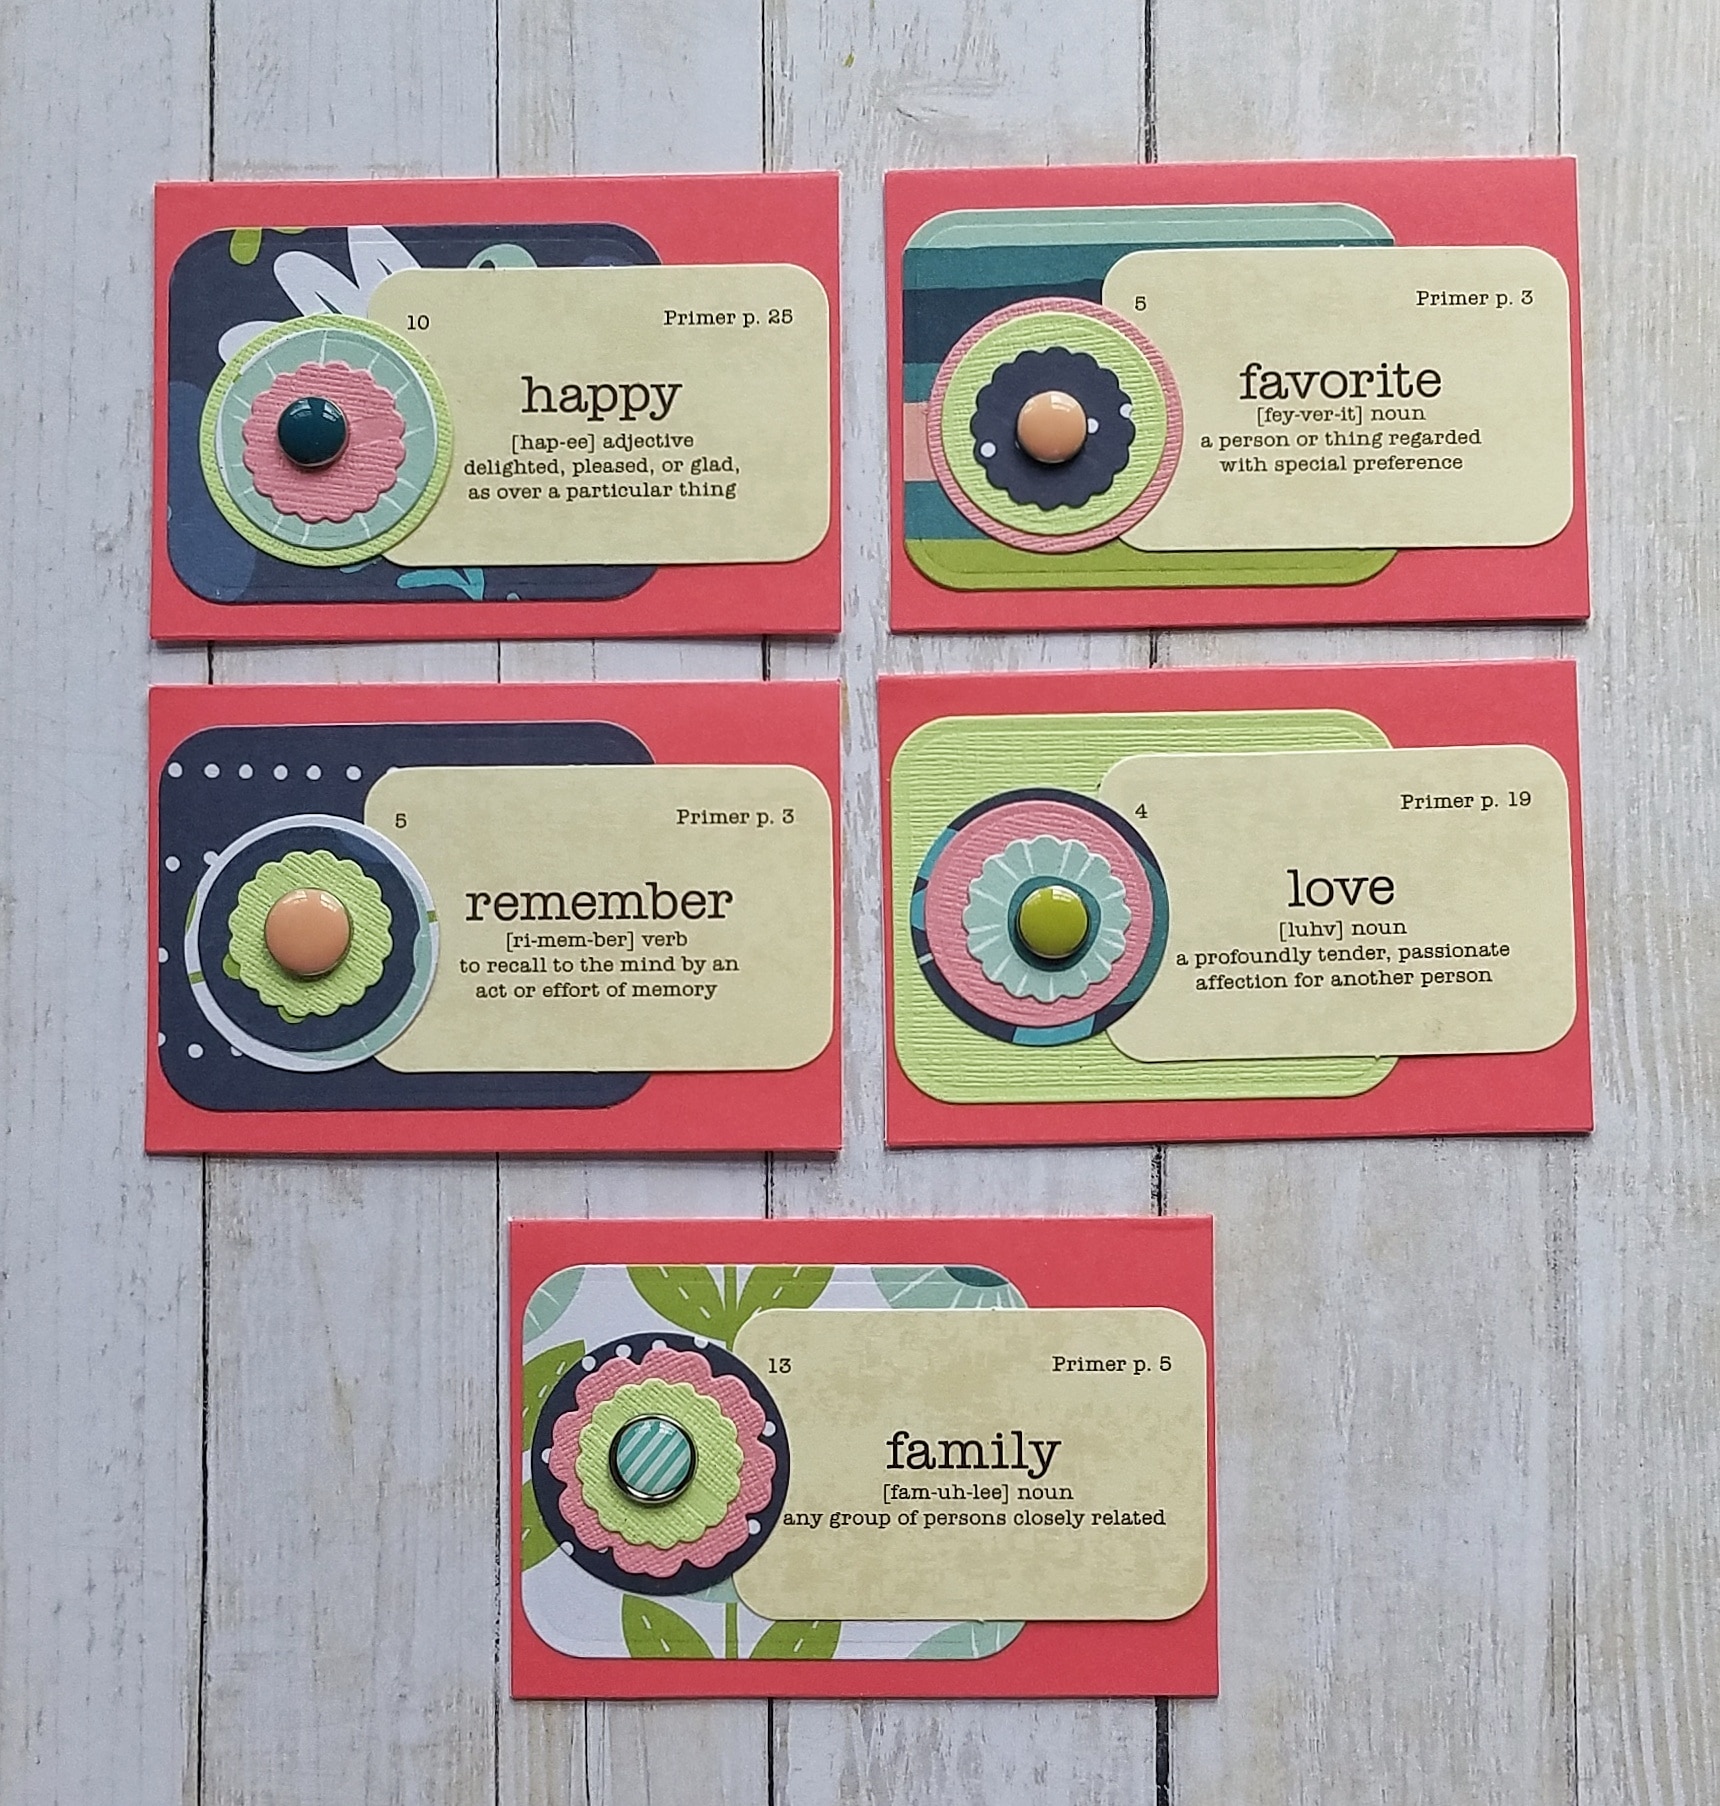
Lisa began this craft with pink cards, gift enclosure size. She cut layering panels from coordinating patterned paper from the May kit. Also, she attached a flashcard over the layering panel. She then cut the flowers and circles from the Happy Days paper and solid cardstock and layered them in fun combinations. She attached a brad from the kit to each flower. The envelopes are decorated with stickers from the May Kit sticker sheet.
4. Pale Pink Folded Cards
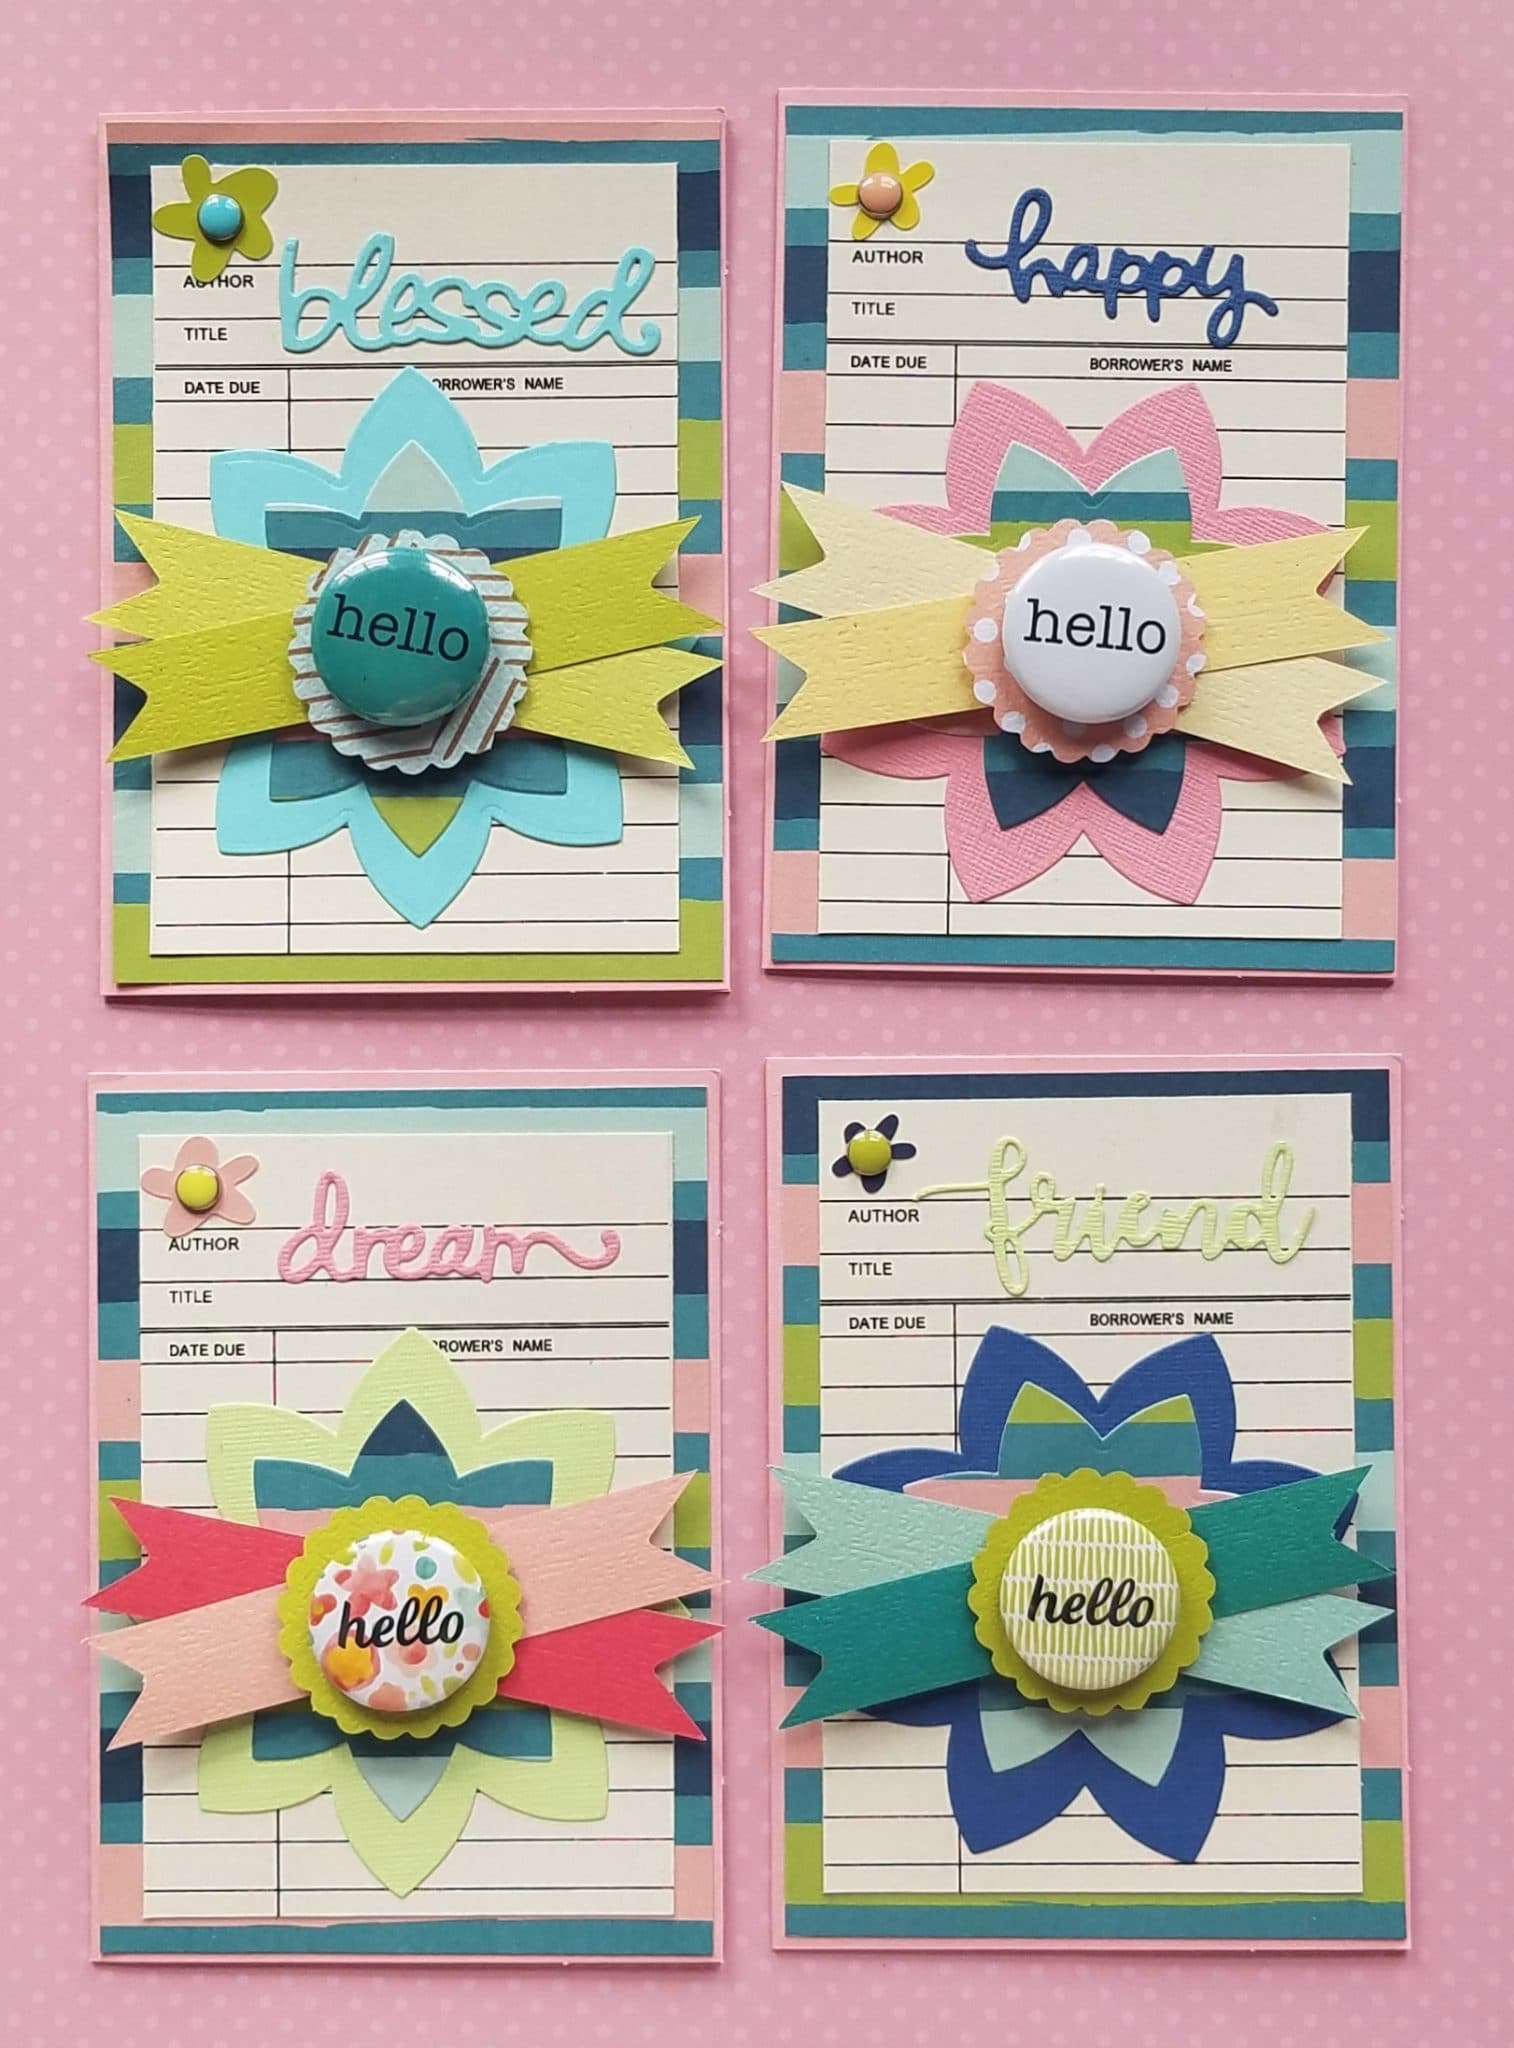
For these, Lisa started with pale pink folded cards, then use the striped paper from the Happy Days kit and cut panels to fit on the pink cards. Lisa layered library card ephemera on the striped panel. Library cards like these are readily available on Etsy. She cut flower shapes from coordinating solid and patterned papers found in the kit. Then, applied an awesome "hello" layered banner sticker from the May kit to the flower on each card. Also, she cut a word from the solid cardstock included in the kit and adhered a word to each card. For a finishing touch, Lisa applied a small flower sticker from the kit to each card and finished each flower with one of the brads from the kit.
For the inside, she used a flashcard decorated with a sticker. To finish the envelopes, she cut border strips from the coordinating solid cardstock sheets. Check out more of Lisa's wonderful crafts on her Facebook page!
The next beautiful cards are from our DT member Terra Merriweather.
5. Thanks Card
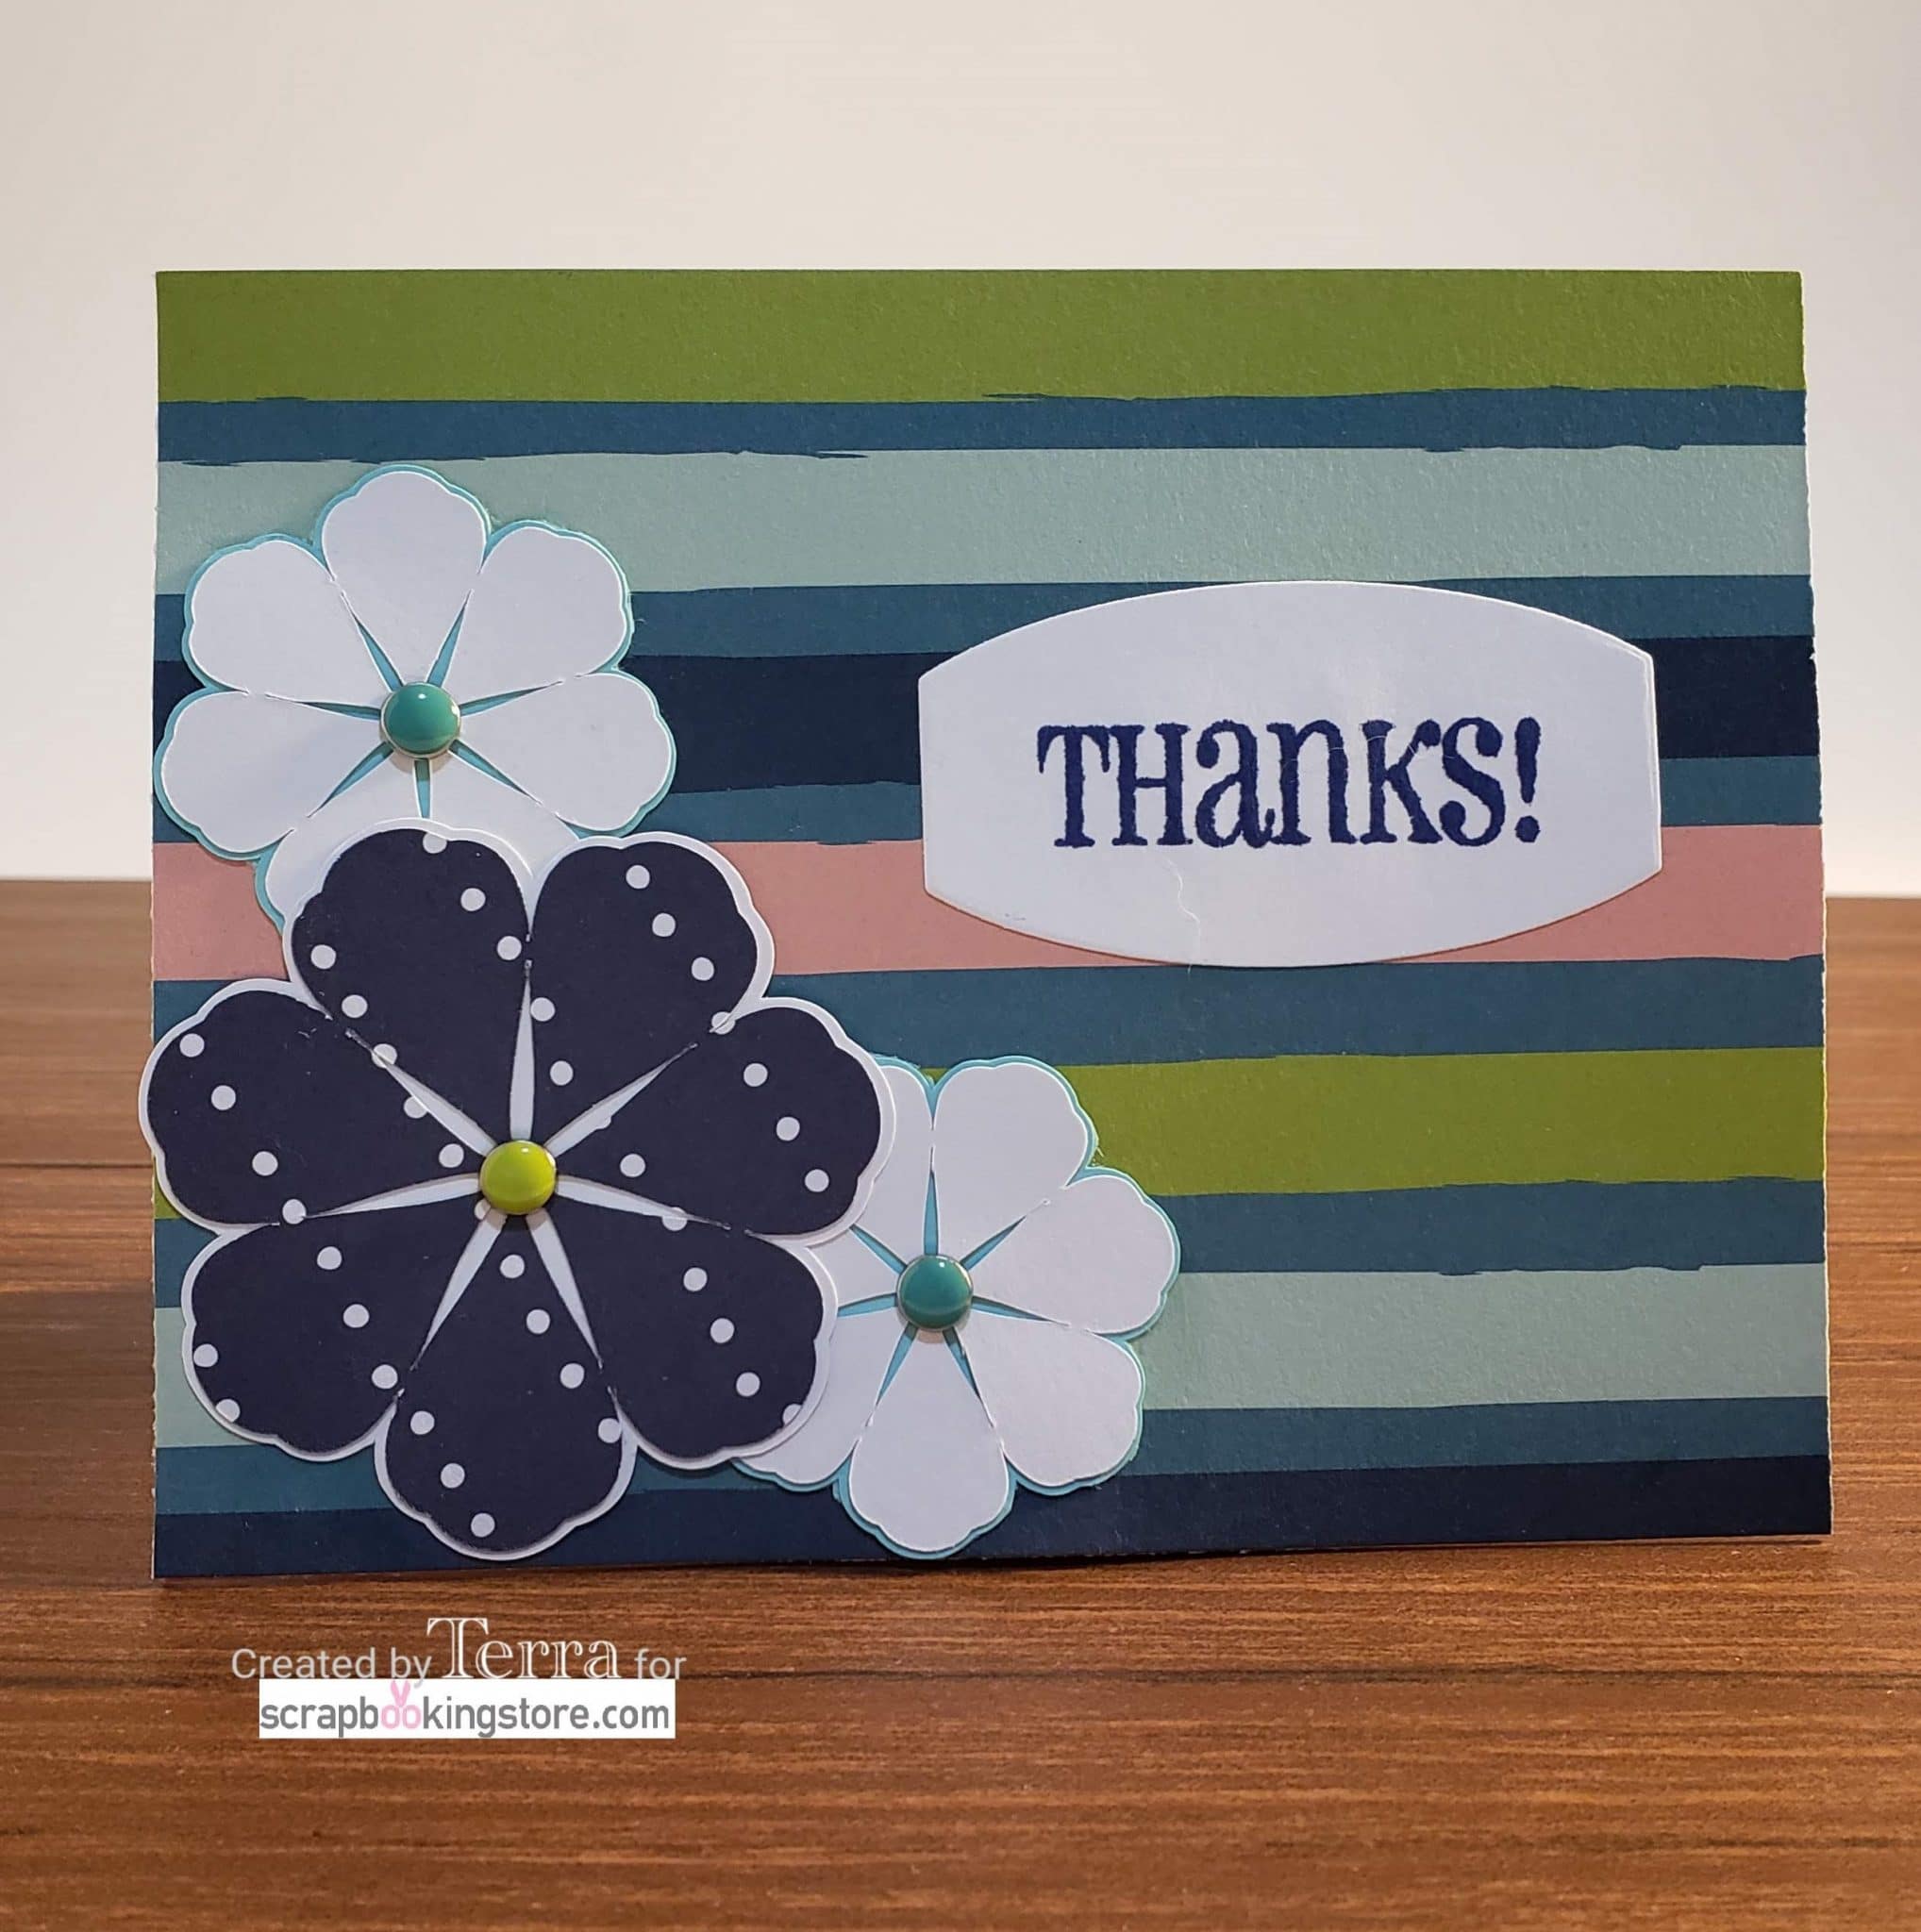
Terra cut a 5.5" W x 4.25" L rectangle out of the multi-colored striped patterned paper. She cut three flowers using her Silhouette from the dotted navy and turquoise papers from this month's kit, along with plain white card stock. After attaching the flowers to the lower left corner of the card, she used an X-acto knife to cut a small slit in the center of the flowers. Then inserted the decorative brads from the upgrade kit to make the flowers stand out. To finish, she used a Sizzix die to cut a small tag and stamped with the word Thanks!
6. Love makes the world go round
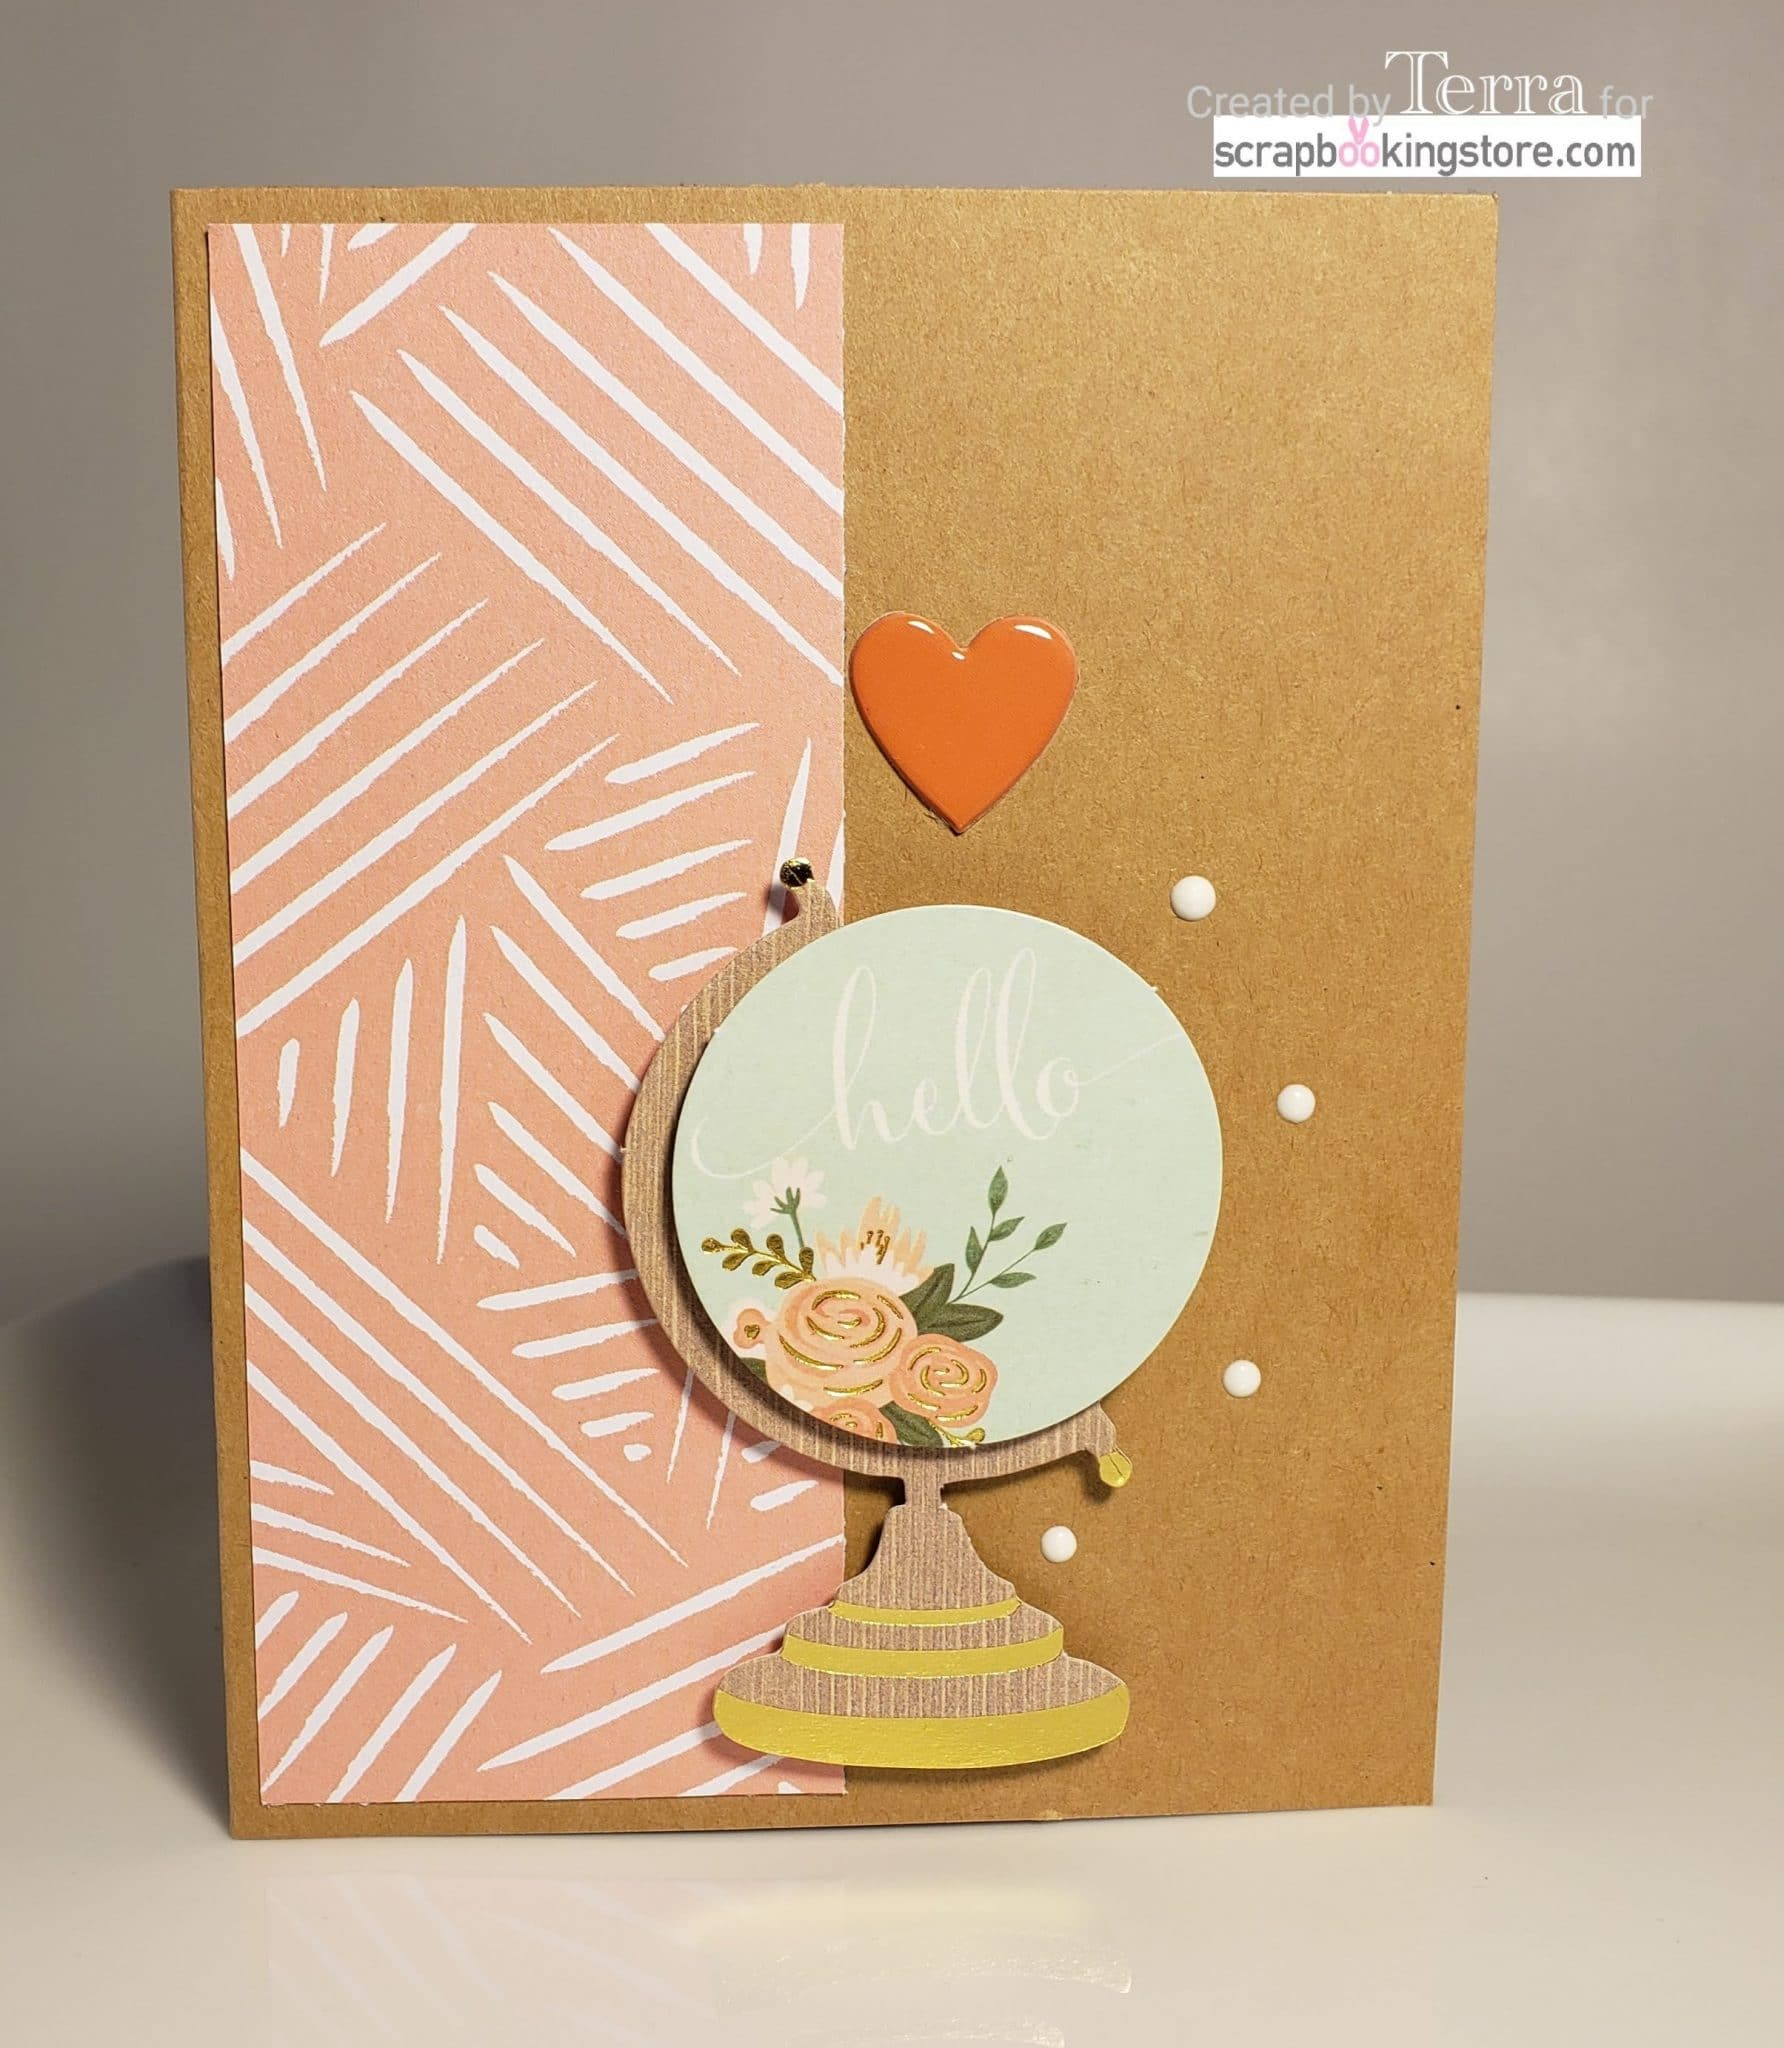
My 'Love makes the world go round' card was simple and quick! Terra used a kraft paper for her card base (4.25" x 5.5"). She cut a 2" x 5.25" strip from the coral and white patterned paper and placed it to the left side of the card. Then she centered the hello globe dimensional sticker on the right side of the coral strip. She finished the card by embellishing with the heart dimensional sticker from the kit, along with four white Nuvo crystal drops.
7. You Are So Sweet
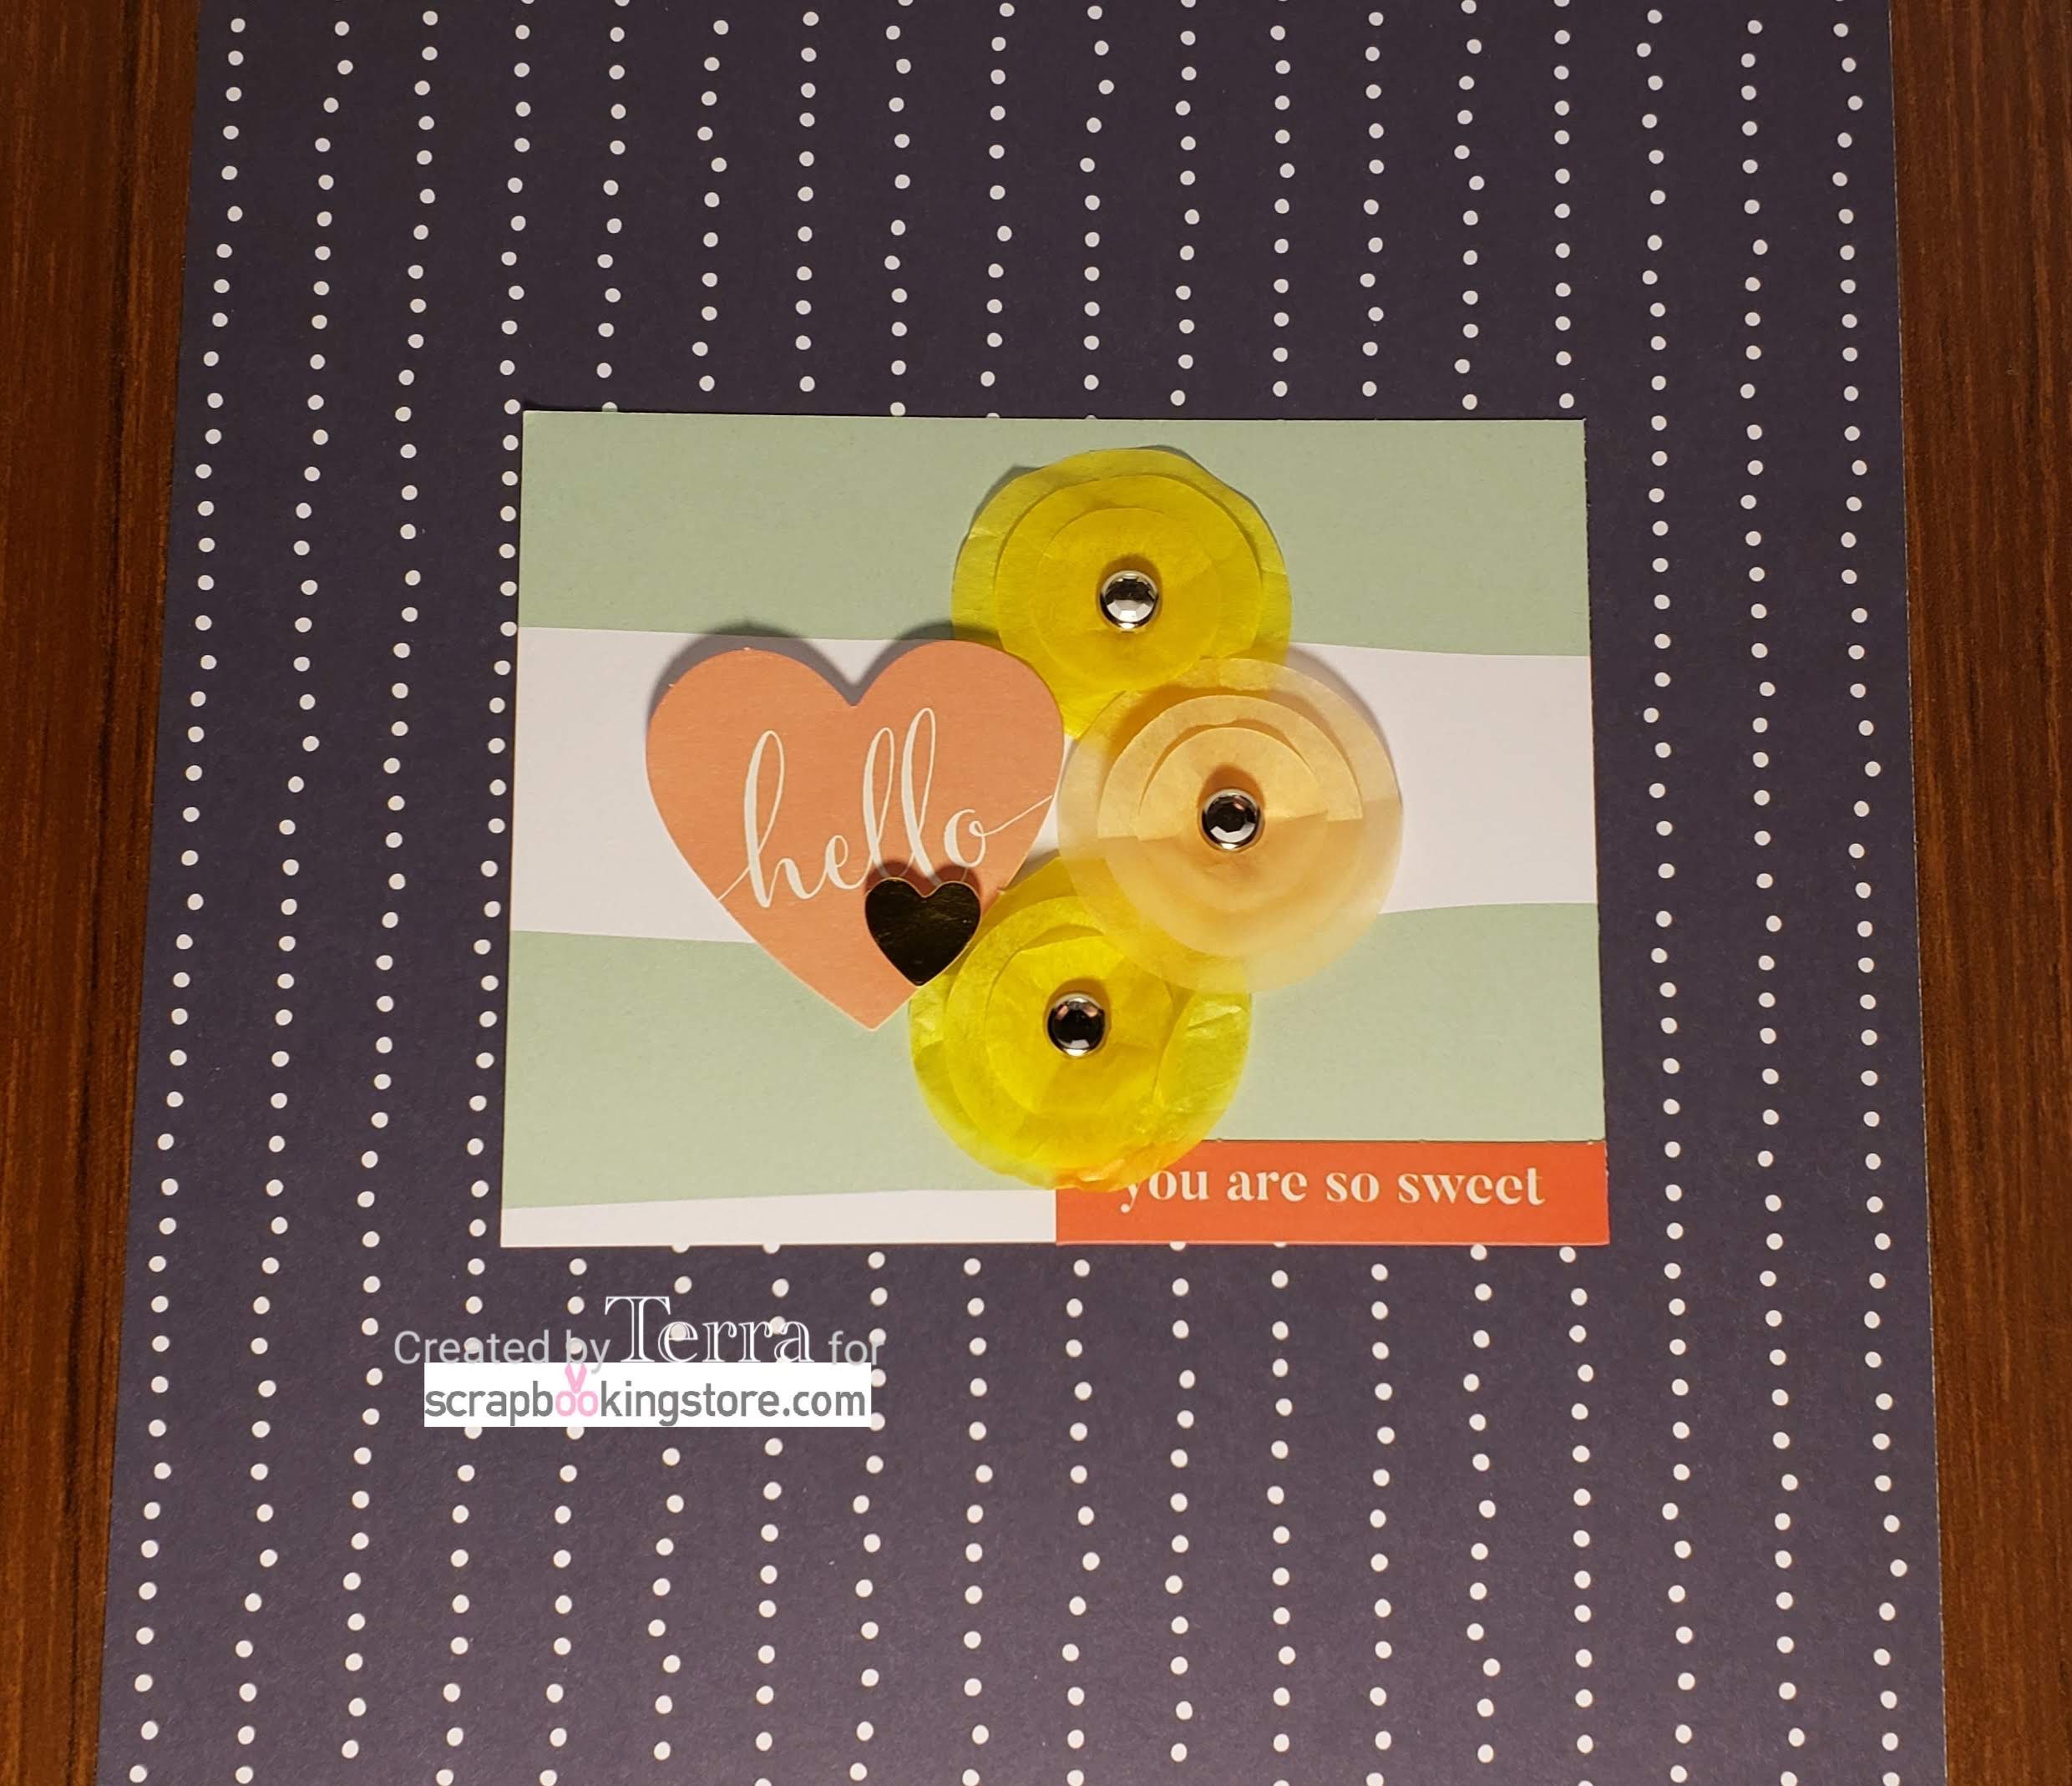
For the "You are so sweet" card, Terra used the green and white striped patterned paper with the stripes turned horizontally. Terra attached the hello heart dimensional sticker from this month's upgrade and embellished it with three paper flowers from February's kit. She then added a sentiment (from our February kit) to the lower right corner of the card.
Find more of Terra's gorgeous crafts on her Instagram page!
These last set of cards are from our wonderful Designer Cindy DeVries.
8. New Home Card
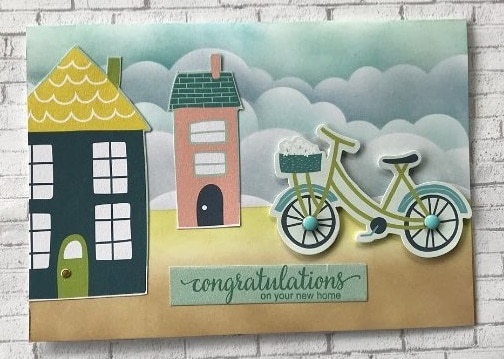
Cindy created a “new Home “ card using the paper which had the adorable houses on it. She had previously used the reverse side of this paper but was able to cut the homes out to make this card. After cutting out two of the homes, she stenciled the clouds, grass and dirt onto a 5x7 card base. Then she stamped the sentiment onto another scrap from the same sheet of paper so that it all matched! She used the adorable bicycle which came in the kit which creates a neighborhood scene. Surely her new neighbors will really like receiving this card!
9. Stuck on you - Cactus Themed Card
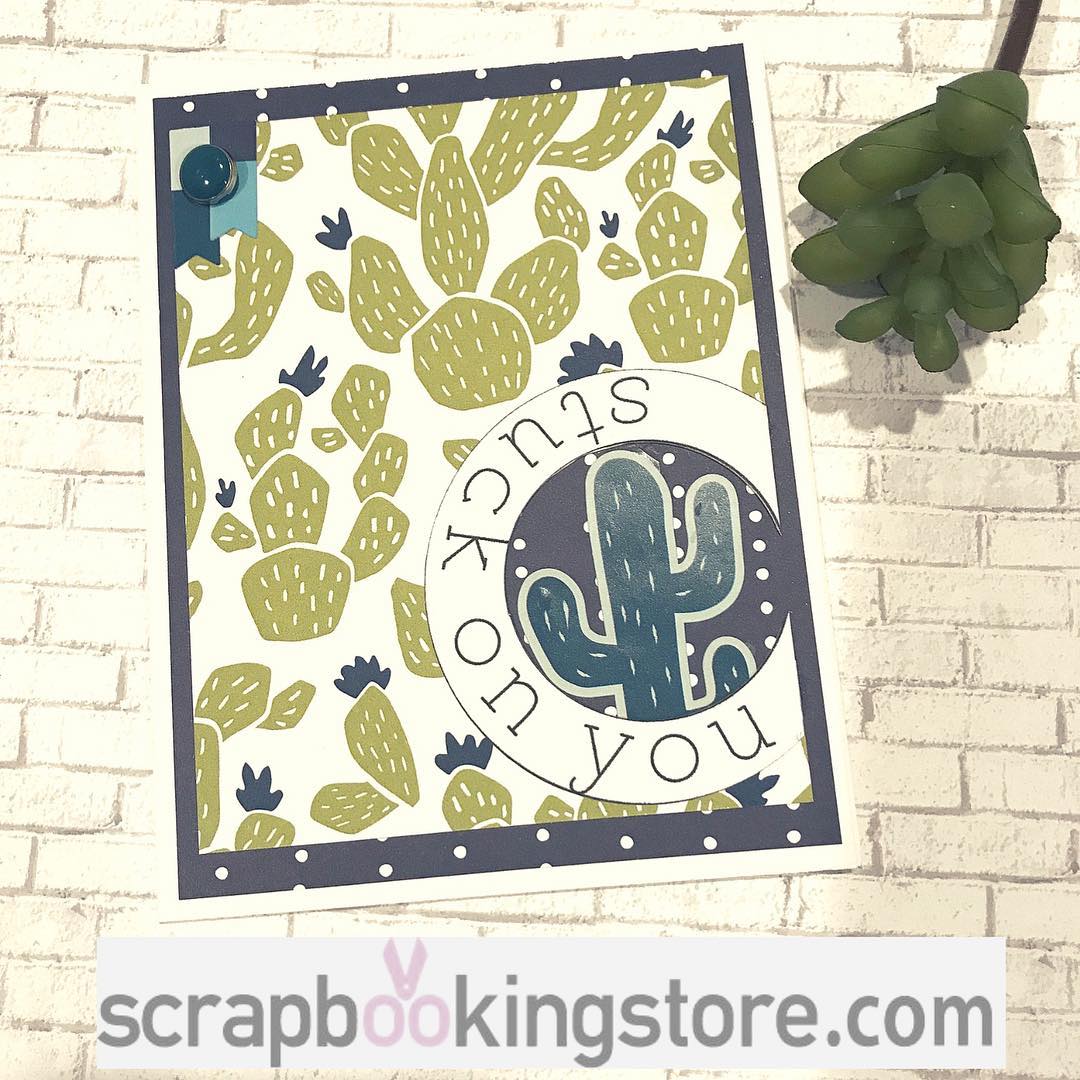
This card was inspired by the adorable cactus paper. Cindy wrote the sentiment on her printer and cut it out using circle dies. She layered it over the background paper and added the cactus which was a sticker included in the kit. This is an easy little card that can be used for anniversary, or just to say I love you!
10. Hello Button Card
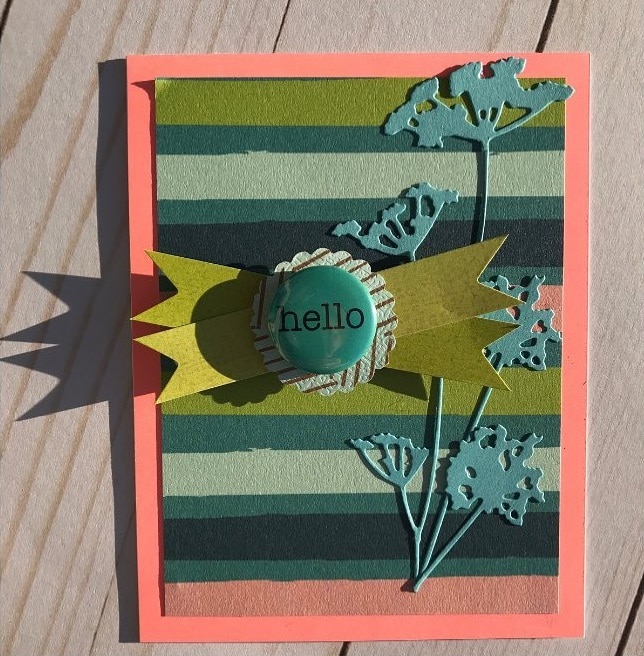
Using the solid pink paper, Cindy made a card base. She cut the striped paper 4x5.25 inches and glued it down centering it over the solid piece. She then die cut the flowers using the solid blue paper included in the kit. That really cool ”Hello” button was placed over the flowers. She loves this simple design and we're sure the recipient will feel the same!
11. Thank You Card
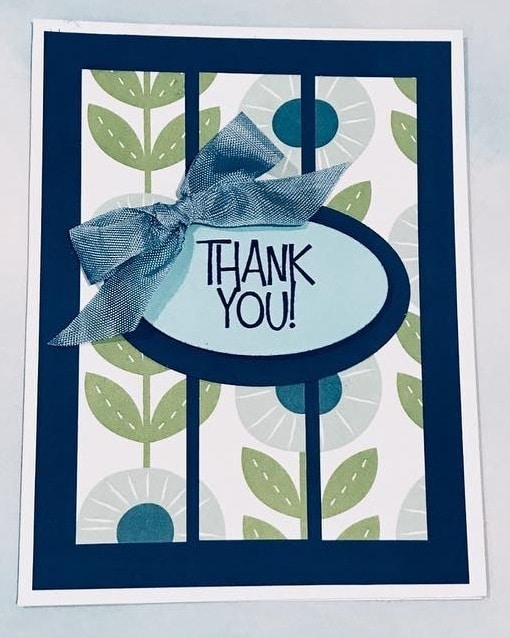
This thank you card was made cutting a piece of blue paper 4X5.25 and gluing it to the front of an A2 card base. Then, Cindy cut a piece of the blue floral paper into a piece 3X 5. She recut it into 1 inch strips and place those onto one of the blue papers about 1/4 inch apart. Also, she stamped the "THANK YOU" sentiment using blue ink and cut it using layering ovals to size. Lastly, she tied a bow using ribbon and glued it into place. A simple yet elegant way to thank someone!
12. Been Thinking About You Card
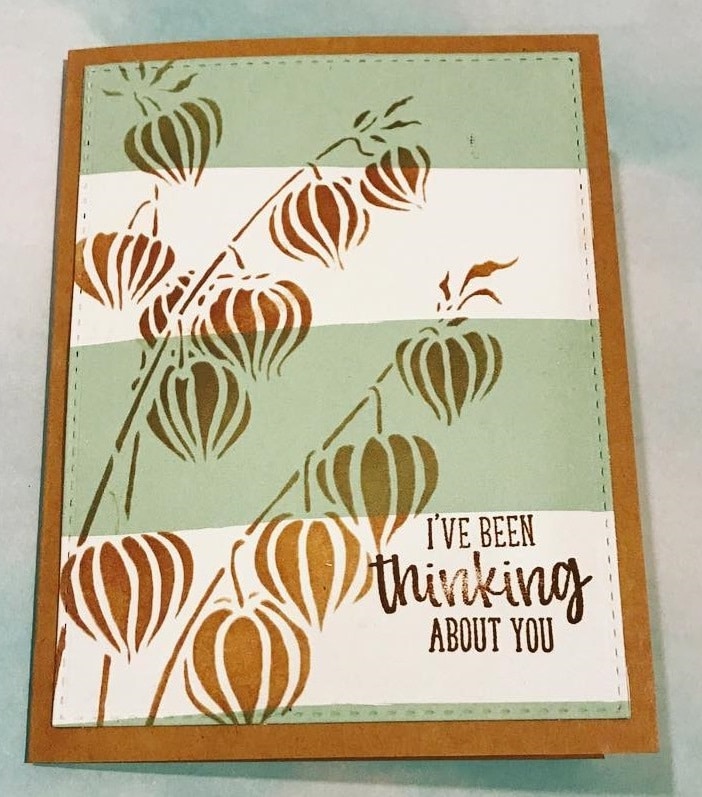
This elegant card was made using the beautiful striped cardstock. Cindy stenciled the floral pattern using oxide ink. She stamped the sentiment in the bottom corner. This was her favorite card! It’s elegant yet simple and quick to make!
13. Hello Friend Card
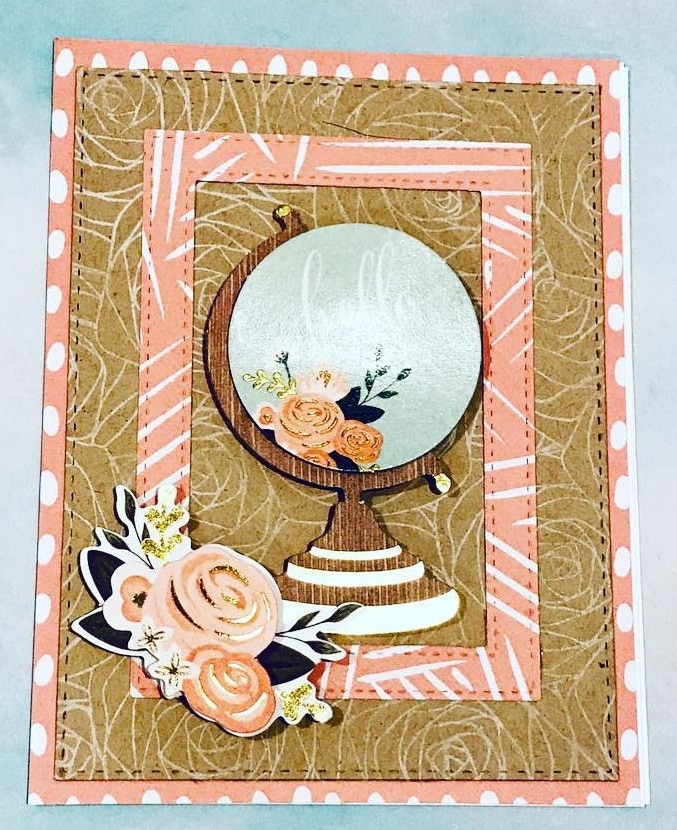
This beautiful card was made using the coral and pink dot background paper. Cindy cut a 4.25 X 5.50 and glued it to an A2 card base. She then cut a piece of brown card stock and stamped the background stamp with white ink and embossing powder to make it dimensional. Also, she cut the geometric printed paper into a frame and layered it onto the frame. She used the floral sticker and globe mounting them as shown. What a beautiful way to say “hello” to a friend!
14. Nautical Card
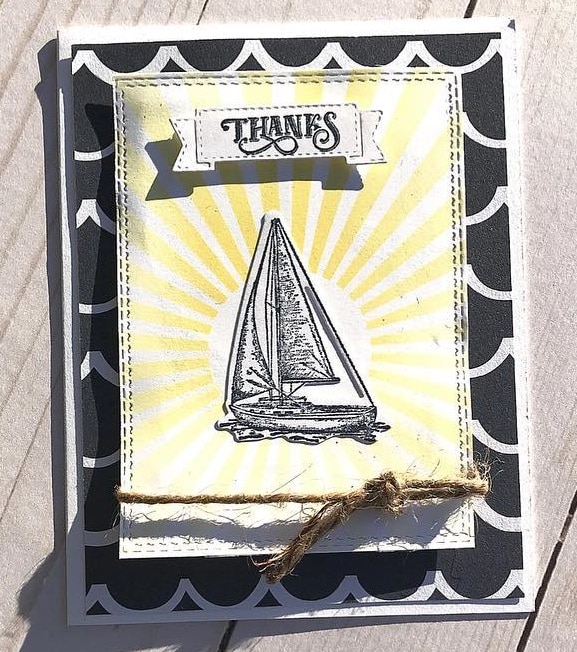
This nautical card was made using the “wave “ type paper as a back ground. Cindy stenciled the sunrise onto a piece of white card stock and used a stitched die to cut it 4 x 5 1/4. Then, she stenciled the center panel with a sunburst image. She then wrapped rope around the bottom portion and mounted it with foam tape to the wave background.
Next, she stamped and die cut both the boat and the "Thanks" banner sentiment. Lastly, she glued the boat to the front of the sunrise and mounted the banner on foam tape placing it over the top of the boat. This is the perfect card to use this upcoming summer! To see more of Cindy's crafts, visit her Instagram page!
All of these cards were made by our DT members, and we are always thankful for such sweet craft inspirations. We hope you enjoyed these projects and get to start doing your own crafts too!
Scrapbooking Store is a community for crafters and scrapbookers. We'd love for you to join us! Follow us on our Instagram, Facebook and Pinterest accounts - and leave comments!
