How to Make a Box Out of Paper: A Step-by-Step Guide
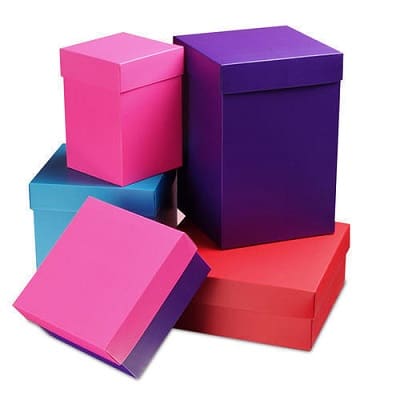
Planning to give special gifts but don’t know how to package them? You can elevate your gift-wrapping prowess by making DIY gift boxes out of cardboard or your leftover scrapbook paper! Below, we'll take you step by step on how to make a box out of paper.
Hand-folded gift boxes are a great way to wrap your presents. They are a unique and thoughtful gift-wrapping method. You can opt to use lightweight, decorative paper or colored cardstock.
These hand-folded boxes are nice to look at and make good DIY projects for students and easy enough to keep children busy and amused. All you need is a pair of scissors and some adhesive tape, but you can also create gift boxes without them.
In this two-part guide, we will teach you how to make a box out of paper in two shapes: square and rectangle!
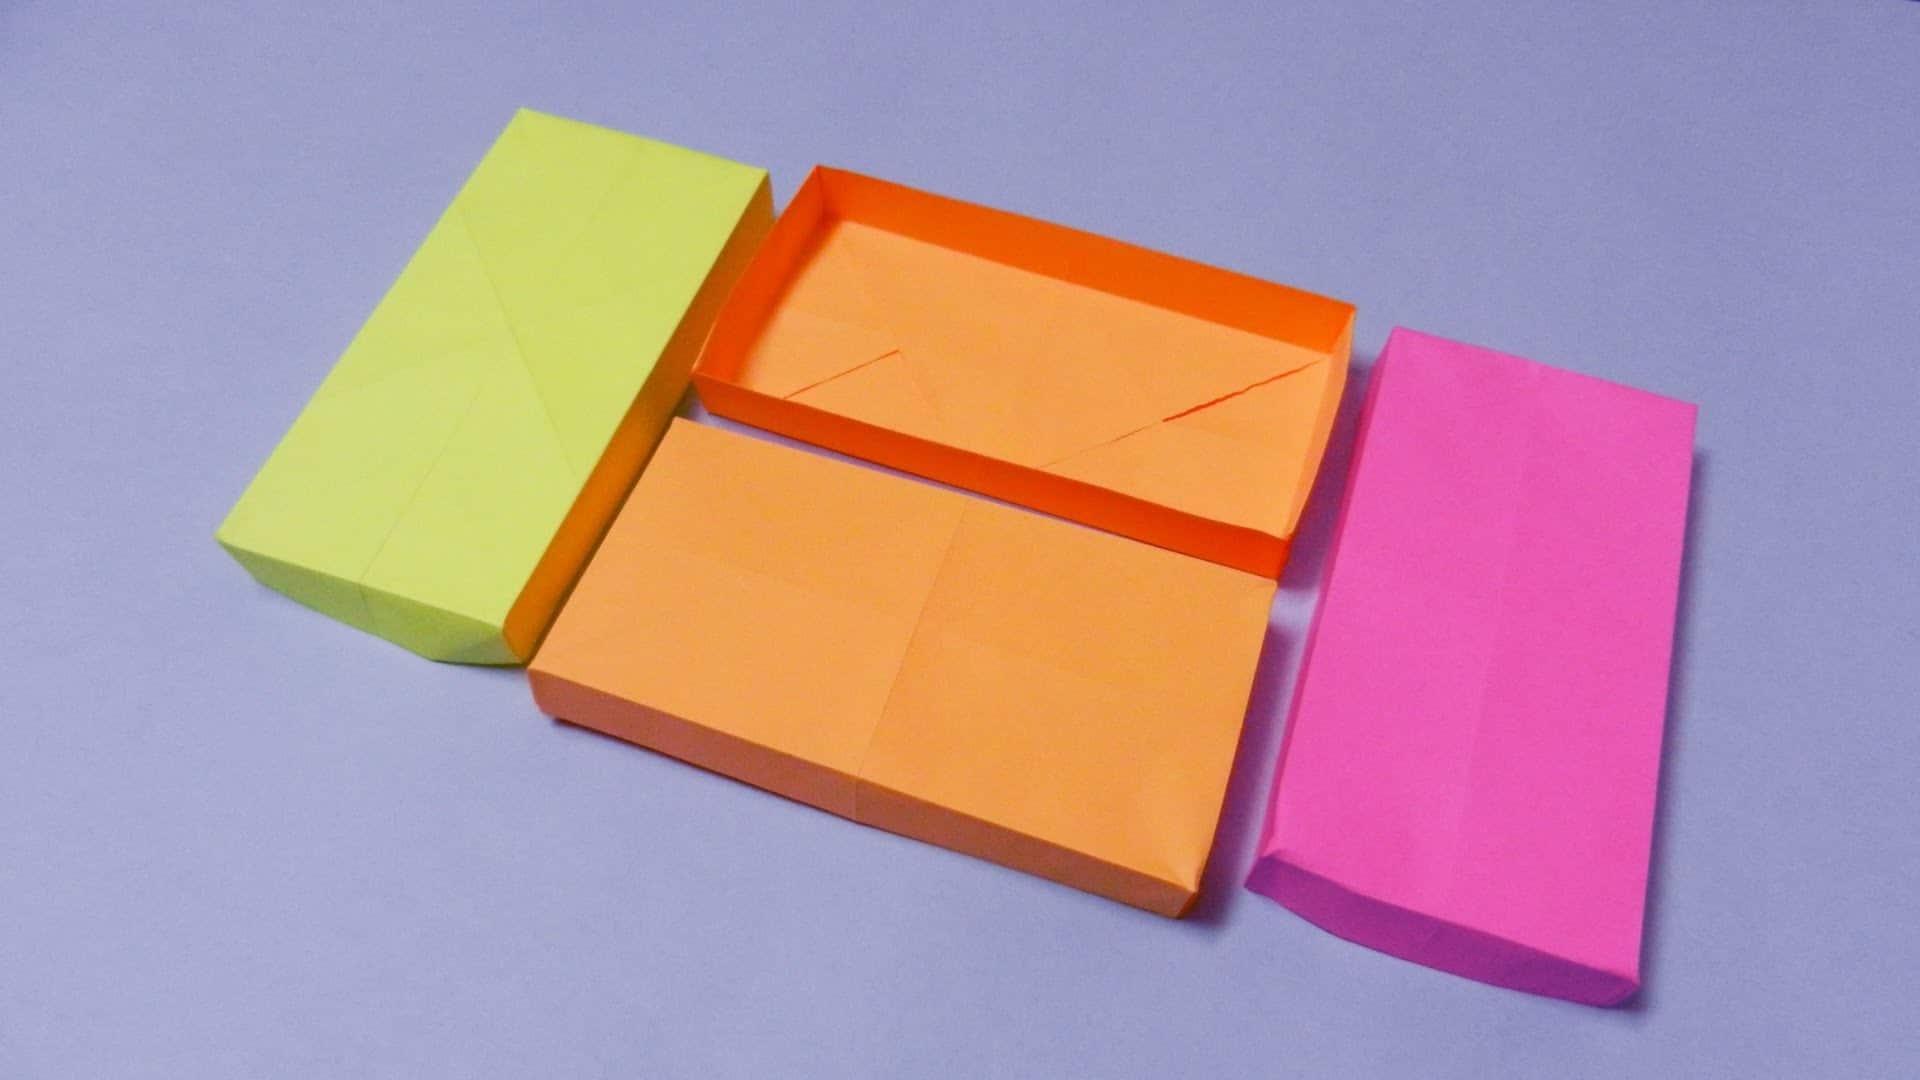
How to Make a Rectangular Paper Box
- Choose your preferred material. For a rectangular box, a rectangular paper would also be the best choice. You can choose any color or pattern that will suit the occasion. If you are doing this for the first time and are only practicing, you can just opt to use scrap paper.
- Make a crease at the center of the paper by folding it vertically in half. Crease the fold using a hard object, such as a coin or your fingernail. You can also use a dull knife or an embossing tool for thick paper or cardstock. Unfold the paper. Note: Make sure the pattern is on the outside.
- Taking the edge of the paper, fold each side of your material to the center crease, making sure the pattern is on the outside. The paper is now sectioned widthwise in quarters. Unfold the material.
- Making sure the pattern is on the outside, make a fold lengthwise, giving the paper eight equal sections. Unfold the paper.
- Find the center crease of the paper. Fold each short side to that mark, repeating Step Three, but this time, the folds are lengthwise. You will now have 16 sections in total. Do not unfold the paper and keep the lengthwise section folded.
- Fold each of the four corners to the nearest lengthwise crease. They should each form a right triangle-shaped flap with each base barely touching the lengthwise crease. The folded paper must now look like an uneven octagon.
- From the middle, fold each flap down over the triangles you have made in Step Six, opening the center of the paper. You must be able to see box’s center crease. You will see this flap from the box’s outside. So, if you are using the box for a gift or making decorations, you may consider a double-sided patterned paper.
- Pull the two flaps up. The box is now complete.
Note: If you think the box doesn’t stand securely, re-creasing some folds will make it more stable. You can also tape loose edges to make the box more durable.
How to Make a Square Paper Box
- Pick your desired material. Depending on your preference, you may use a lightweight, decorative or colored paper or heavy cardboard. A square paper, with four even and equal sides, is required for this method. You can use a ready-cut square paper, or you can cut the paper yourself.
When cutting the paper, make sure to have a perfect square. You may use a set square or triangle to create the right angles. Then, cut along the rule with a rotary cutter or X-Acto knife.
- Fold the paper diagonally in half and unfold. Turn it 90 degrees and then fold again diagonally in half. This will give you four equal, triangular sections.
- With the patterned side down, carefully fold each corner of the paper into the center. You should now have a smaller square composed of four triangles.
- Fold two parallel edges to the center. Fold down the newly folded parts on top of the folds that you just made in the third step. You now have a rectangle, which, when folded completely, shows two rectangular flaps meeting at the center.
- Find the shorter edges and fold them to the center. Make the folds over the folds you made in Step Four. Now you will have a much smaller square with two visible rectangular flaps meeting at the center.
- Partially unfold the paper. When you reached the square made of four triangles you created in Step three, stop unfolding. Then, fold back two parallel edges into the center of the already creased fold. You can choose from the two sets of identical edges as you are not creating a new fold. Let the edges sit vertically, creating a part of your box’s sides.
- Grab the paper from any of the width-wise triangles in the center, partially unfolding a shorter rectangle end. Be careful not to tear the part off. If you notice parts or edges that are not crisp or secure, re-crease the edges. When properly executed, you should have three triangles facing outward, with two of them having a crease at the center. You now have three square sides that will create another part of your box.
- Push back the two creased triangles inward, pushing them down. Doing this will fold the paper and lift the new side up.
- Repeat Steps Seven, Eight and Nine with the box’s opposite side. Make sure that the four triangles fit the bottom of the box perfectly. Secure the box by taping the triangles flat. You now have a square box made out of paper.
Wrapping Up—Pun Intended!
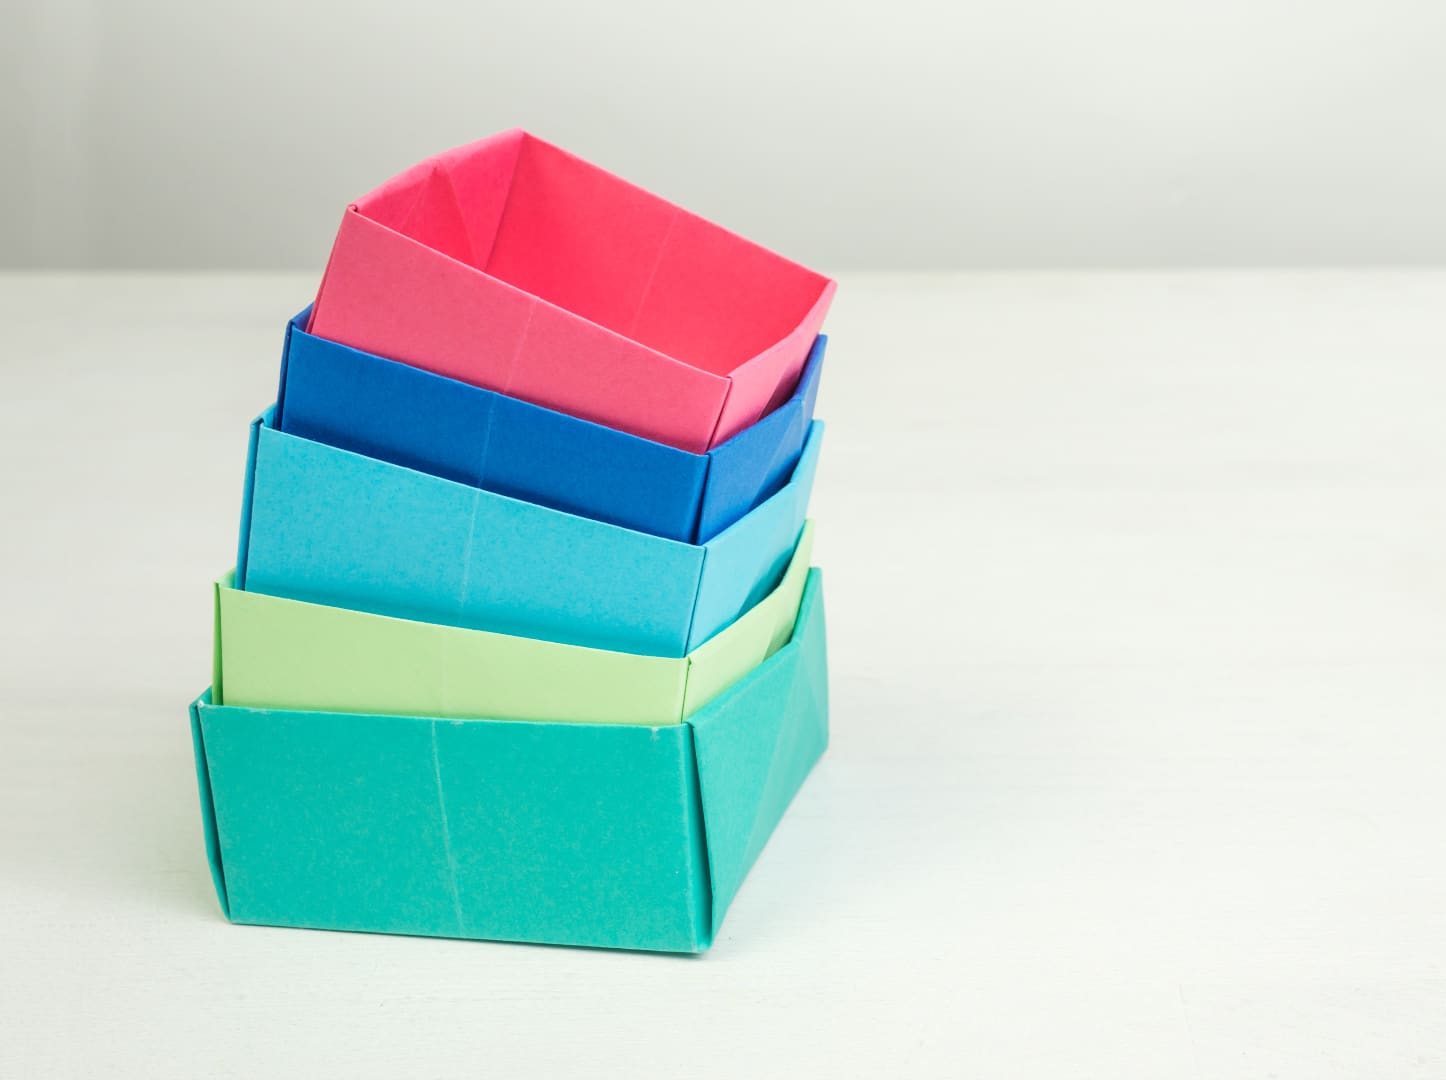
Now that you know how to make a box out of paper, you can now create dozens of these lovely boxes and keep them handy. They can be nice vessels for presents and neat desktop organizers where you can store pushpins, erasers, paperclips, and other tiny items. You can even make an assortment of sizes and colors using various paper stock or cardboard.
Knowing paper-folding techniques like this is an important tool if you are crafty and love to DIY. This paper box, for instance, will surely keep you oozing with creative juices once you know how it is done. This is perfect for year-round gift giving and will surely become handy as it can hold that small, lovely token or a handful of treats.
Start making one now and impress someone with your special gift!


I am thinking about trying this I am great at origami and love trying new ideas and trying new websites
also check out some of my vids and leave a comment-https://www.loom.com/share/dc51a07eca5743bea86729c19d33bf45