10 Perfect October Scrapbook Layouts
Between richly colored foliage, crisp breezes, and the scent of apples and pumpkins everywhere, you won’t find a better season to make new memories and scrap them. We’ve got awesome scrapbook layouts!
This month’s Happy Haunting collection by Simple Stories is so versatile that it’s really easy to stretch this kit well beyond Halloween!
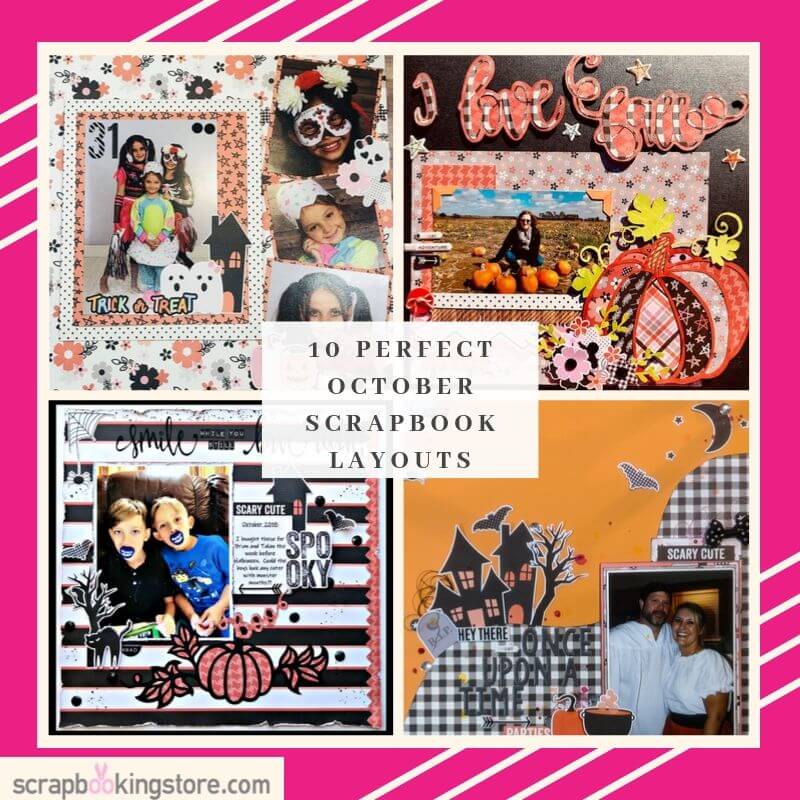
Don’t take our word for it, just take a look at some of the adorable, fun and spooky layouts that our Design Team created:
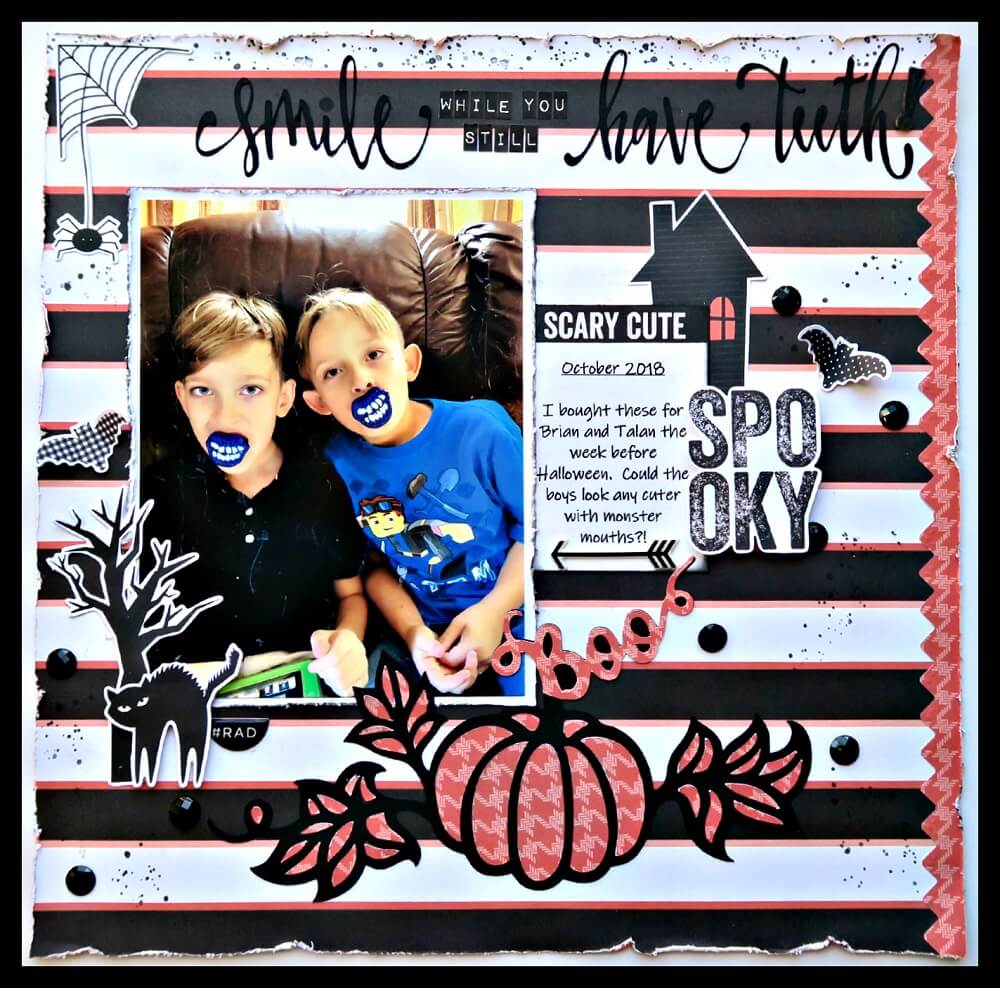
1. Scary Cute by Marci Bensing
Marci had an adorable photo of her grandsons from last year. She chose the background paper, matted/distressed the photo and added the pumpkin which she cut on her Silhouette Cameo.
She then added delightfully spooky embelishments that mostly came with the base kit. Next, she typed her journaling and adhered it to the scary cute card adding an arrow at the bottom. She popped up the cat (by the tree) and the word SPOOKY.
To finish the layout, Marci put a thin frame so we can see the distressing effect all around the outside edge of the background paper. Then, she cut the funky title on the Silhouette Cameo; the tiny letters she already had inher stash. She bent the bats to make them spookier and adhered them just in the middle. Finally, she placed the Heidi Swapp “bling” (found in our awesome upgrades) throughout her layout.
Check more of Marci’s fabulous scrapbook layouts on her blog!
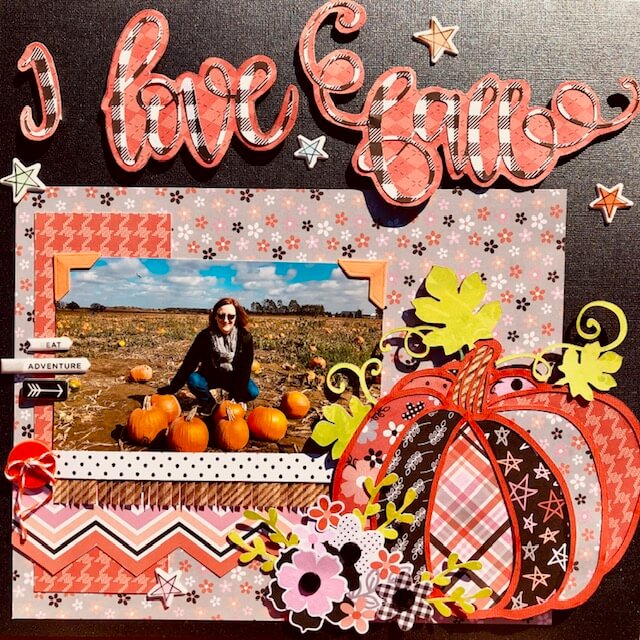
2. I Love Fall by Melissa Bierlein
Fall has always been Melissa‘s favorite time of year! Below’s a layout that shows up just how much she loves this season. The base of it is a 12X12” sheet of Bazzil black glitter cardstorck.
Melissa used a Cricut file to cut the “I Love Fall” out of the black check patterned paper in our October kit. She traced and fussy cut the title to back with orange patterned paper. Then she popped up the title with foam dots.
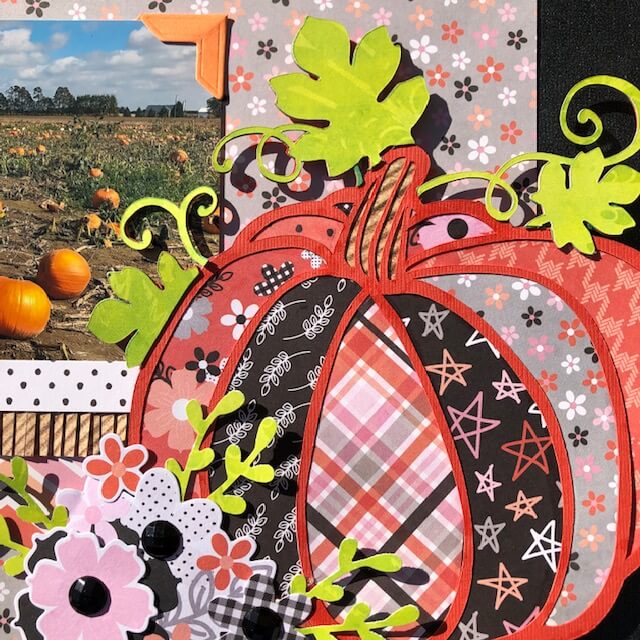
Pumpkin ~ Did you know you can use Silhouette files on your Cricut? (pretty cool, right?) The pumpkin was in the Silhouette store and Melissa purchased the SVG file so she could cut it on her Cricut. She used a orange cardstock that’s not included in the kit to cut the pumpkin.
She also used a great variety of patterned papers from the kit. The cute leaves were also cut on the Cricut from a sheet of Bo Bunny cardstock from her scrap drawer. Then, she used a random tan/brown striped patterned paper that she had in her stash.
The pumpkin is popped up with foam dots. For the photo, she cut some patterned paper to layer underneath it and fussy cut the chevron paper and made it into a border.
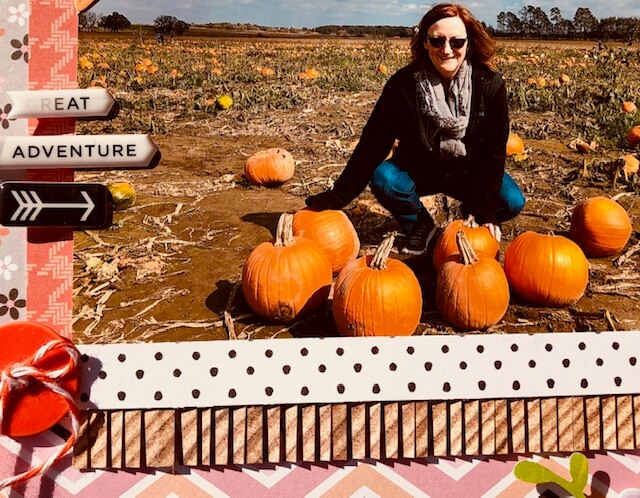
Melissa used a fringe scissors to cut the bottom of the tan patterned paper (from her stash). She used this to mimic the straw looking dead vines that are in the photo. (what a great idea!) She used the same paper for the stem of the pumpkin. The button, twine and photo corners were all pulled from her ‘orange’ embellishment bin. Next, she scattered the stars from the add-on sticker sheet around the layout.
The left side of the photo was embellished with word stickers and arrows also from the upgraded sticker sheet. using foam dots, she popped up and layered the flower die cuts at the base of the pumpkin. Lastly, she added black rhinestones (from the add on) in the center of the flowers and used a Stampin UP! She punched the leaves around the flowers from the same Bo Bunny paper that the pumpkin leaves were cut out of.
To see more of Melissa’s amazing scrapbook layouts, check her Facebook account!
3. Rad Layout by Nicole Martel
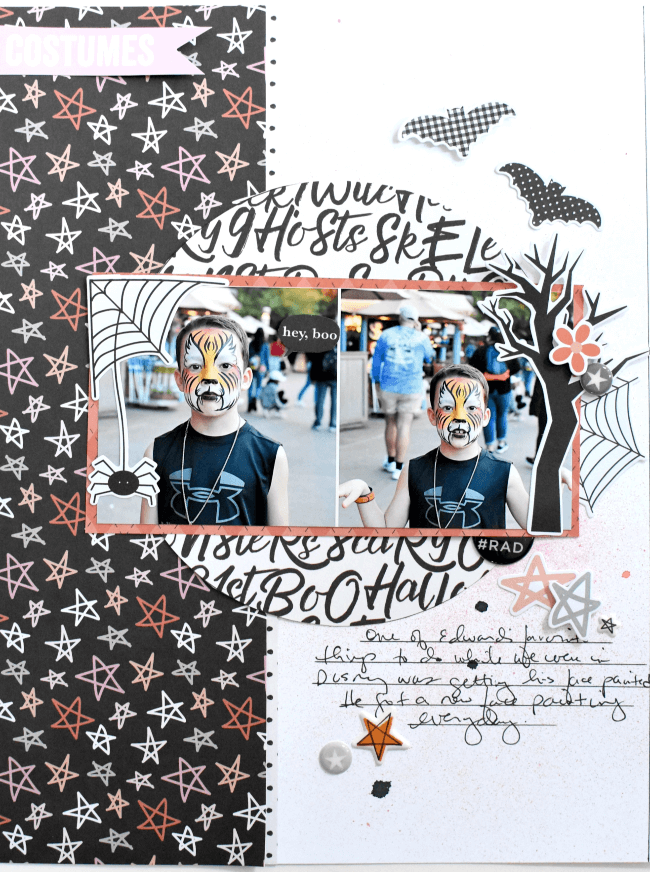
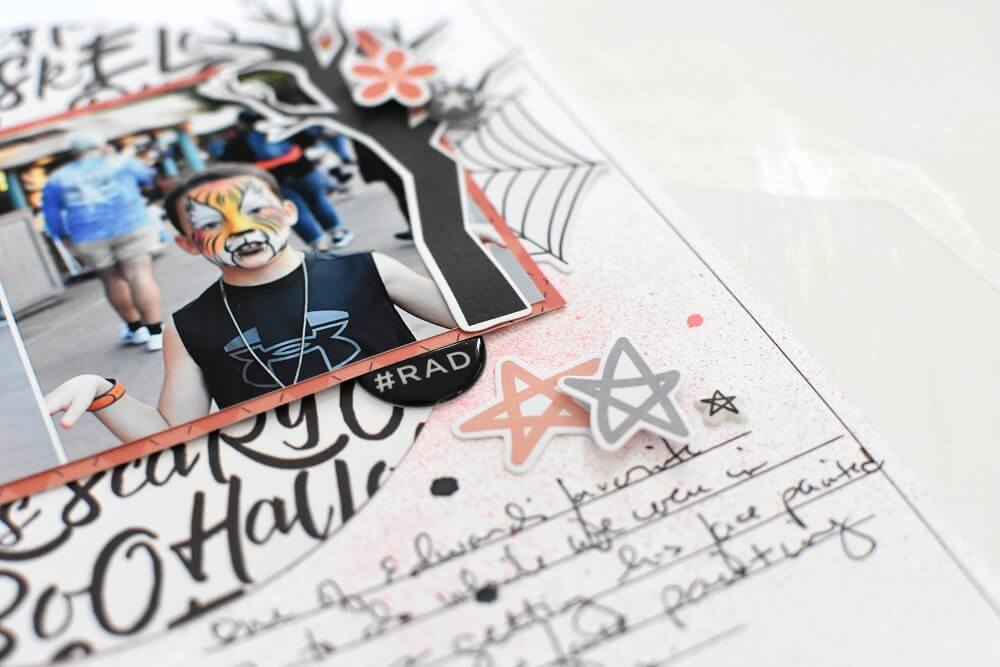
Nicole is super excited by this months Halloween-themed kit!For the cute layout below she used a 8 1/2″x11″ white cardstock as the base. She sprayed the background with Colorations Sprays by Art Anthology (Salmon, Raider). Then, she cut a star patterned paper to measure 8 1/2″x 31/2″.
Next, she cut the polka dot patterned paper to measure 8 1/2″ x 1/4″ and mounted both pieces to the base as shown. She used a Creative Memories’ circle template to trace a circle from the print patterned paper. If you do not have a template, use a plate.
Then, Nicole mounted the circle to the center of the layout. Next, she matted the photo collage using the orange patterned paper and adhered it to the center of the circle. Finally, she used a ruler and black pen for the journaling at the bottom of the layout.
Note: Use any embellishments from the base kit or upgrades and pop them up using a few foam squares to add dimension.
Watch how Nicole created her #RAD layout! Grab your stash and follow along:
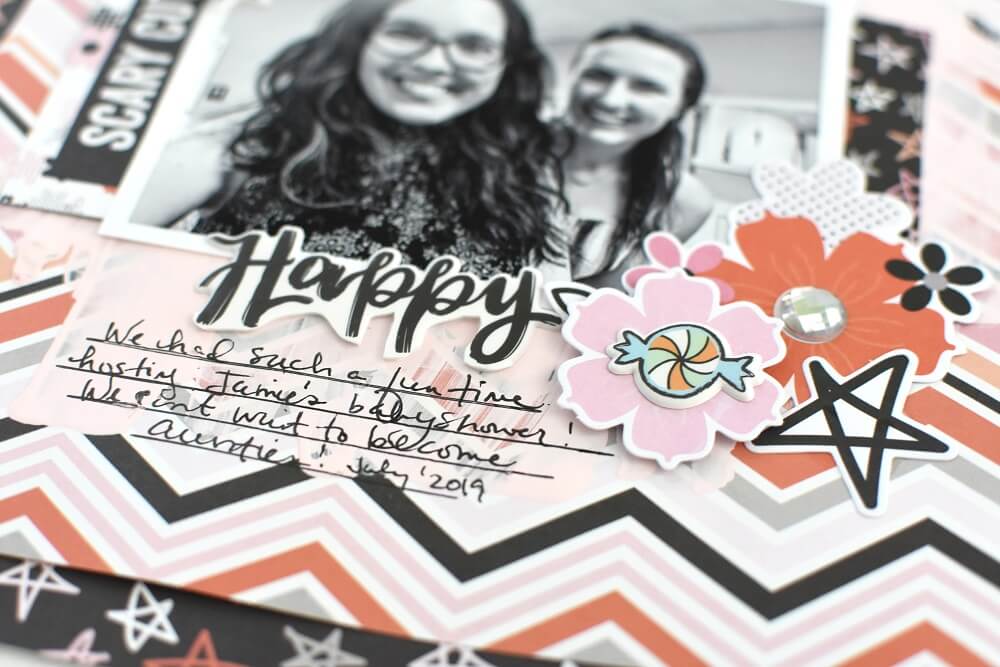
4. Happy Layout
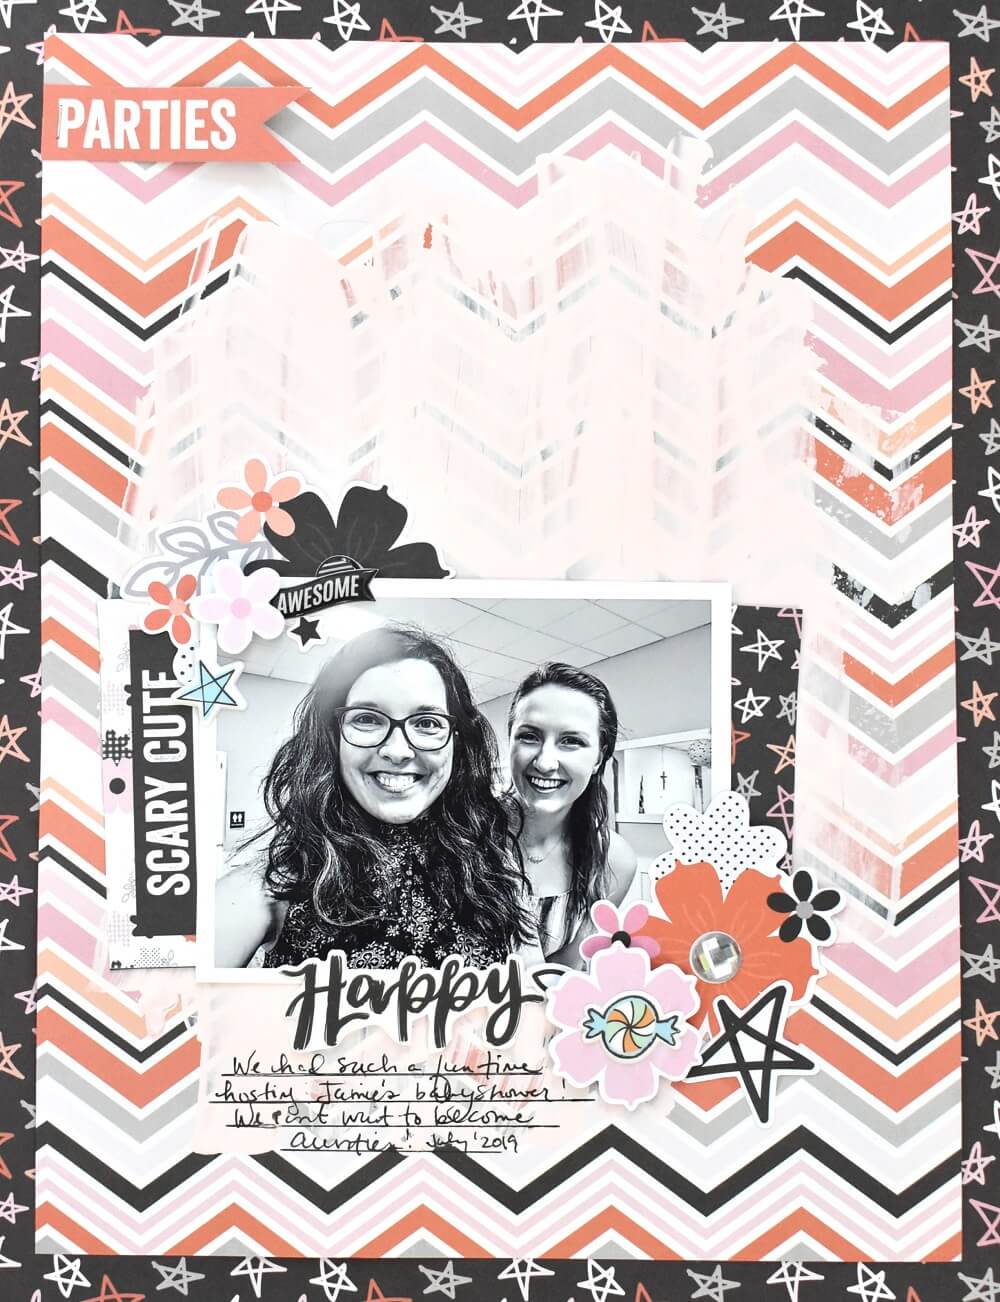
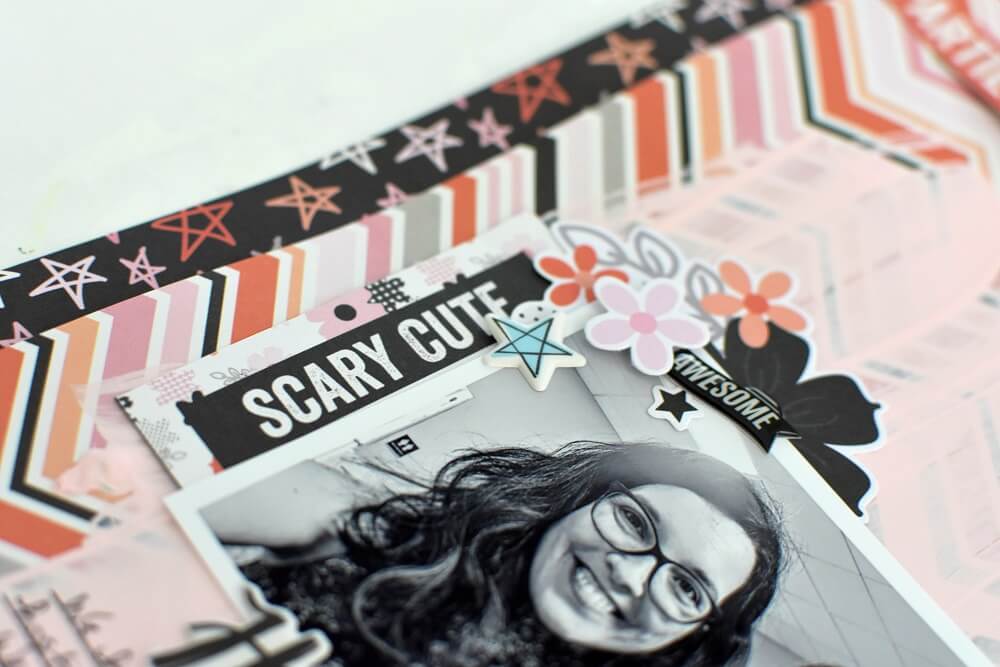
Nicole cut the star patterned paper to measure 8 1/2″x11″ and cut the chevron patterned paper to measure 7 1/2″x10″. Then, using a tape runner, she put the chevron patterned paper to the center of the star paper. Next, she used a palette knife and the Broken Doll acrylic paint from Bad Girls Couture to cover the middle of the layout, allowing some of the chevron pattern to peak through. (that’s so cool!)
She used a heat gun to speed up drying time. Once dry, she cut the “scary cute” sentiment from the cut-apart sheet and part of the “boo” card to frame the photo. She moved on to mount all the pieces and embellished her layout using both elements from her base kit and from October’s upgrades! Lastly, using a ruler and a black pen, she hand-journalled her story at the bottom.
Nicole prepped another process video for you to follow along:
Get to see more of Nicole’s gorgeous scrapbook layouts on her blog!
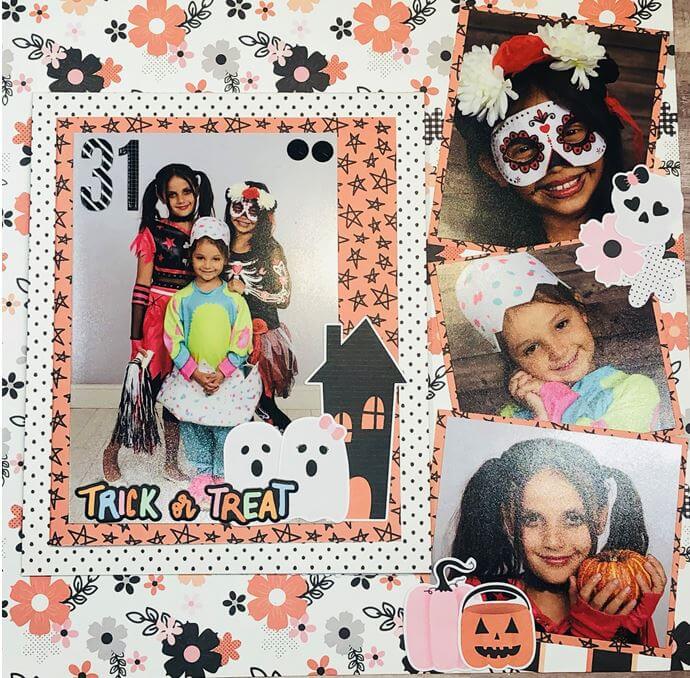
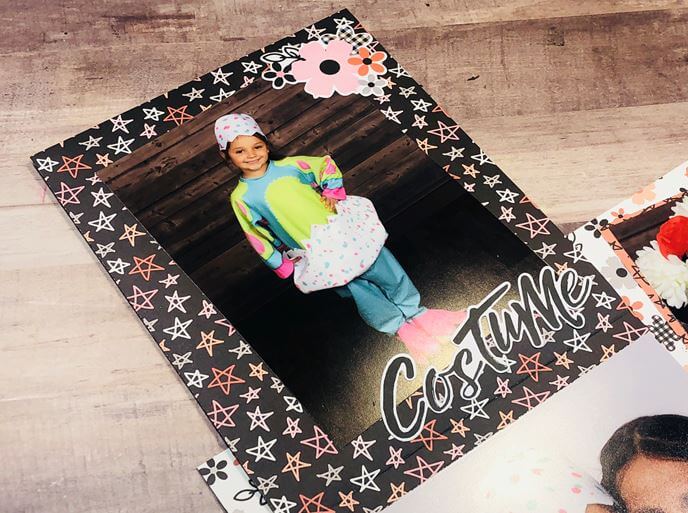
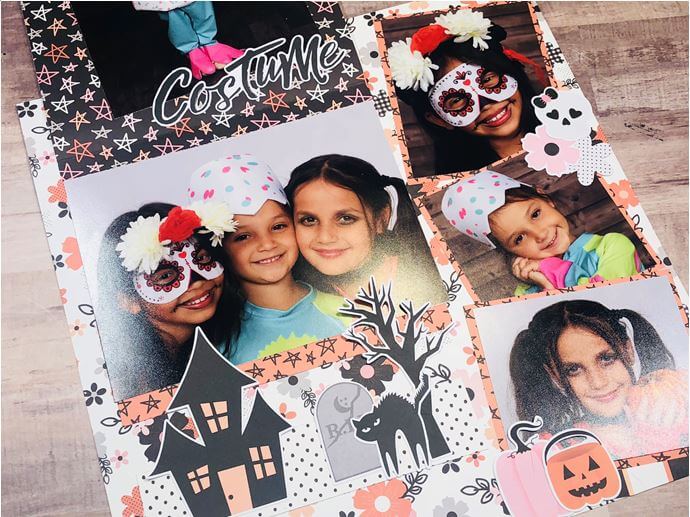
5. Halloween Interactive Scrapbook by Rosa Kelly
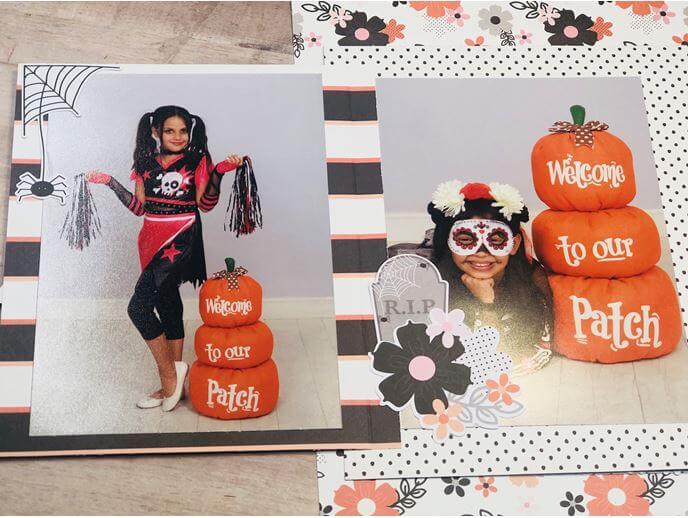
This layout is the perfect example of a classic (and classy!) spooky Halloween layout. We absolutely adore this look! The photos are fantastic and completely dominate the page. To make this layout, Rosa started with a sheet of 12×12 page from the Happy Haunting collection.
She first cut a sheet of paper of 9” x 7”. Scored it at ½” along the 9” side and added it at the top left side of the layout by gluing only the ½” flap (tip: stay about 2” from the top). Then, she cut another design sheet at 7” x 6 ½”. Scored ½” along 6 ½” and added it to the left side of the 9”x 7” layout.
On the left side of the page, Rosa added designed cardstock pieces to place pictures. Next, she added the “Trick or Treat” sticker for the title. Finally, she used the different ephemera pieces from the October kit to embellish the layout and added her wonderful photos.
Grab your materials and follow Rosa along as she crafts this spooky-beautiful layout:
6. Not So Spooky Supper by Sam Taylor
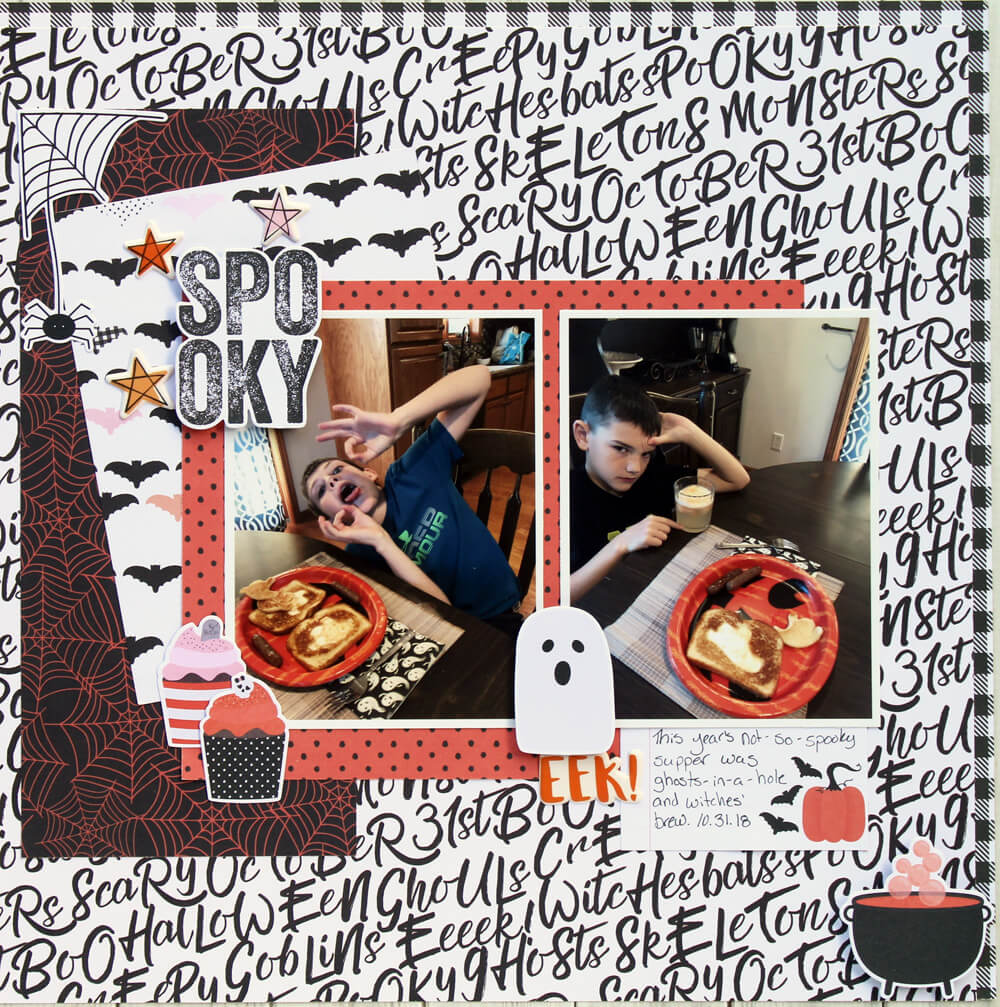
Having kids makes every holiday that much more fun! Every year on Halloween, Sam and her family have a not so spooky supper (fun tradition, right?). She thought this kit would be great for scrapping some photos from last year’s ghosts-in-a-hole and witches brew.
Sam started with the all over Halloween word paper. She decided to add a small border of black plaid to the top and right side of the layout. Since the majority of her patterned paper is being layered on the left side, this little detail helps to balance the layout out. Next, she layered up rectangles of orange cobweb, spiderweb, and polka dot paper. Then, she alternated dark and light colored patterns to keep them from clashing and added her photos.
A white border on the photos helps them pop off the page. Sam added a journaling tag to the bottom of the photos. Finally, she layered on lots of embellishments from both the main kit and the Upgrades from the October kit. She used a mix of flat and dimensional adhesive when adding the embellishments to give them some extra dimension.
7. Happy Haunting Munich Travel
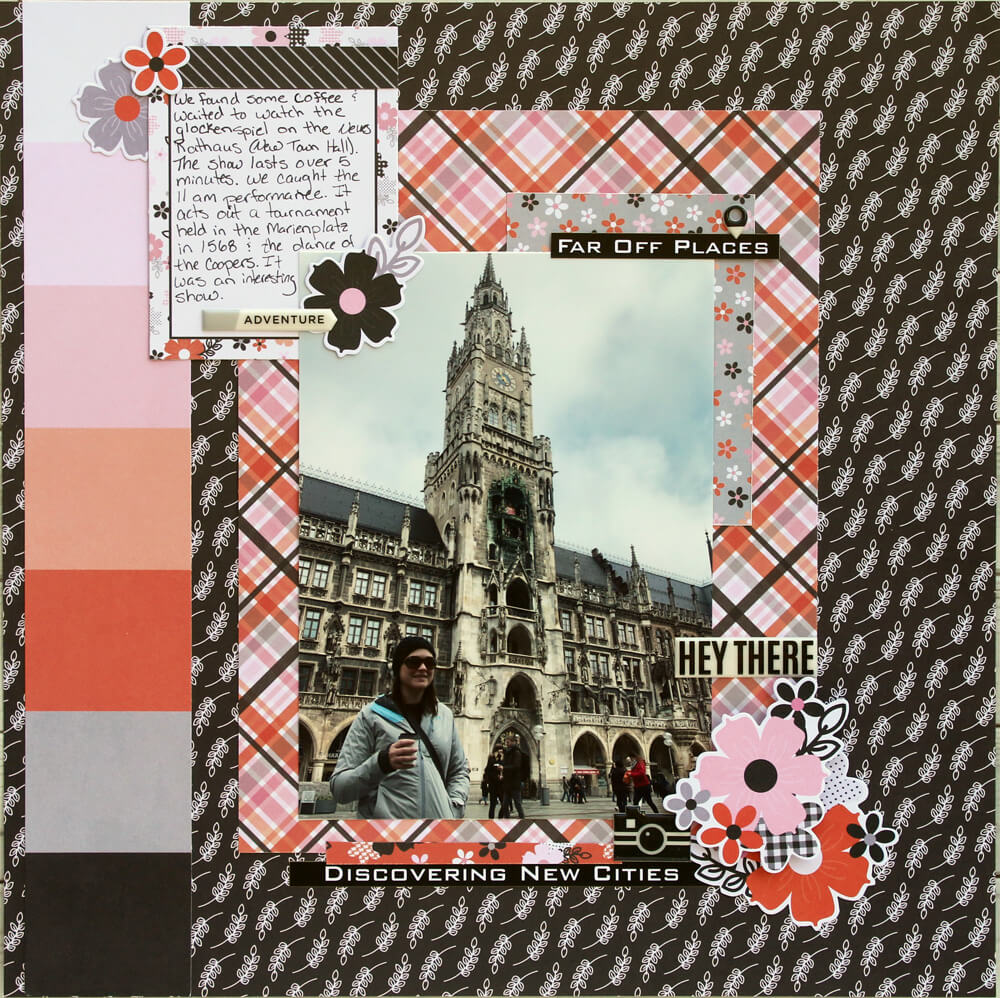
When Sam opened this month’s kit, her first thought wasn’t a Halloween layout, it was a travel one! This just proves how versatile this month’s kit is. Sure, it’s great for Halloween but the double-sided papers have a gorgeous, unique color combo that’s great for many other types of layouts too.
Sam chose a unique mix of orange, black, and pink made for a perfect color combo to scrap some of their recent photos from Munich, Germany. She added flower embellishments with the same color to compliment the photo even more. Next, she added her journaling at the top.
The Upgrades for this month are adorable. If you grab them, it makes this kit even more versatile. Travel layouts, birthday party scrapping and many other opportunities away ahead. You’ll be surprised at just what you can design!
Check out more Sam’s awesome scrapbook layouts and crafts on her blog!
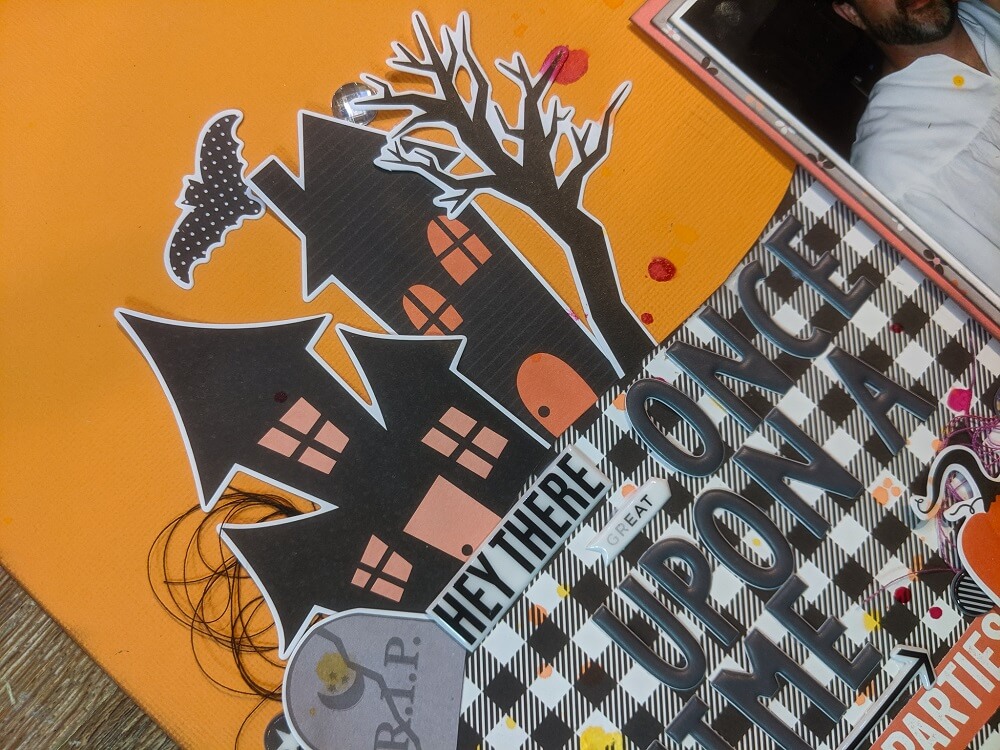
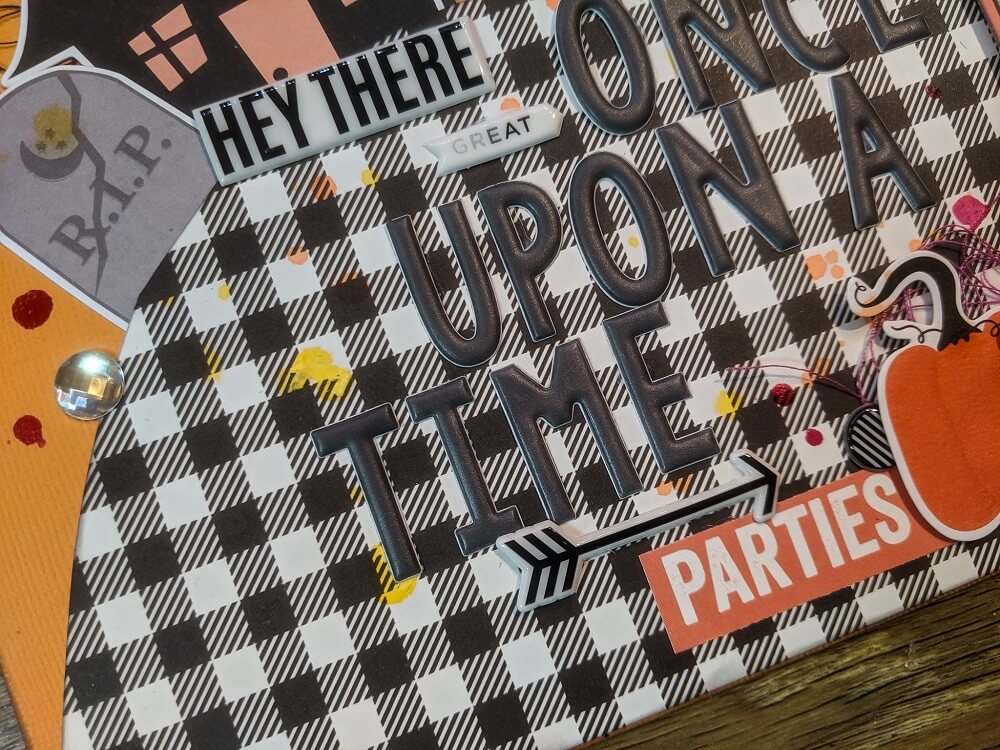
8. Once Upon A Time by Tuesdae Hubbard
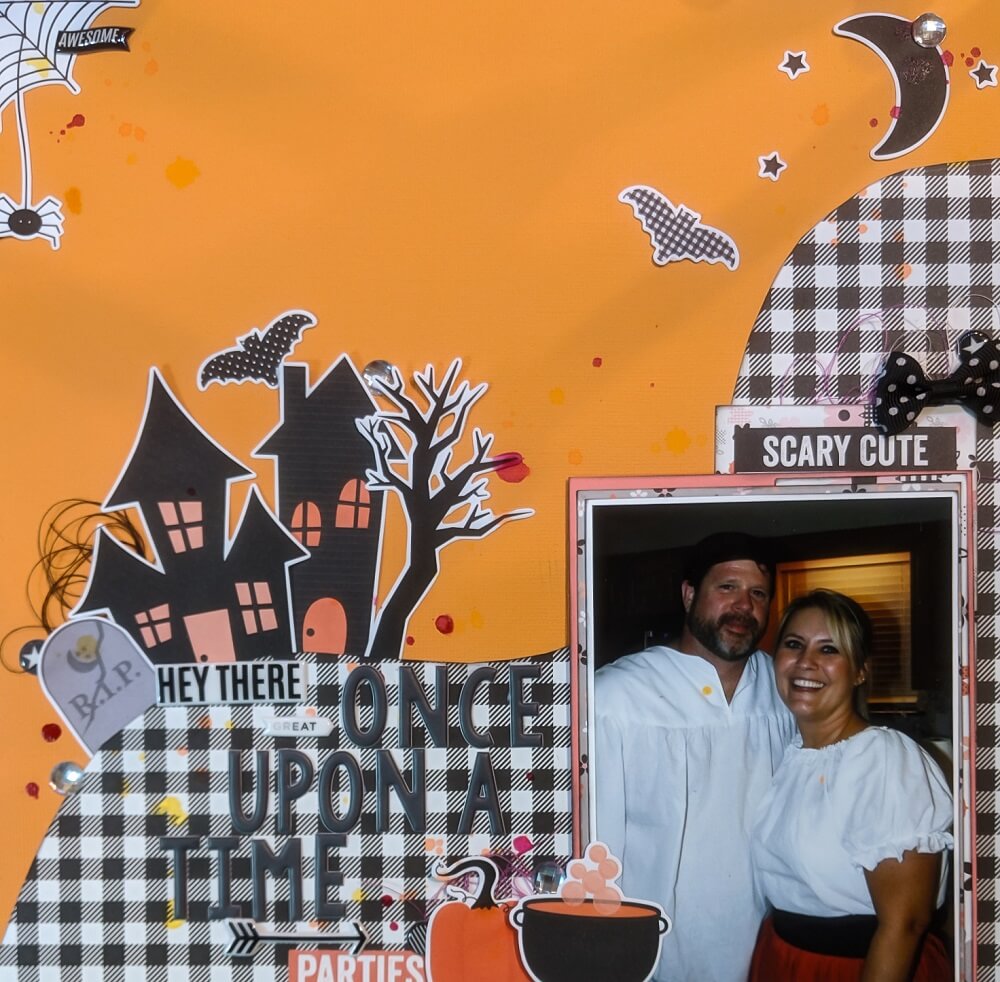
Tuesdae absolutely loves how whimsical the October kit is! She immediately went to her stash of photos and knew that this photo of her ex husband and her would work perfectly with the colors from the kit. Tuesdae used to always host a Halloween party for their girls and that particular year they decided to be “turn of the century” quakers.
She chose a solid background paper so that the gorgeous black and white plaid paper would stand out on the page. Going with the whimsical feel of this collection, she grabbed her bendable ruler to make a fun wave design that she could use to cut out the black and white plaid paper as a type of landscape for the fun embellishments to sit on. She wanted the layout to look like a spooky scene and she sure pulled it off!
Tuesdae thinks the collection is so much fun and so versatile! The black and white elements are always a classic and can be used on almost any layout. The stars and pink have her think of her new grandbaby, Ella!
Get to see more of Tuesdae’s scrapbook layouts and tutorials, visit her Youtube channel!
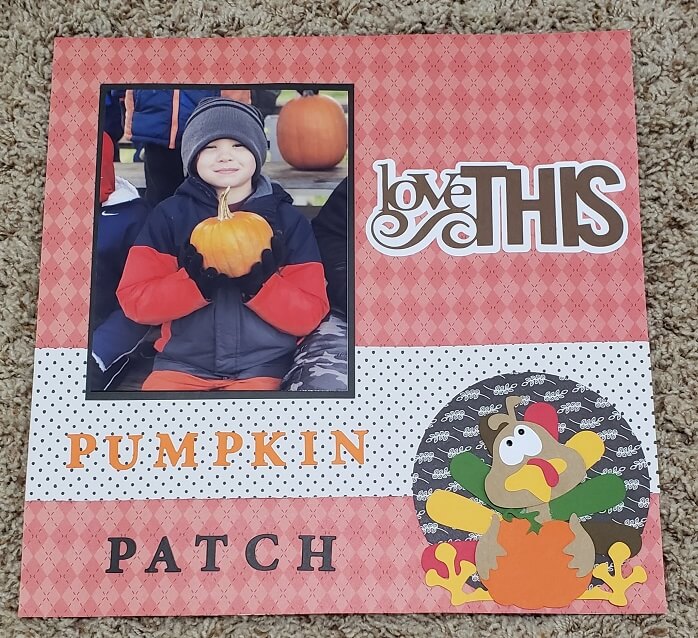
9. Pumpkin Patch by Terra Merriweather
For this page, Terra cuts a 3″ strip from the black and white polka dot paper and adhered it about 2 1/4″ from the bottom. She took a photo she printed at home and matted it with 1/8″ showing on all sides. Then, she placed the matted picture an inch from the side and an inch from the top.
Terra used a Silhouette machine cut file for the sentiment “Love This” and for the turkey in the lower right corner. She also cut a 3″ circle to place behind the turkey. The letters for pumpkin patch were made using die cut letters.
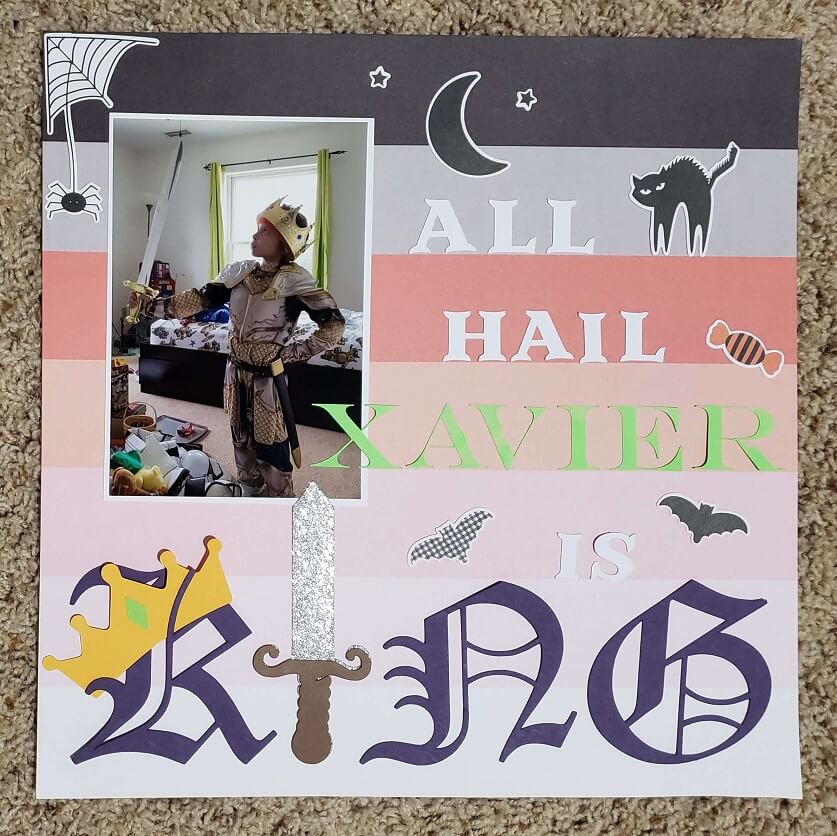
10. All Hail The King
With this layout, Terra used three different fonts on her Silhouette Cameo to cut the lettering. The sword was also a cut file from Silhouette.
Terra matted her picture and finished the layout off by adding several of the Simple Stories “Bits and Pieces” accents. Get to see more of Terra’s amazing designs and scrapbook layouts on Instagram!
These are just a handful of October scrapbook layouts that showcase how versatile this month’s kit really is. Remember Upgrade, the October embellishments are too cute to resist!
New to scrapbooking? No problem! The Scrapbooking Store is always here to inspire you and allow your creativity to flow. Visit our blog here to see more amazing scrapbook layouts that our Design Team compiled to spark new ideas and get you started on your projects. There’s quite a scrapbook collection waiting for you!
Don’t forget to join our Members Facebook Group so you can gain access to all our layout ideas, contests, and events coming up, including our Facebook Live Crop on the 3rd Wednesday of the month (Oct.16). Go here to join!
Join us now and get monthly kits delivered right at your doorstep. Click below
