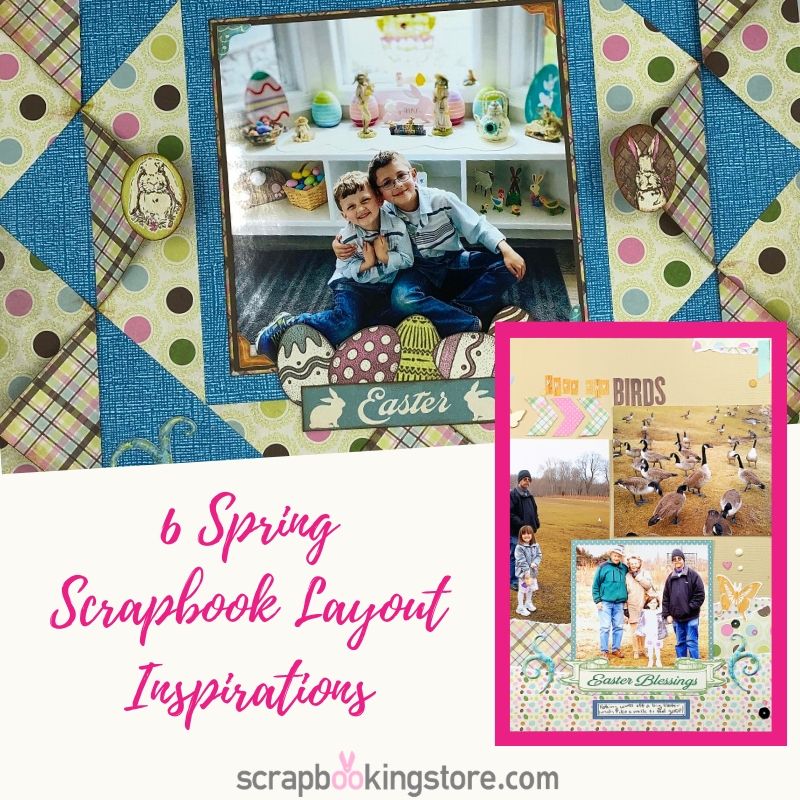
6 Spring Scrapbook Layout Inspirations
Warmer weather, greener landscapes, flowers blooming and daylight savings time can mean only one thing: Spring is here! We are excited to share our spring scrapbook layout inspirations made by our Design Team members using our eggstastic March kit.
1. Easter Memories Layout Melissa Bierlein
Here is Melissa's spring scrapbook layout with detailed directions including step by step photos. She learned this technique at a scrapbook retreat over the past weekend and knew she wanted to use it on her layout for March. This is super easy and the results are amazing. She used all her elements from the kit and all of the upgrades.

Start by choosing two sheets of 12X12 paper. In this case, Melissa also used a denim cardstock looking piece from her stash to compliment the denim the boys are wearing in the photo and a double-sided patterned paper from the kit. Cut the patterned paper into four 6X6” squares and set one square aside. For the next few steps, you will be working with three of the 6X6” squares.
Next, line up the squares and cut them into triangles. Line up the top and bottom points with the cutting edge of the paper cutter. When this is done the left point is on 4.25”. After cutting all three squares it will be a total of six triangles.


Subsequently, she lined up each triangle on the cutter with the long edge along the edge of the trimmer. The top point should be lined up with the cutting groove and cut. She cuts all six and had 12 triangles like shown.


Next, line the edges of the background paper with the LONG edge of the triangles as shown. Use adhesive on the LONG edge only of each triangle and adhere to the background. This will use eight (two per side of the background) of the twelve triangles. Then, add the remaining four triangles leaving a 6X6” square in the center. Again, use adhesive on the long edge of the triangles only and adhere to the background.


Then, fold the points of each triangle towards the long edge. This will show the back of the two-sided paper. Use a bone folder to crease the edges of the fold. If you don’t have a bone folder a credit card or anything with an edge will work. At this point, you can ink the edges of the triangle flaps.


Now the layout is set and ready for embellishments! Melissa added her photo at the center of the layout. This photo is 5X5” so she backed it with a piece of brown cardstock before adhering it to the patterned paper. The paper that backs the photo is the leftover 6X6” square. She trimmed it down as part of the background shown around the photo.
As for the embellishment, Melissa used pieces from both the add on sticker sheet and the die-cut sheet in the March kit. The edges of the banner elements are inked. She brilliantly used the tag stickers as banner elements and turned them upside down. Next, she adhered the banner to a twine and popped it up with foam dots. The twine is from her stash which was adhered to the layout with a small stapler. Then, she added wooden heart elements and epoxy hearts from the upgrades to the banner.


She used two oval die-cuts with inked edges on each side of the photo and attached them to the triangle flaps. Also, she fussy cut the colored eggs out of one of the journaling card sheets in the kit. Then, she added the ‘Easter’ strip from the cutout sheet below the eggs and inked it. She used epoxy elements from the upgrades on the bottom two blue triangles.
On the bottom right, Melissa used metal letters (L&A) from her stash which stand for Lincoln and Avery. Lastly, she added sequence to the upper right blue triangle from the upgrades.
Check out more of Melissa's adorable spring scrapbook layouts on her Instagram!
2. School Photo by Becky Bacchus
With the beautiful Easter-themed kit this month, Becky wanted to show us how versatile this month's kit is. So she decided to document a school photo of her son.
Becky was able to complete this layout with items mostly from the kit and just added a cardstock and a wood veneer word phrase from her stash. She began by using the Navy blue cardstock as her base. Then, she layered several pieces of the pattern paper from the kit behind her photo.

Becky added in a title using the alphas from the upgrade. Also, she embellished using some elements from the die-cut sheet (Indigo and Ivy embellishment pack) which includes navy and gold sequins, enamel hearts and wood veneer pieces. Finally, she used a few pieces from the puffy stickers upgrade as well.
To see the process video for this adorable layout, be sure you are following Becky on her YouTube channel!
3. Easter Basket Layout by Samantha Taylor
Sam's family doesn't make a huge deal out of Easter baskets, so her photos aren't the best but that didn't keep her from scrapping the memories! Last year's Easter baskets were especially fun for them as they were packed full of candies they picked up while traveling in Germany. Yum! For this layout, Sam used a little of everything from the basic kit and upgrades.

She started with the polka dot piece of paper that looks like jelly beans. From there, she layered on a few more patterned papers, alternating between single colored patterned papers and multi-colored patterned papers.
Finally, she added embellishments from every included pack of embellishments!


4. The Greats Layout
Sam does not take a lot of photos on Easter, so she wanted to showcase the versatility of this kit for people who might be like her. She snapped this photo of her grandparents with all of their great-grand kids last summer. She thought the pink and blue paper in the March kit really complimented the photo well.

To keep the layout from being too busy, Sam used a piece of brown patterned paper from the kit to tone things down. To make the layout feel summery, she used some floral patterned paper on the layout as well. Finally, she framed the photo with some embellishments from the Upgrades this month.
Get to see more of Sam's spring scrapbook layout inspirations on her blog!
5. Feed the Birds by Rachel Raynolds
Rachel chose to scrapbook some older Easter photos to start off with this month's Authentique based kit. She started off with a beige piece of card stock from her stash, and then layered several patterned papers from the kit (Cottontail papers three & six) that she tore for a more organic look. Next, she matted one photo with patterned paper (Calendar April Sentiments) and then tucked two of her photos in the layered patterned paper.

Then, she used the tile alphabet from the embellishment upgrade plus another alpha from her stash for the title. She also used the wood veneer, sequins, and puffy stickers from the embellishment upgrade, as well as the die cuts from the main kit to bring color and whimsy to the page. She finished off the layout with a few enamel dots and some mist (Heidi Swapp Color Shine Gold) to finish off the layout.
Check out the process video on Rachel's Youtube channel and get to see more amazing tutorials!
6. Springtime in Idaho by Meggy Blethen
Meggy is so happy to share her first spring scrapbook layout with us. The colors in this layout are absolutely stunning! She loved all the spring elements.

So she decided to use a few photos from a couple of years ago when their fence fell down because of a crazy spring wind storm.


Meggy loves the embellishment paper that came in this month. Though it is very Easter-themed it is definitely worth playing around for other projects too. She was able to stretch her supplies to make the Easter items work for her layout. Meggy's layout is super easy to follow along and we really love how it turned out! Check out her Youtube channel to see the process video of this layout!
These are just a handful of March spring scrapbook layout inspirations that showcase how versatile this month’s kit really is. Remember to Upgrade, the embellishments are too cute to resist!
Visit our blog here to see more amazing spring scrapbook layout that our Design Team compiled to spark new ideas and get you started on your projects. There’s quite a scrapbook collection waiting for you!
Don’t forget to join our Members Facebook Group so you can gain access to all our layout ideas, contests, and events coming up, including our Facebook Live Crop on the 3rd Wednesday of the month (Mar.18th).
Join us now and get monthly kits delivered right at your doorstep. Click below
GET OUR MONTHLY KITS DELIVERED TO YOUR DOOR!